SOHO Malware Removal Procedures
Not sure you’re ready?
Take the ~3-minute readiness diagnostic and see where you stand.
Imagine a biological containment laboratory where a highly contagious pathogen has just breached a secure vial. The protocol isn't simply to spray bleach wildly and hope for the best; it is a meticulously choreographed sequence of isolation, identification, neutralization, and post-incident review. In a Small Office/Home Office (SOHO) network, a malware infection requires the exact same discipline. An infected endpoint is a compromised digital specimen capable of infecting the entire network ecosystem if mishandled. Resolving this requires strict adherence to a methodical procedure designed to eliminate the threat without collateral damage.
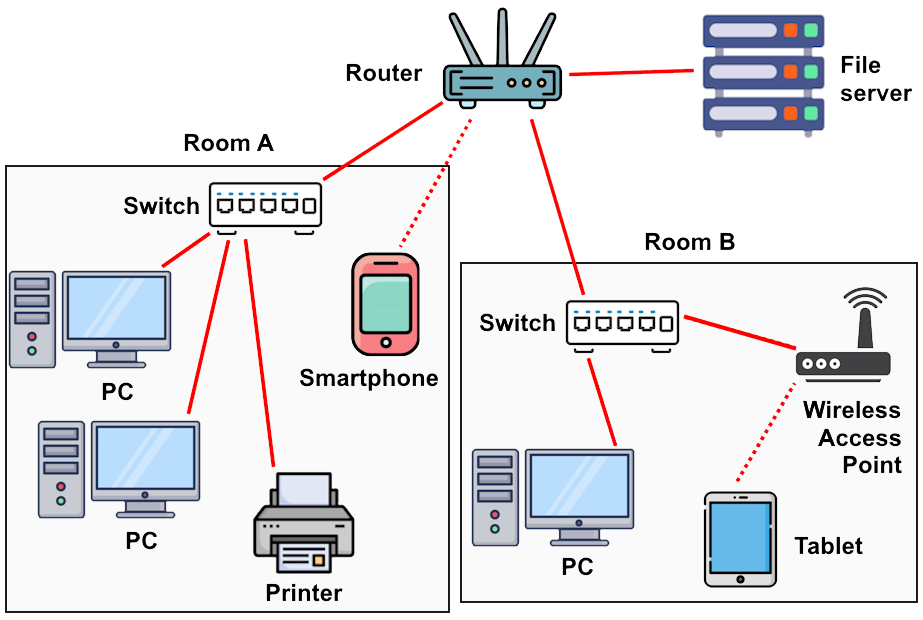
In the daily life of an IT support technician, malware removal is not a guessing game. It is a structured algorithm. The CompTIA 10-step malware removal process is your definitive blueprint. If you skip a step, you leave a backdoor open. Let us examine the mechanics of exactly how and why we execute each phase of this operation.
Step 1: Investigating and Verifying Malware Symptoms
The first step in the CompTIA 10-step malware removal process is investigating and verifying malware symptoms. Before you can eradicate a threat, you must understand its geometry.
You do not simply look at a computer and know it is infected. Instead, technicians must gather information from the user about unusual computer behavior to identify the scope of the infection. You are looking for the fingerprints the malware leaves behind. Unfamiliar security alerts and unexpected browser redirection are common symptoms of a malware infection. If a user tries to navigate to a search engine and is violently redirected to a site selling questionable software, the system is compromised.
Furthermore, severe system performance degradation is a frequent indicator of malicious background processes. Malware does not care about CPU efficiency; it consumes resources to mine cryptocurrency, send spam, or encrypt files. When you encounter these symptoms, precision is key. Technicians should research specific error messages online to identify the exact variant of the malware. Knowing the enemy’s specific name tells you exactly which files and registry keys it targets.
Step 2: Quarantining the Infected System
Once you confirm the infection, you must stop the bleeding. The second step in the CompTIA 10-step malware removal process is quarantining the infected system.
Why do we do this? Because malware is inherently social; it wants to propagate. Quarantining an infected computer prevents the malware from spreading laterally across the local network. To achieve this isolation, you must sever all communication lines immediately.
- A technician must immediately disconnect the infected computer from all wired Ethernet network connections. Pull the cable.
- A technician must immediately disable all Wi-Fi connections on the infected computer to enforce quarantine. Use the hardware switch or disable the adapter.
- Finally, quarantining an infected machine includes isolating and unplugging all removable USB storage devices. Malware frequently copies itself to flash drives to hitch a ride to the next victim.
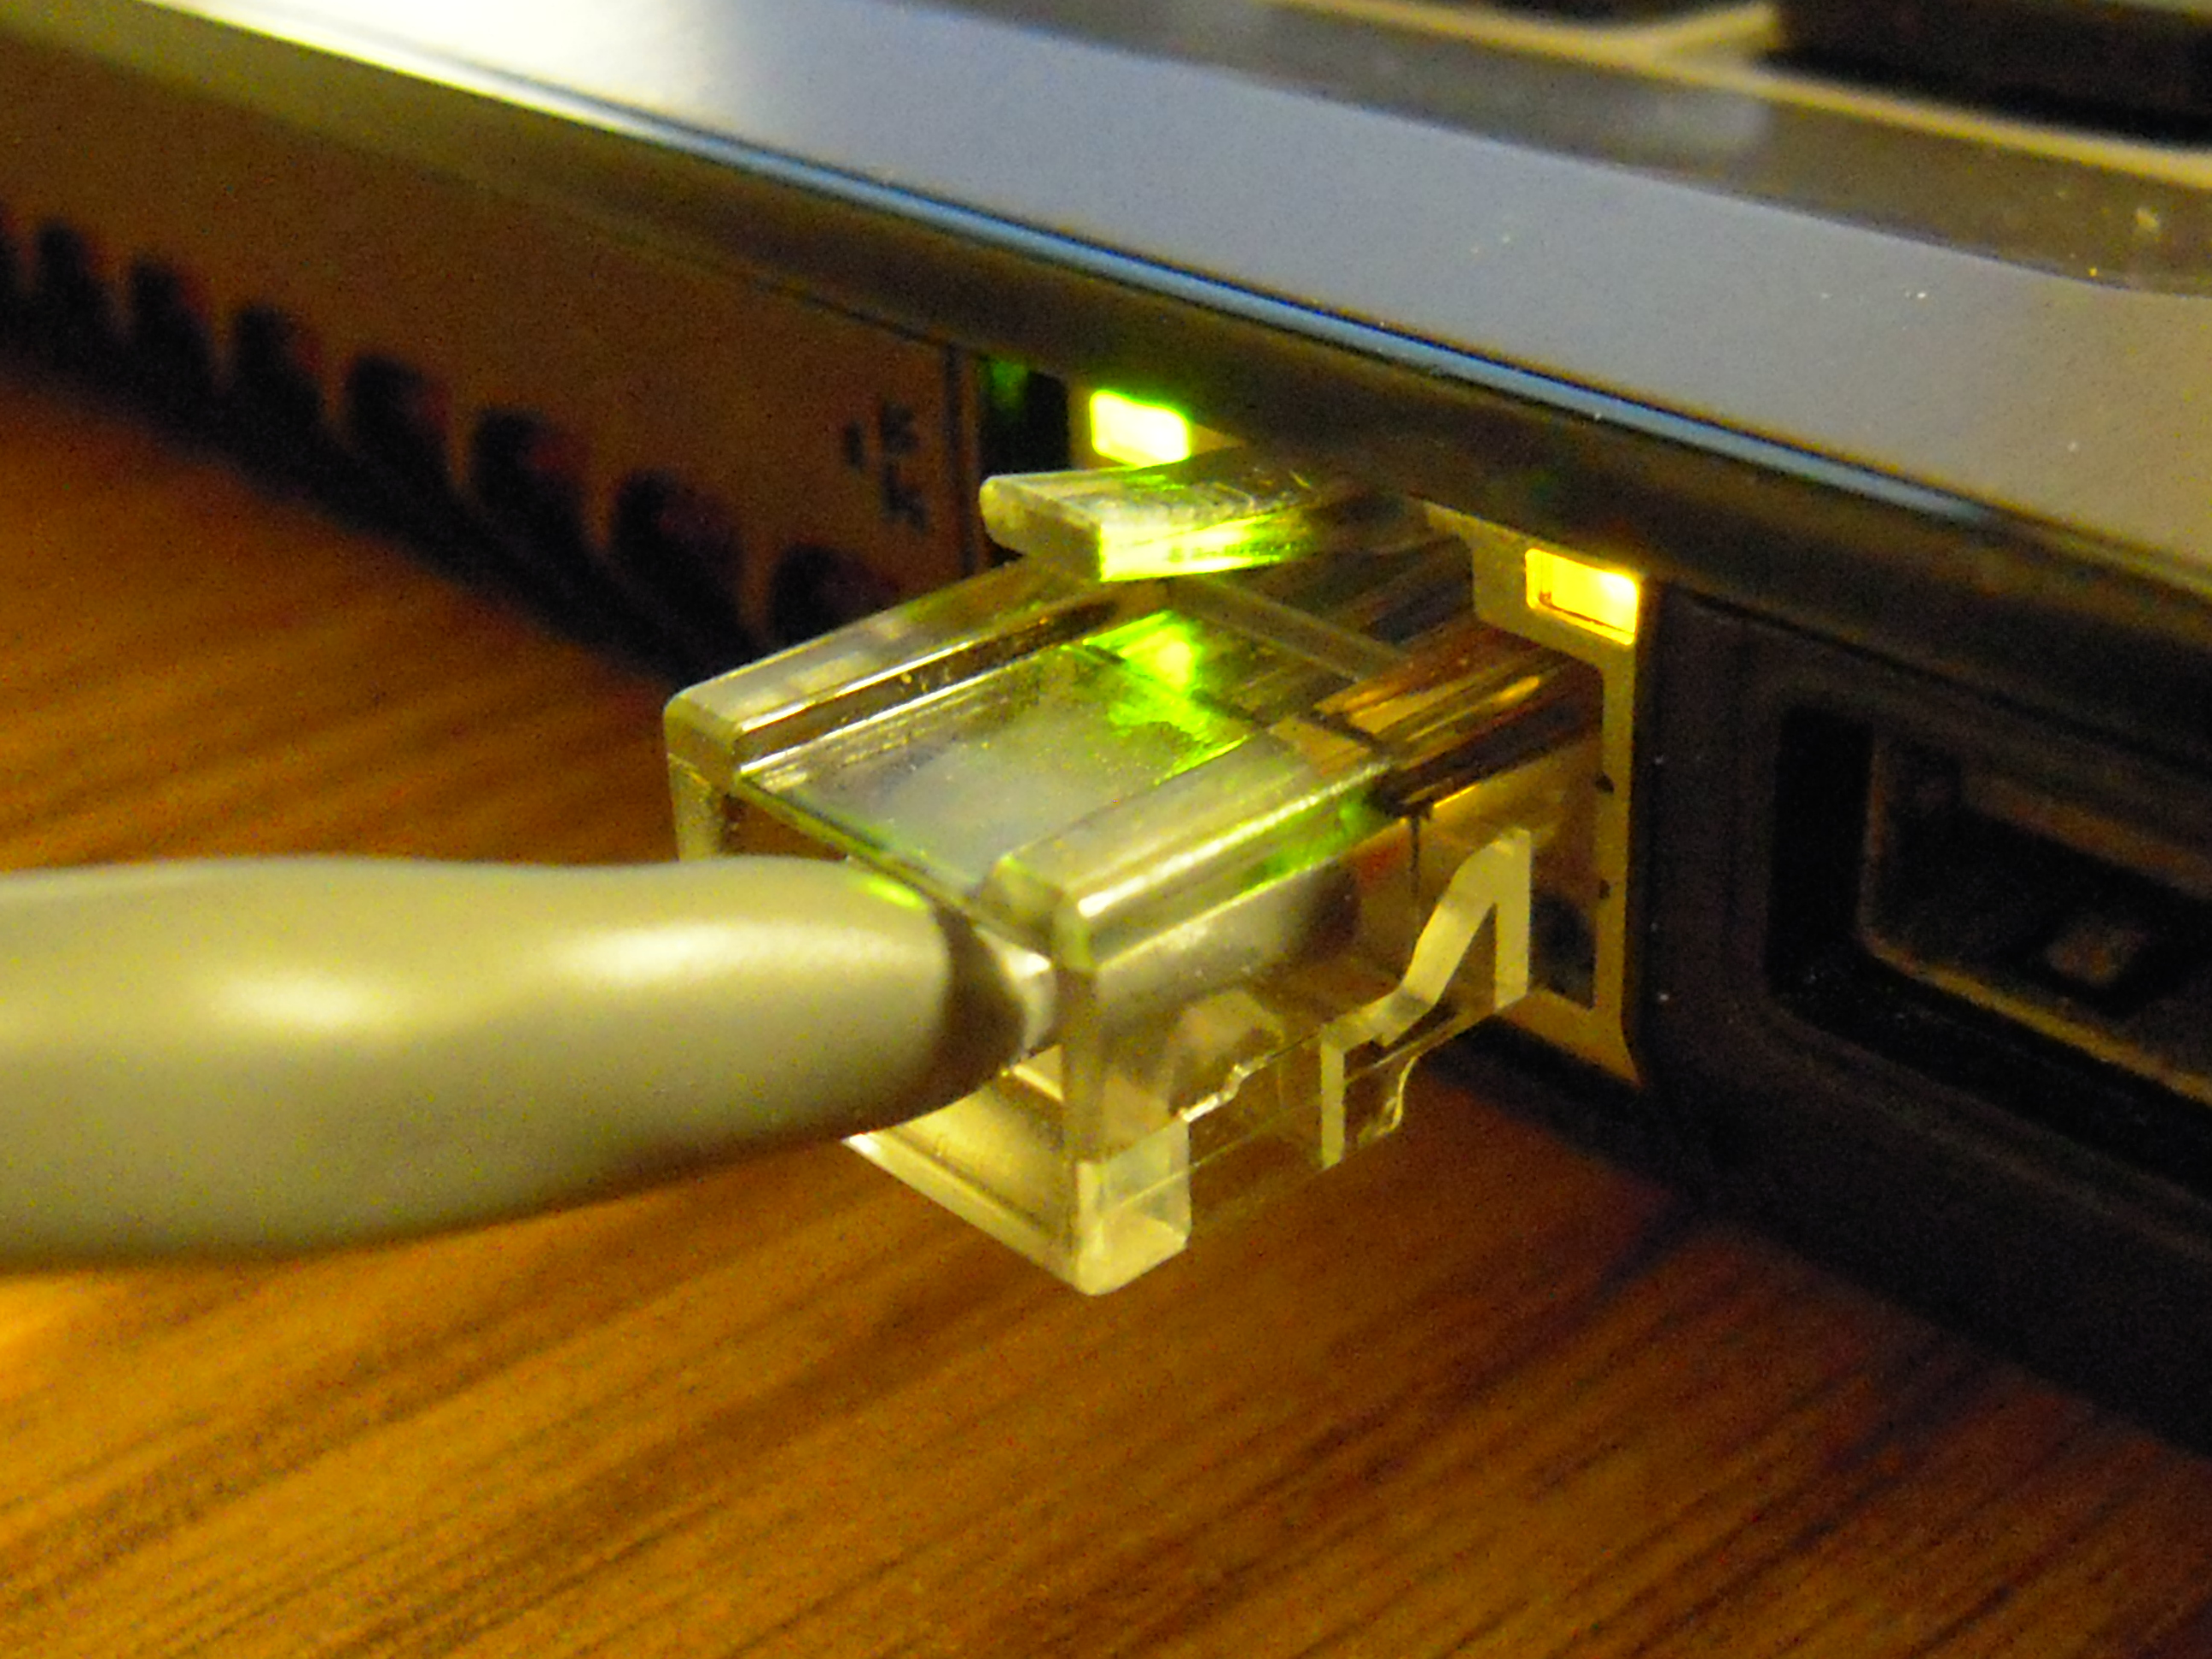
Crucial Rule: Quarantined means electronically isolated. The machine remains powered on so we can fix it, but it is deaf and blind to the rest of your SOHO network.
Step 3: Disabling System Restore
Now we encounter one of the most brilliant tricks malware developers use, and how we defeat it. The third step in the CompTIA 10-step malware removal process is disabling System Restore.
Windows System Restore automatically takes periodic snapshots of the operating system state. This is normally a wonderful feature, allowing you to roll back a bad driver update. However, malware frequently embeds itself into Windows System Restore points to guarantee re-infection after a system reboot. You might spend hours cleaning a machine, only to have the system "helpfully" restore the malware the next time the computer restarts.
To destroy this hiding place, disabling System Restore immediately deletes all existing restore points on the Windows machine. This is a scorched-earth tactic, but it is necessary. Deleting existing restore points prevents the accidental restoration of a malware-infected operating system state.
Step 4: Remediating the Infected System
With the machine isolated and its hiding spots destroyed, we move to the offensive. The fourth step in the CompTIA 10-step malware removal process is remediating the infected system.
Understand what this phase represents: Remediation is the active phase of neutralizing the malicious software on the host machine. It is the umbrella under which the actual combat takes place, comprising the update of your tools, the scanning of the hard drive, and the surgical (or total) removal of the infection.
Step 5: Updating Anti-Malware Software
You cannot fight today's battles with yesterday's weapons. The fifth step in the CompTIA 10-step malware removal process is updating anti-malware software.
Anti-malware software relies on current virus signature definitions to identify newly released digital threats. A signature is essentially a mugshot of the malware. If your software doesn't have the mugshot, the malware walks right past the guards.
But here is the engineering puzzle: your infected machine is strictly quarantined (Step 2). It has no internet access. How do you update the software? Updating anti-malware software on a quarantined machine requires downloading new definitions using a separate clean computer. Once downloaded, technicians must manually transfer downloaded signature definitions to the infected machine via a dedicated flash drive.
Step 6: Scanning the System and Using Removal Techniques
Now we execute the purge. The sixth step in the CompTIA 10-step malware removal process is scanning the system and using removal techniques.
If you try to delete a malware file while it is running, Windows will block you, stating "File is in use." Removing malware from memory is extremely difficult if the malicious processes are actively running during the scan. To bypass this lock, booting a Windows system into Safe Mode is a primary malware removal technique for stubborn infections.
Safe Mode is a diagnostic startup state that loads only the most essential Windows drivers and services. Because the malware is not an "essential" Windows service, Safe Mode prevents most malware from automatically loading into system memory upon OS startup. You can now scan and delete the dormant files.
However, some malware is incredibly resilient. Severe infections require booting the machine from a clean Windows Preinstallation Environment to perform offline scans. When you scan offline, the host operating system isn't running at all. The hard drive is treated merely as a passive container of files, rendering any malicious defensive mechanisms entirely useless.
Step 7: Deciding to Reimage or Reinstall the Operating System
Sometimes, the damage is too profound, and surgery is not enough. The seventh step in the CompTIA 10-step malware removal process is deciding to reimage or reinstall the operating system.
Reimaging a machine guarantees the complete eradication of all malware from the local storage drive. You are wiping the slate completely clean. You must make this decision under three specific conditions:
- A complete operating system reinstallation is required when anti-malware tools fail to completely remove the infection.
- A complete operating system reinstallation is required when malware causes irreparable damage to core system files. Even if the malware is gone, if Windows cannot boot, you must rebuild.
- Technicians must perform a complete operating system reinstallation when dealing with a known rootkit infection.
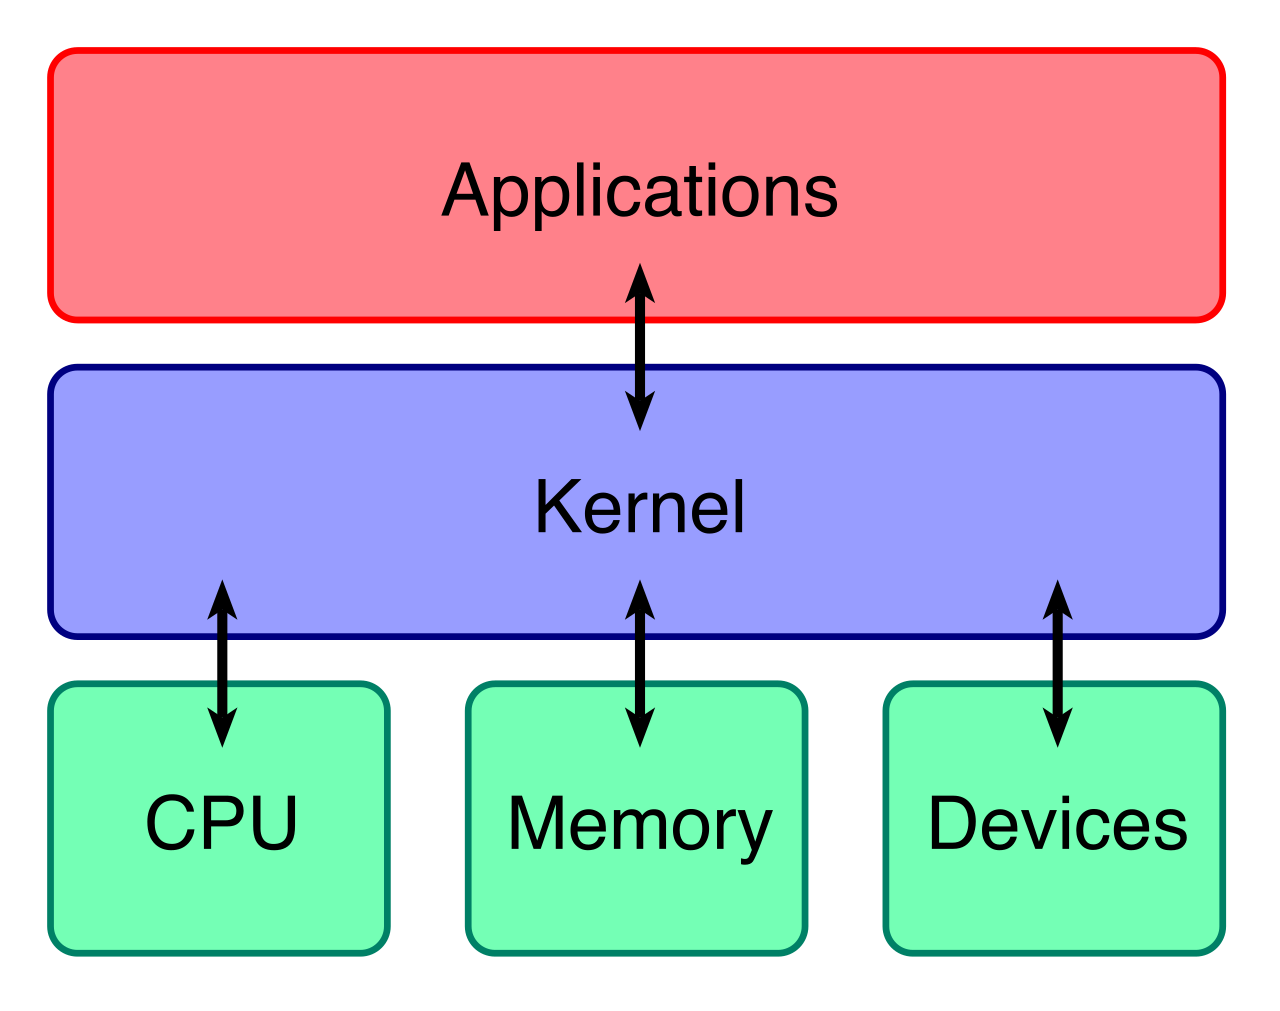
Why are rootkits the ultimate dealbreaker? Because rootkits can intercept and modify anti-malware scan results to remain deeply undetected within the operating system. They subvert the very tools you use to find them. You can never trust an OS once a rootkit has compromised the kernel.
If you must reimage, handle the user's files with extreme caution. Technicians must back up all user data using a secure offline environment before initiating an operating system reimage. Once backed up, technicians must thoroughly scan the backed-up user data for malware before restoring the files to the newly imaged system. You do not want to perfectly rebuild a house only to carry the termites back inside.
Step 8: Scheduling Future Scans and Running Updates
Once the system is pristine, you must fortify it. The eighth step in the CompTIA 10-step malware removal process is scheduling future scans and running updates.
Automation is your best friend in IT support. Technicians must configure anti-malware software to perform automatic daily or weekly deep scans. Furthermore, technicians must configure anti-malware software to automatically download signature updates from the vendor.
Finally, the malware likely got in by exploiting a known flaw. Technicians must verify that the operating system has the latest security patches installed to close vulnerabilities.
Step 9: Enabling System Restore and Creating a New Restore Point
We disabled System Restore in Step 3 to prevent the malware from hiding. Now that the system is demonstrably clean, we must turn this safety net back on. The ninth step in the CompTIA 10-step malware removal process is enabling System Restore and creating a new restore point.
Patience is vital here. Technicians must re-enable Windows System Restore only after verifying the complete removal of all malware. Once activated, creating a new restore point establishes a known-good system state for future recovery operations. You now have a clean baseline.
Step 10: Educating the End User
The final step addresses the most unpredictable component of any SOHO network: the human being. The tenth step in the CompTIA 10-step malware removal process is educating the end user.
Firewalls and anti-malware software are excellent, but educating the end user is the most effective proactive defense against future malware infections. You must explain the mechanics of modern attacks to them in plain language.
- End user education includes training employees on identifying suspicious phishing emails. Show them how to hover over URLs to check the true destination.
- End user education includes instructing users to avoid downloading file attachments from unknown sources.
- End user education includes advising users against clicking on untrusted web links in unexpected messages.
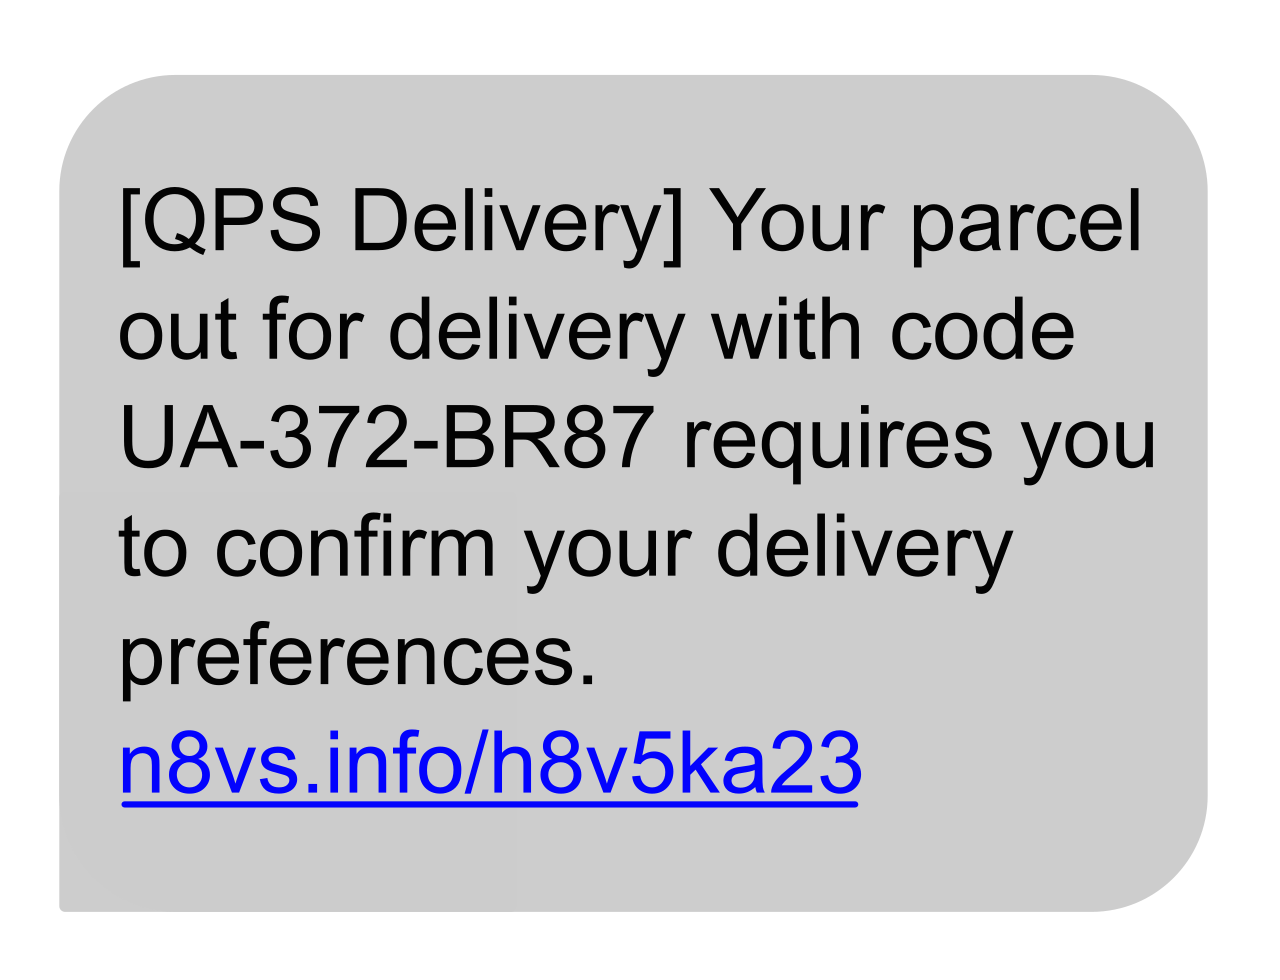
When you teach a user why an unexpected invoice PDF might actually be an executable payload, you transform them from the weakest link in your security chain into your first line of defense.
The 10-Step Eradication Protocol Summary
| Phase | Step | Action | The "Why" (The Physics of the Fix) |
|---|---|---|---|
| Containment | 1 | Investigate & Verify | You must know the scope and variant before you can fight it. |
| 2 | Quarantine the System | Cuts off the lateral network spread and isolates the endpoint. | |
| Preparation | 3 | Disable System Restore | Burns down the hiding places so malware cannot resurrect itself. |
| Eradication | 4 | Remediate Infected System | The active, hands-on phase of neutralizing the threat. |
| 5 | Update Anti-Malware | Loads the latest signature "mugshots" via a clean, offline drive. | |
| 6 | Scan & Use Removal Techniques | Uses Safe Mode or WinPE to unhook malware from active system memory. | |
| 7 | Reimage / Reinstall OS | The nuclear option for rootkits or irreparable core file damage. | |
| Fortification | 8 | Schedule Scans & Updates | Patches vulnerabilities and automates daily/weekly deep defenses. |
| 9 | Enable System Restore | Creates a new, known-good baseline snapshot for the OS. | |
| 10 | Educate the End User | Patches the "human firewall" to prevent identical future breaches. |
Mastering these ten steps elevates you from someone who simply clicks "Scan" to a technician who understands the precise mechanics of endpoint security. You are not just cleaning a computer; you are executing a systematic purge. Learn the steps, understand the architecture of the threat, and you will control the environment.