Assistive Devices
Not sure you’re ready?
Take the ~3-minute readiness diagnostic and see where you stand.
Let’s talk about assistive devices. Now, when most people think about a cane, a wheelchair, or a hearing aid, they just think of a piece of equipment. But as nurses, I want you to look at these devices through the eyes of a physicist and an engineer.
What is a human being doing when they walk? They are constantly falling forward and catching themselves. It’s an incredibly complex interplay of gravity, friction, and neurology. When a disease or injury breaks that system, an assistive device isn't just a "stick" or a "chair"—it is a mechanical extension of the human body. We are giving our patients their geometry back. We are giving them their connection to the world back.
But if you give someone a tool without teaching them the mechanics of how it works, you might as well give them nothing—or worse, a hazard. Let’s dive into the fascinating mechanics of assistive devices, how we assess the need for them, and how we teach our patients to use them correctly.
When we give a client a mobility aid, our goal is to expand their base of support. A wider base means better balance. But the device only works if it is perfectly calibrated to the patient's individual anatomy.
The Cane: The Mathematical "Third Leg"
A cane is brilliant in its simplicity. It’s designed to widen the patient's footprint and shift the center of gravity. But you can't just hand a client a cane off the shelf; it must be sized correctly.
Cane sizing requires the top of the cane to reach the level of the client's greater trochanter (the bony prominence at the top of the femur). Why? Because this specific height ensures that proper cane sizing requires the client's elbow to be flexed at a 15-to-30-degree angle. This slight bend provides the optimal lever action for the triceps to bear weight without straining the shoulder joint.
The Golden Rule of Canes: A client using a cane must hold the cane on the unaffected stronger side of the body. Think of it like a seesaw. You want the extra support on the strong side to counterbalance the weak side. When the weak side steps forward, the cane steps with it, sharing the load.
The Gait Sequence for a Cane:
- When walking with a cane, the client must move the cane forward first. (Establish the new base).
- After moving the cane forward, the client must step forward with the weaker leg. (The weight is now perfectly distributed between the strong leg and the cane).
- After moving the weaker leg, the client must step forward with the stronger leg past the cane. (Bringing the center of mass forward to complete the stride).
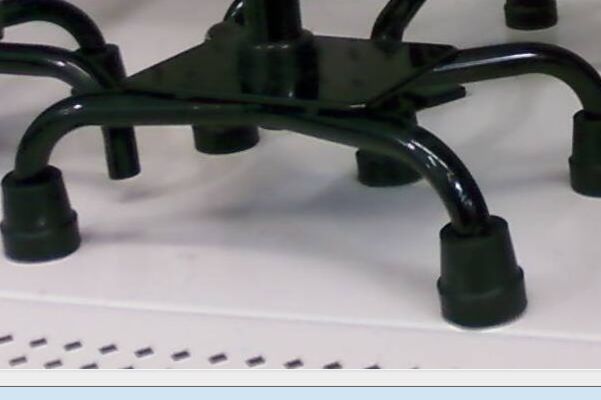
A quick note on variations: If you have a client using a quad cane (a cane with four feet for extra stability), they must place the cane with the flatter side positioned closer to the client's body. If the flared, wider side is too close to their feet, they will trip right over their own device!
Walkers: The Moving Cage
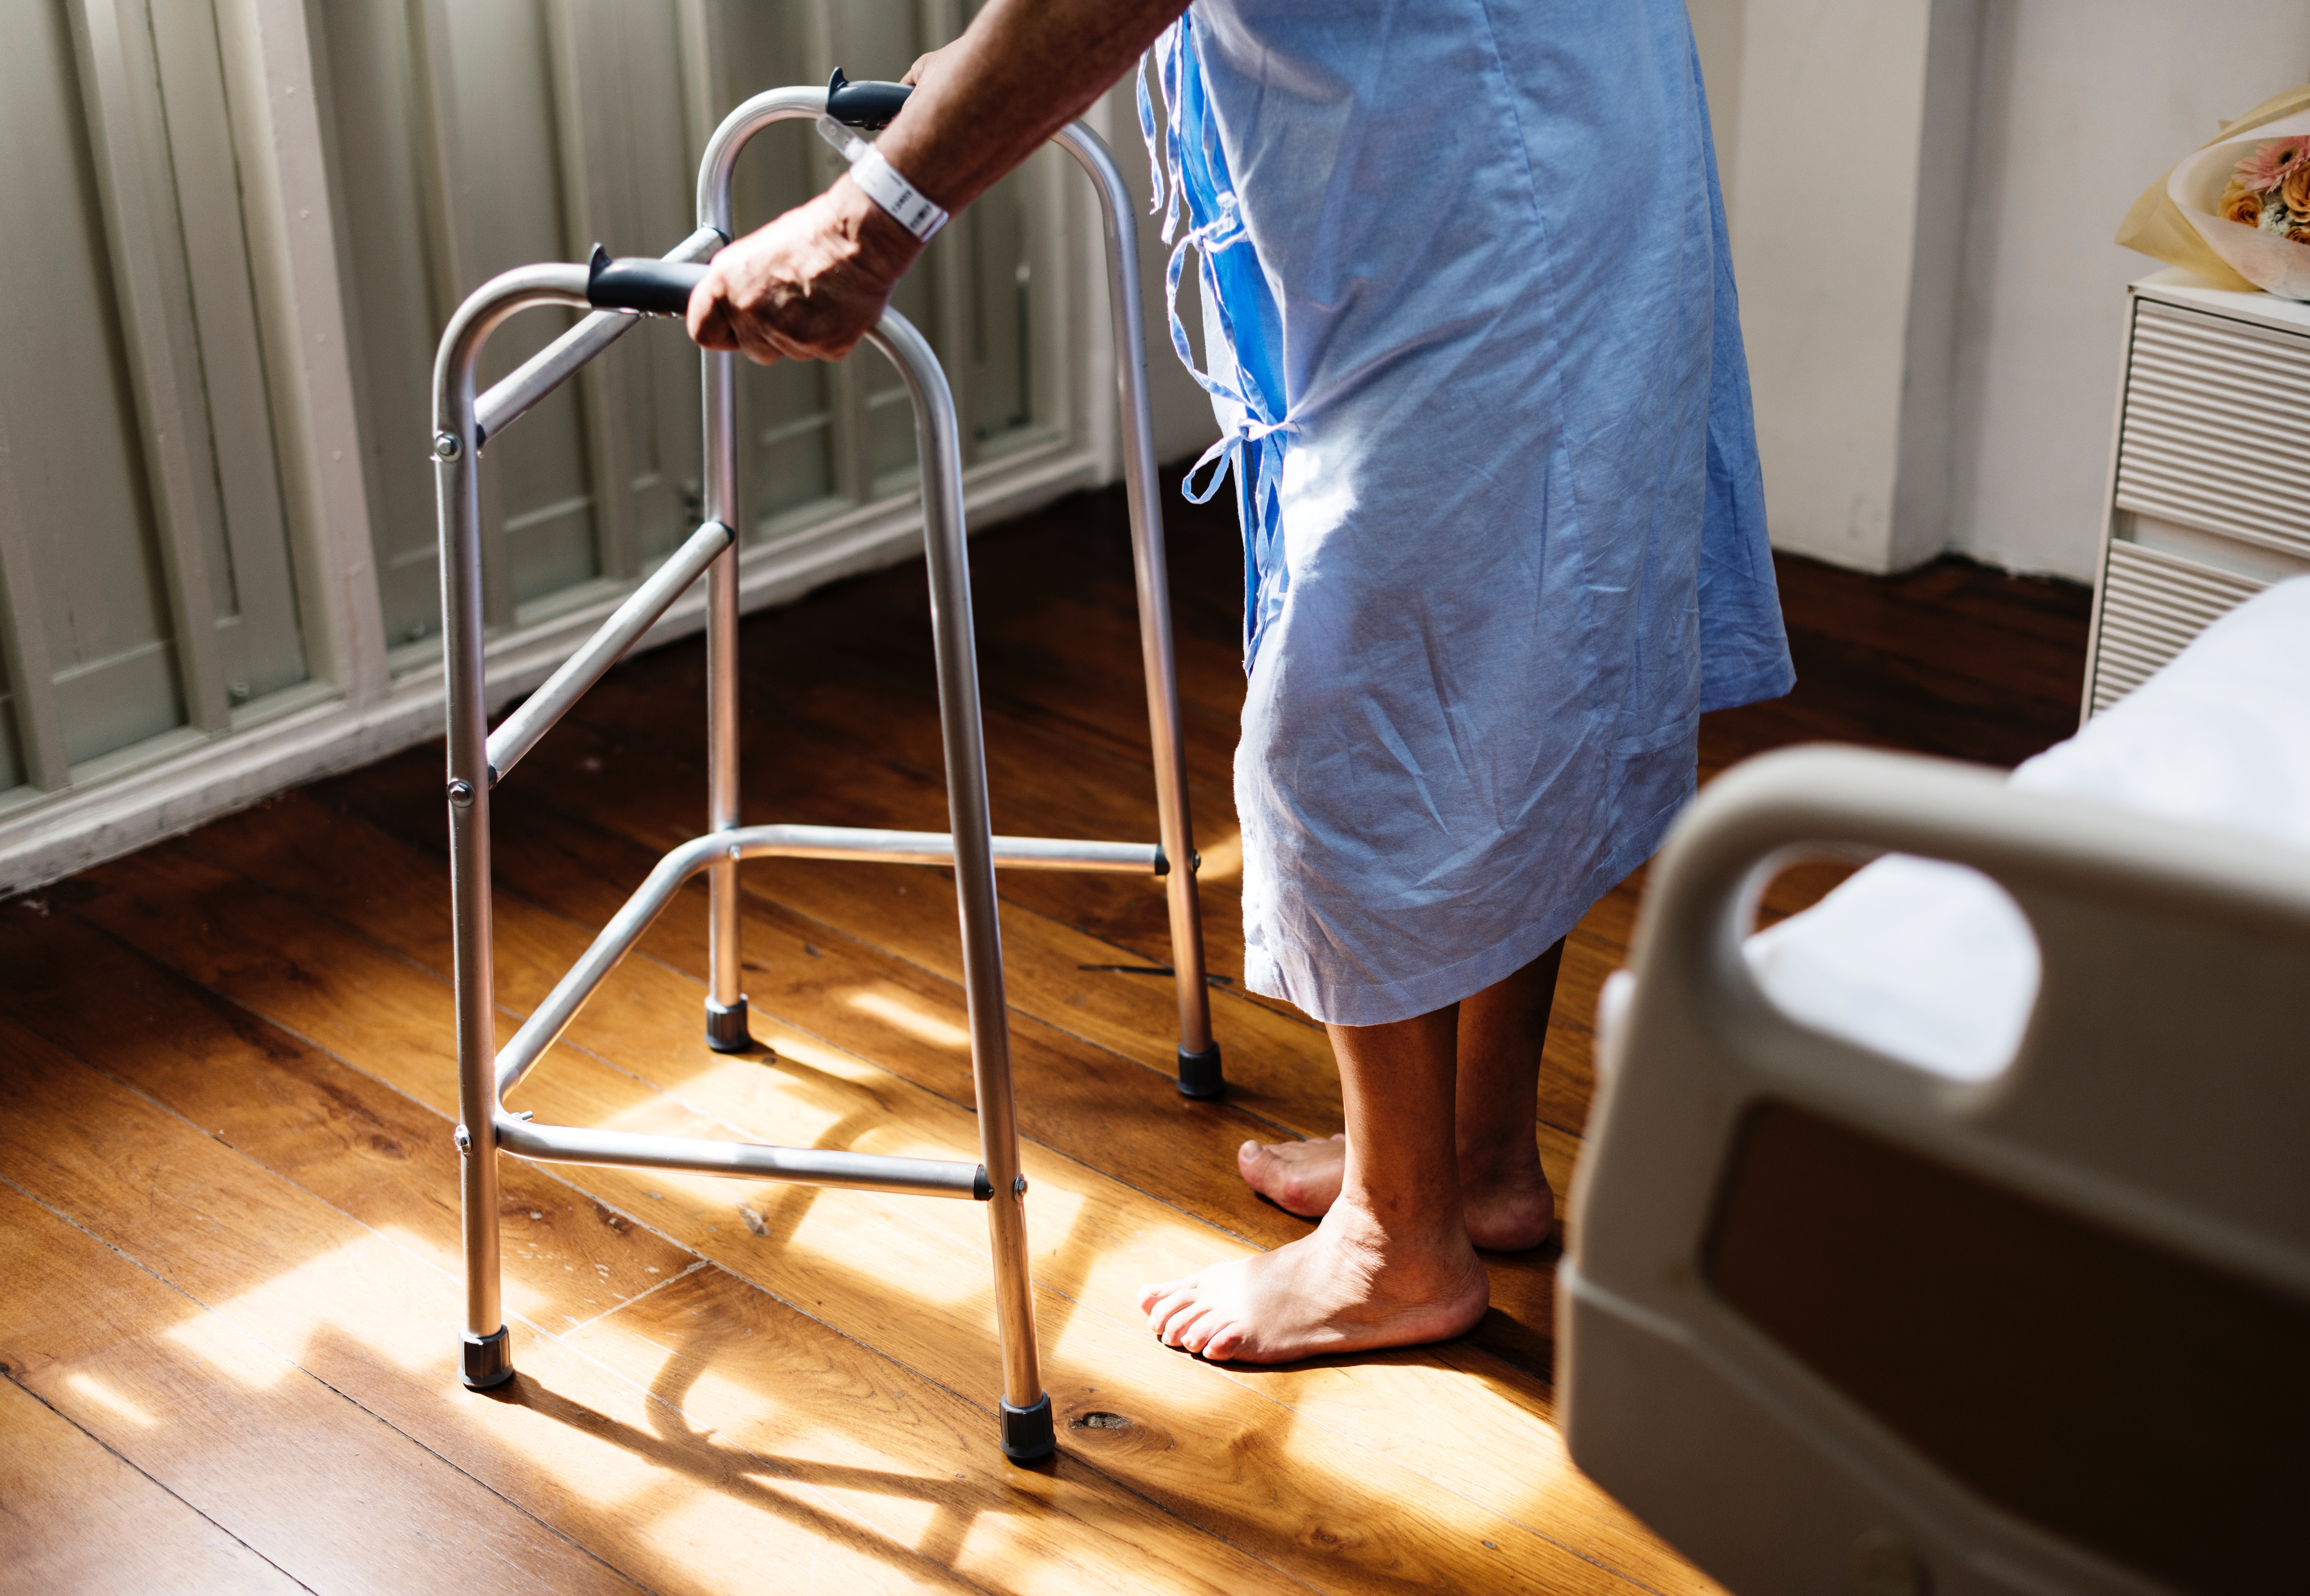
If a cane is a third leg, a walker is a moving cage of stability. But how do we fit it? Proper walker sizing requires the walker handgrips to align with the client's wrist creases when their arms are hanging down at their sides.
The Gait Sequence for a Walker:
- A client using a walker must move the walker forward first.
- After moving the walker forward, the client using a walker must step forward with the weaker leg.
Now, what about wheels? Walkers with wheels let the client glide smoothly, which is great for preserving energy. However, a walker with wheels is contraindicated for clients who have significant balance instability. If they lean forward and lose their balance, that wheeled walker is going to roll right out from under them like a skateboard!
Warning: The Biomechanics of Standing Up A client must never use a walker to pull themselves up from a seated position. The walker is lightweight and sits in front of their center of gravity. If they pull on it, it will flip over onto them. They must push up from the armrests of their chair, get their balance, and then grasp the walker.
Crutches: The Pendulum
Crutches turn the human body into a swinging pendulum. But if they are sized wrong, they become instruments of nerve destruction.
Proper crutch sizing requires a distance of two to three finger widths between the axilla (armpit) and the crutch pad. Furthermore, proper crutch sizing requires the client's elbows to be flexed at a 20-to-30-degree angle when holding the handgrips.
Why this exact spacing? Because a client using crutches must support their body weight on the handgrips. If the crutches are jammed up into the armpits, the patient will naturally lean on them. Supporting body weight on the axillary pads of crutches can cause brachial plexus nerve damage. The brachial plexus is the vital network of nerves controlling the arm. Crush it, and your patient ends up with numbness, tingling, or even paralysis of the arm.
The Geometry of Crutch Gaits
There are different ways to swing the pendulum, depending on how much weight the legs can take:
- The Two-Point Crutch Gait: This closely mimics natural walking. It requires the client to move one crutch and the opposite foot forward simultaneously. (Right crutch + left foot, then left crutch + right foot).
- The Three-Point Crutch Gait: Used when one leg is completely out of commission. It requires the client to bear all weight on the unaffected foot. The rhythm? The client moves both crutches and the affected leg forward simultaneously, and then swings the good leg through.
- The Four-Point Crutch Gait: This is the slow, steady crawler. It requires the client to move the right crutch, left foot, left crutch, and right foot in sequence. Because three points are touching the floor at any given time, the four-point crutch gait provides the maximum base of support among all crutch gaits.
Navigating Stairs: Up with the Good, Down with the Bad
Stairs terrify patients on crutches. To conquer them, just remember the physics of load bearing:
- When climbing stairs with crutches, the client must step up with the strong leg first. The strong leg acts as the elevator, doing the heavy lifting to pull the rest of the body (and the crutches) up.
- When descending stairs with crutches, the client must move the crutches and the weak leg down first. The strong leg bends, controlling the descent against gravity, while the crutches establish a safe landing pad below.
When moving a client from a bed to a wheelchair, you are managing a massive transfer of kinetic energy. Do not fight gravity; work with the patient's remaining strength.
During a wheelchair transfer, the nurse must place the wheelchair on the client's stronger side. This allows the patient to pivot on their strong leg and use their strong arm to reach for the chair. And before anyone moves an inch: The nurse must lock the wheelchair brakes before assisting a client into or out of the wheelchair. An unlocked wheelchair during a transfer is a high-velocity physics experiment you do not want to participate in.
When a client undergoes an amputation, the remaining stump becomes a completely new mechanical interface for a prosthetic device. The success of that prosthesis depends entirely on how meticulously we treat the skin and shape the tissue.
Shaping and Protecting the Interface
A prosthesis is essentially a customized socket. A poorly fitting prosthesis increases the risk of skin breakdown on the amputation stump. If the interface shifts or rubs, friction will rapidly destroy the skin. Therefore, the nurse must inspect the skin of the amputation stump daily for signs of breakdown or irritation.
To keep this interface pristine:
- The nurse must wash the amputation stump daily with mild soap and water.
- The nurse must allow the amputation stump to dry completely before applying a prosthesis. Damp skin macerates (softens and breaks down) under the pressure of a socket.
- The client must wear a clean stump shrinker or prosthetic sock every day. This prevents bacterial growth and provides a clean micro-environment.
The Physics of Shaping and Positioning
A fresh surgical stump is swollen and unpredictable. We have to shape it into a smooth, tapered cone so the prosthesis will fit. How? The nurse applies an elastic bandage to the amputation stump in a figure-eight pattern. Why not just wrap it in a simple spiral? Because a spiral wrap acts like a tourniquet, cutting off blood flow. The figure-eight bandage technique helps shape the amputation stump for proper prosthesis fitting by applying controlled, gradient pressure without restricting circulation.
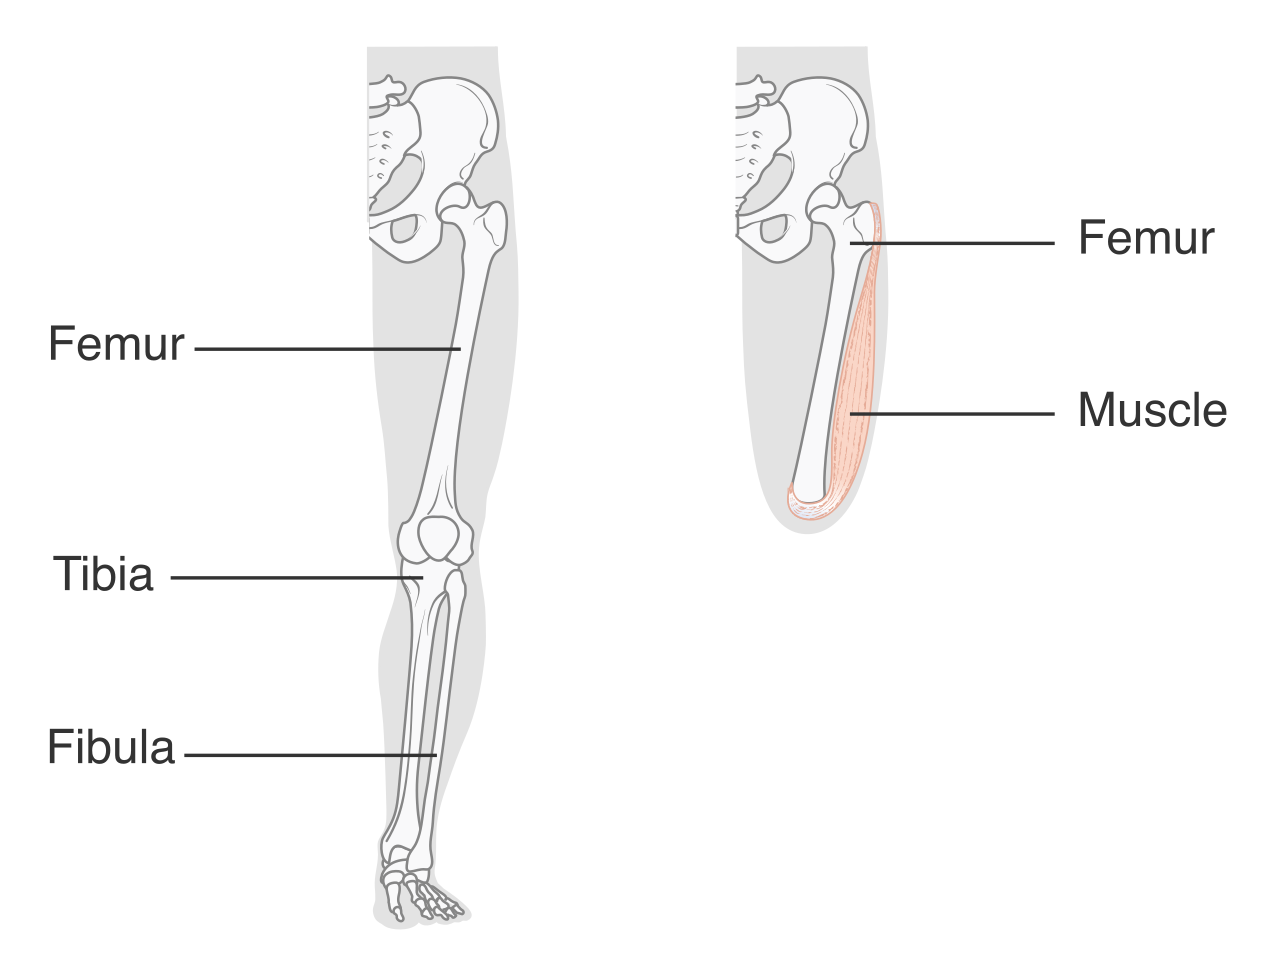
Positioning Pitfall: The Hip Flexion Contracture In the first 24 hours after a lower extremity amputation, we might elevate the stump to reduce swelling. But after that? Stop! Elevating an amputation stump on a pillow after the first 24 hours post-operation increases the risk of hip flexion contractures. If the hip joint is left in a bent (flexed) position, the muscles will permanently shorten and tighten. A patient with a hip contracture physically cannot stand up straight to use a prosthetic leg. Let the stump lie flat on the bed.
If mobility aids restore the body's output, sensory aids restore the body's input. When these inputs are degraded, patients become isolated.
Hearing Aids: The Whistling Mystery
Hearing aids are tiny amplifiers. Sometimes, a patient will complain of an annoying, high-pitched feedback whistle. What causes this acoustic anomaly?
- A whistling sound from a hearing aid indicates a poor fit. If the mold isn't snug, amplified sound leaks out of the ear canal, gets picked up by the microphone, and amplifies again—creating a feedback loop.
- Alternatively, a whistling sound from a hearing aid indicates an earwax buildup. The sound waves bounce off the wall of wax and reflect right back out into the microphone.
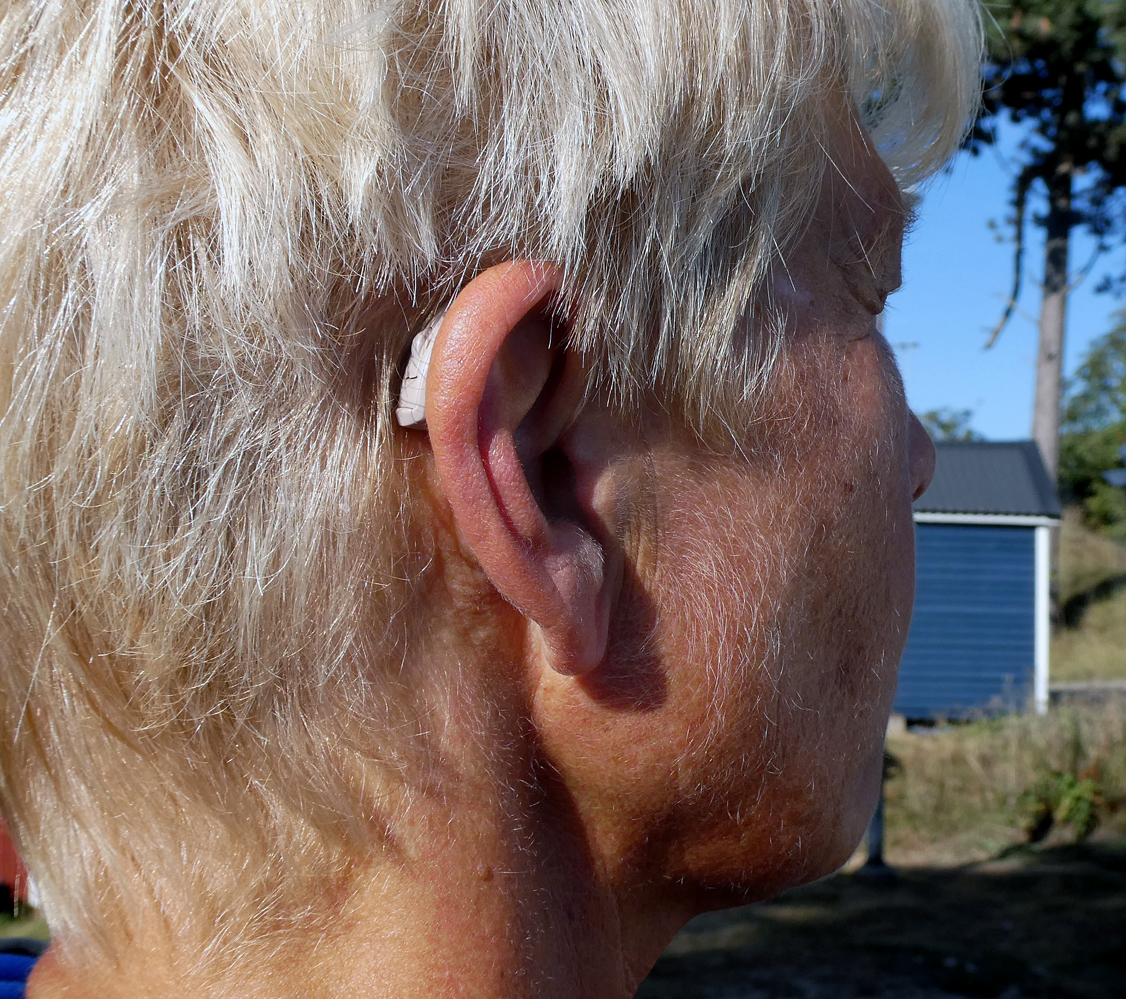
Hearing aids are fragile electronics. The client must turn off the hearing aid when not in use to preserve battery life, and the client must remove hearing aids before bathing or showering to prevent water damage.
Eyeglasses: Clarity of Vision
Never underestimate the power of clean Eyeglasses. Smudged, scratched lenses scatter light rays, causing glare and confusion. The nurse must clean eyeglasses daily with warm water and a soft cloth to prevent scratching. (Never use dry paper towels—the wood fibers in the paper will create micro-scratches!).
Beyond keeping glasses clean, the nurse must assess the client's vision to determine the need for large-print materials. If a patient cannot read their discharge instructions or medication labels, our brilliant medical interventions will fail the moment they leave the hospital.
Imagine having a brilliant mind, perfectly intact, but suddenly finding yourself completely cut off from the ability to speak. The psychological toll of being trapped in silence is immense. When assessing client difficulty with communication, our job is to find an alternative pathway for their thoughts to reach the world.
Low-Tech Brilliance: Boards and Markers
For a nonverbal client—perhaps someone who has suffered a stroke—picture communication boards allow nonverbal clients to express basic needs by pointing to images. However, this tool requires specific functional capacities. The nurse assesses a client's ability to point or write to determine the appropriateness of a communication board. If they lack motor control or cognitive recognition, a picture board will just cause frustration.
What about a patient on a mechanical ventilator? Whiteboards provide a temporary written communication method for intubated clients with intact motor function. It’s simple, rapid, and restores their agency.
High-Tech Interventions: Artificial Larynges and Speaking Valves
If a patient has undergone a total laryngectomy (complete removal of the voice box), the anatomical pathway for vocalization is gone. Here, we use engineering to recreate it. An artificial larynx provides a mechanical voice for clients who have undergone a total laryngectomy. The patient holds the vibrating device against their neck, and the vibrations transfer into their oral cavity, where they articulate words with their lips and tongue. Because the device must be held precisely and turned on/off rapidly during speech, the nurse assesses the client's manual dexterity before recommending an artificial larynx device.
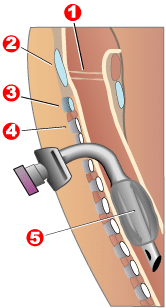
Finally, let's look at the tracheostomy. Some tracheostomy patients still have their vocal cords intact, but the breathing tube forces air out of the neck before it can pass up through the vocal cords. The solution? A one-way speaking valve (like a Passy Muir valve). A speaking valve allows clients with a tracheostomy to vocalize by letting air in through the tube, but forcing the exhaled air up past the vocal cords.
CRITICAL AIRWAY SAFETY ALERT The nurse must fully deflate the tracheostomy cuff before placing a speaking valve on the tracheostomy tube. Think about the plumbing here! If the balloon cuff is inflated, it blocks air from going up past the tube. If you place a one-way valve on top of an inflated cuff, the patient can breathe in, but they physically cannot breathe out. They will suffocate. Always, always deflate the cuff first!
Final Thoughts
When you assess a patient for an assistive device, you are doing more than just managing equipment. You are playing the role of a structural engineer, an acoustician, and a kinesiologist. Whether it's the exact 15-to-30-degree bend of an elbow on a cane, the precise deflation of a tracheostomy cuff, or the geometry of a figure-eight bandage on a stump, the details matter. Learn the mechanics, teach your patients the why behind the what, and you will safely give them the world back.