Blood and Blood Products
Not sure you’re ready?
Take the ~3-minute readiness diagnostic and see where you stand.
The Physics and Physiology of Blood Transfusions: A Masterclass
Welcome! Pull up a chair. Today, we are going to talk about one of the most remarkable, genuinely magical things we do in modern medicine: taking a piece of one human being—a living, oxygen-carrying liquid tissue—and infusing it into the veins of another.
But here is the catch. Nature does not like strangers. The human immune system is a highly paranoid security force, and the physical properties of blood are incredibly fragile. When you administer blood products, you are navigating immunology, fluid dynamics, and microbiology all at once. If you respect the rules, you save a life. If you ignore them, the consequences are catastrophic.
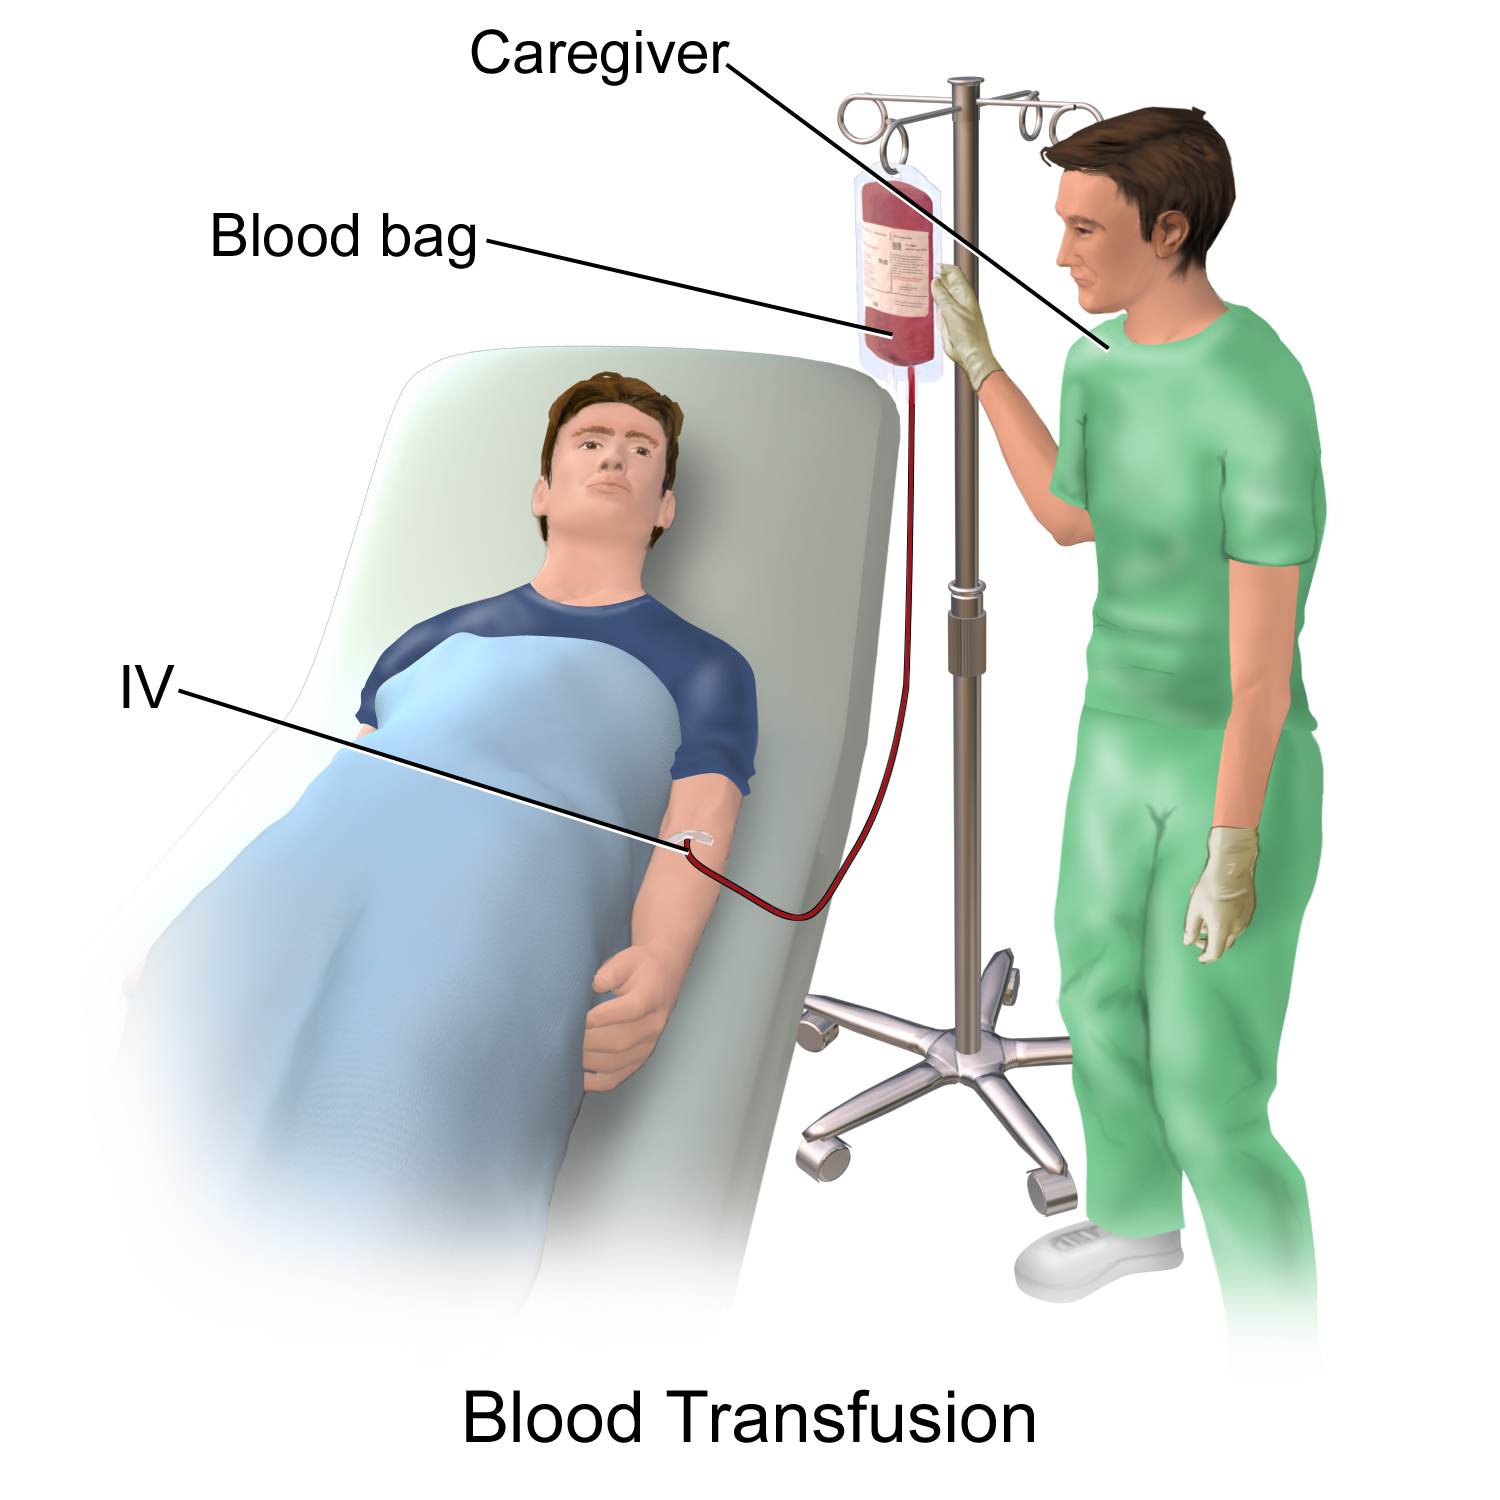
Let’s break down exactly how to check venous access, document the necessary information, and administer blood products safely. We aren't just going to memorize steps; we are going to understand why they exist.
Before you ever touch a bag of blood, you have to satisfy both the law and the laboratory.
First, informed consent must be obtained from the client prior to administering any blood product. Blood is a human tissue; giving it is effectively an organ transplant. The client must understand the risks. Second, the nurse must verify the healthcare provider's prescription for the specific type of blood product before administration. Are we giving Packed Red Blood Cells (PRBCs)? Platelets? Plasma? Know exactly what your target is.
The 72-Hour Immune Window
To prevent an all-out immune war, a blood type and crossmatch specimen must be drawn and tested prior to a blood transfusion. We need to know the client's blood type (ABO and Rh) and look for any rogue antibodies.
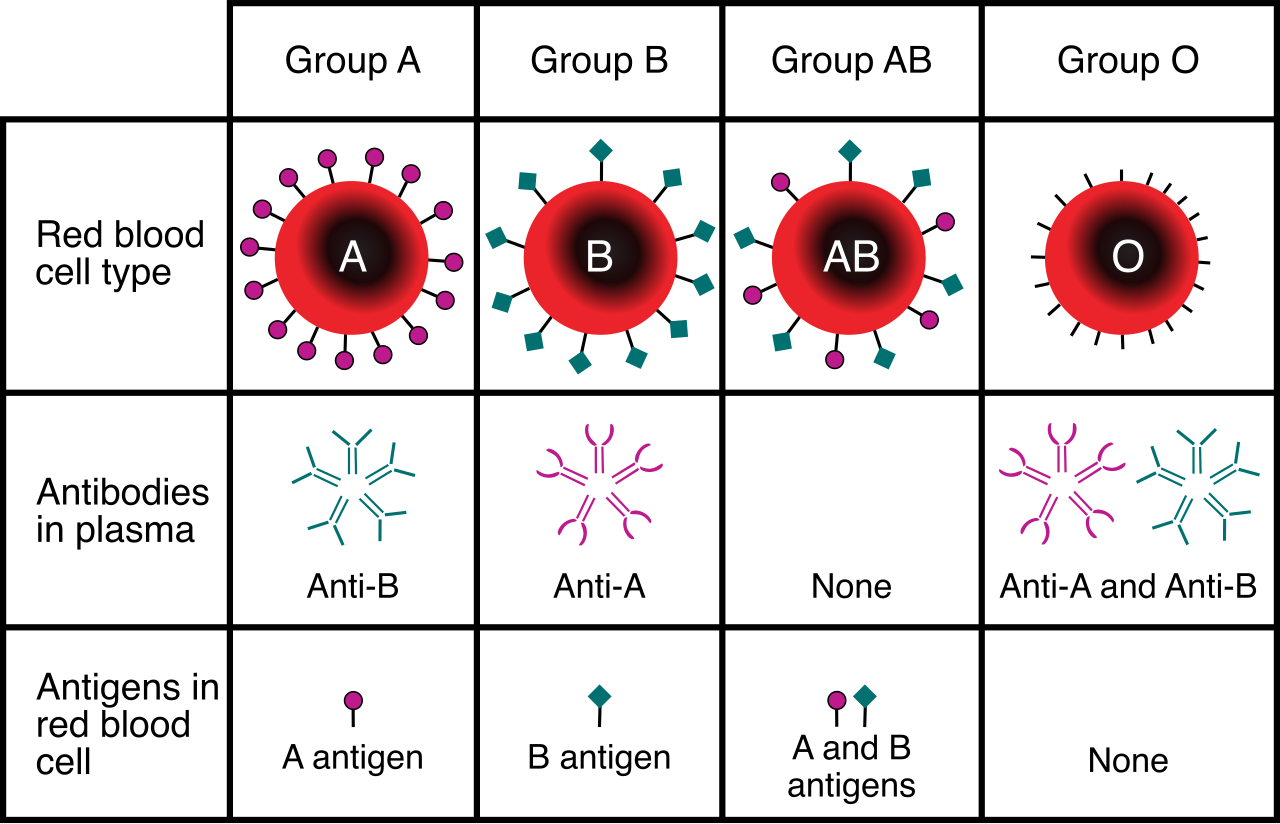
Crucial Fact: A client's blood type and crossmatch sample is typically valid for 72 hours. Why? Because the human immune system is dynamic. A patient can develop new antibodies in a matter of days, especially if they've been pregnant, had prior transfusions, or are critically ill. Every 72 hours, we demand a fresh snapshot of their immune landscape.
(Note: Platelet transfusions do not require a crossmatch prior to administration because platelets do not carry the ABO antigens that trigger the most severe immune responses.)
You cannot push heavy, viscous red blood cells through just any tube. You have to think about physics.
Venous access gauge size determines the maximum safe flow rate during a blood transfusion. Imagine trying to force a thousand water balloons through a tiny cocktail straw. What happens? They pop. This is exactly what happens to red blood cells. Using an excessively small intravenous catheter for red blood cell transfusion increases the risk of mechanical hemolysis—you will literally shear and destroy the cells before they even reach the patient's bloodstream.
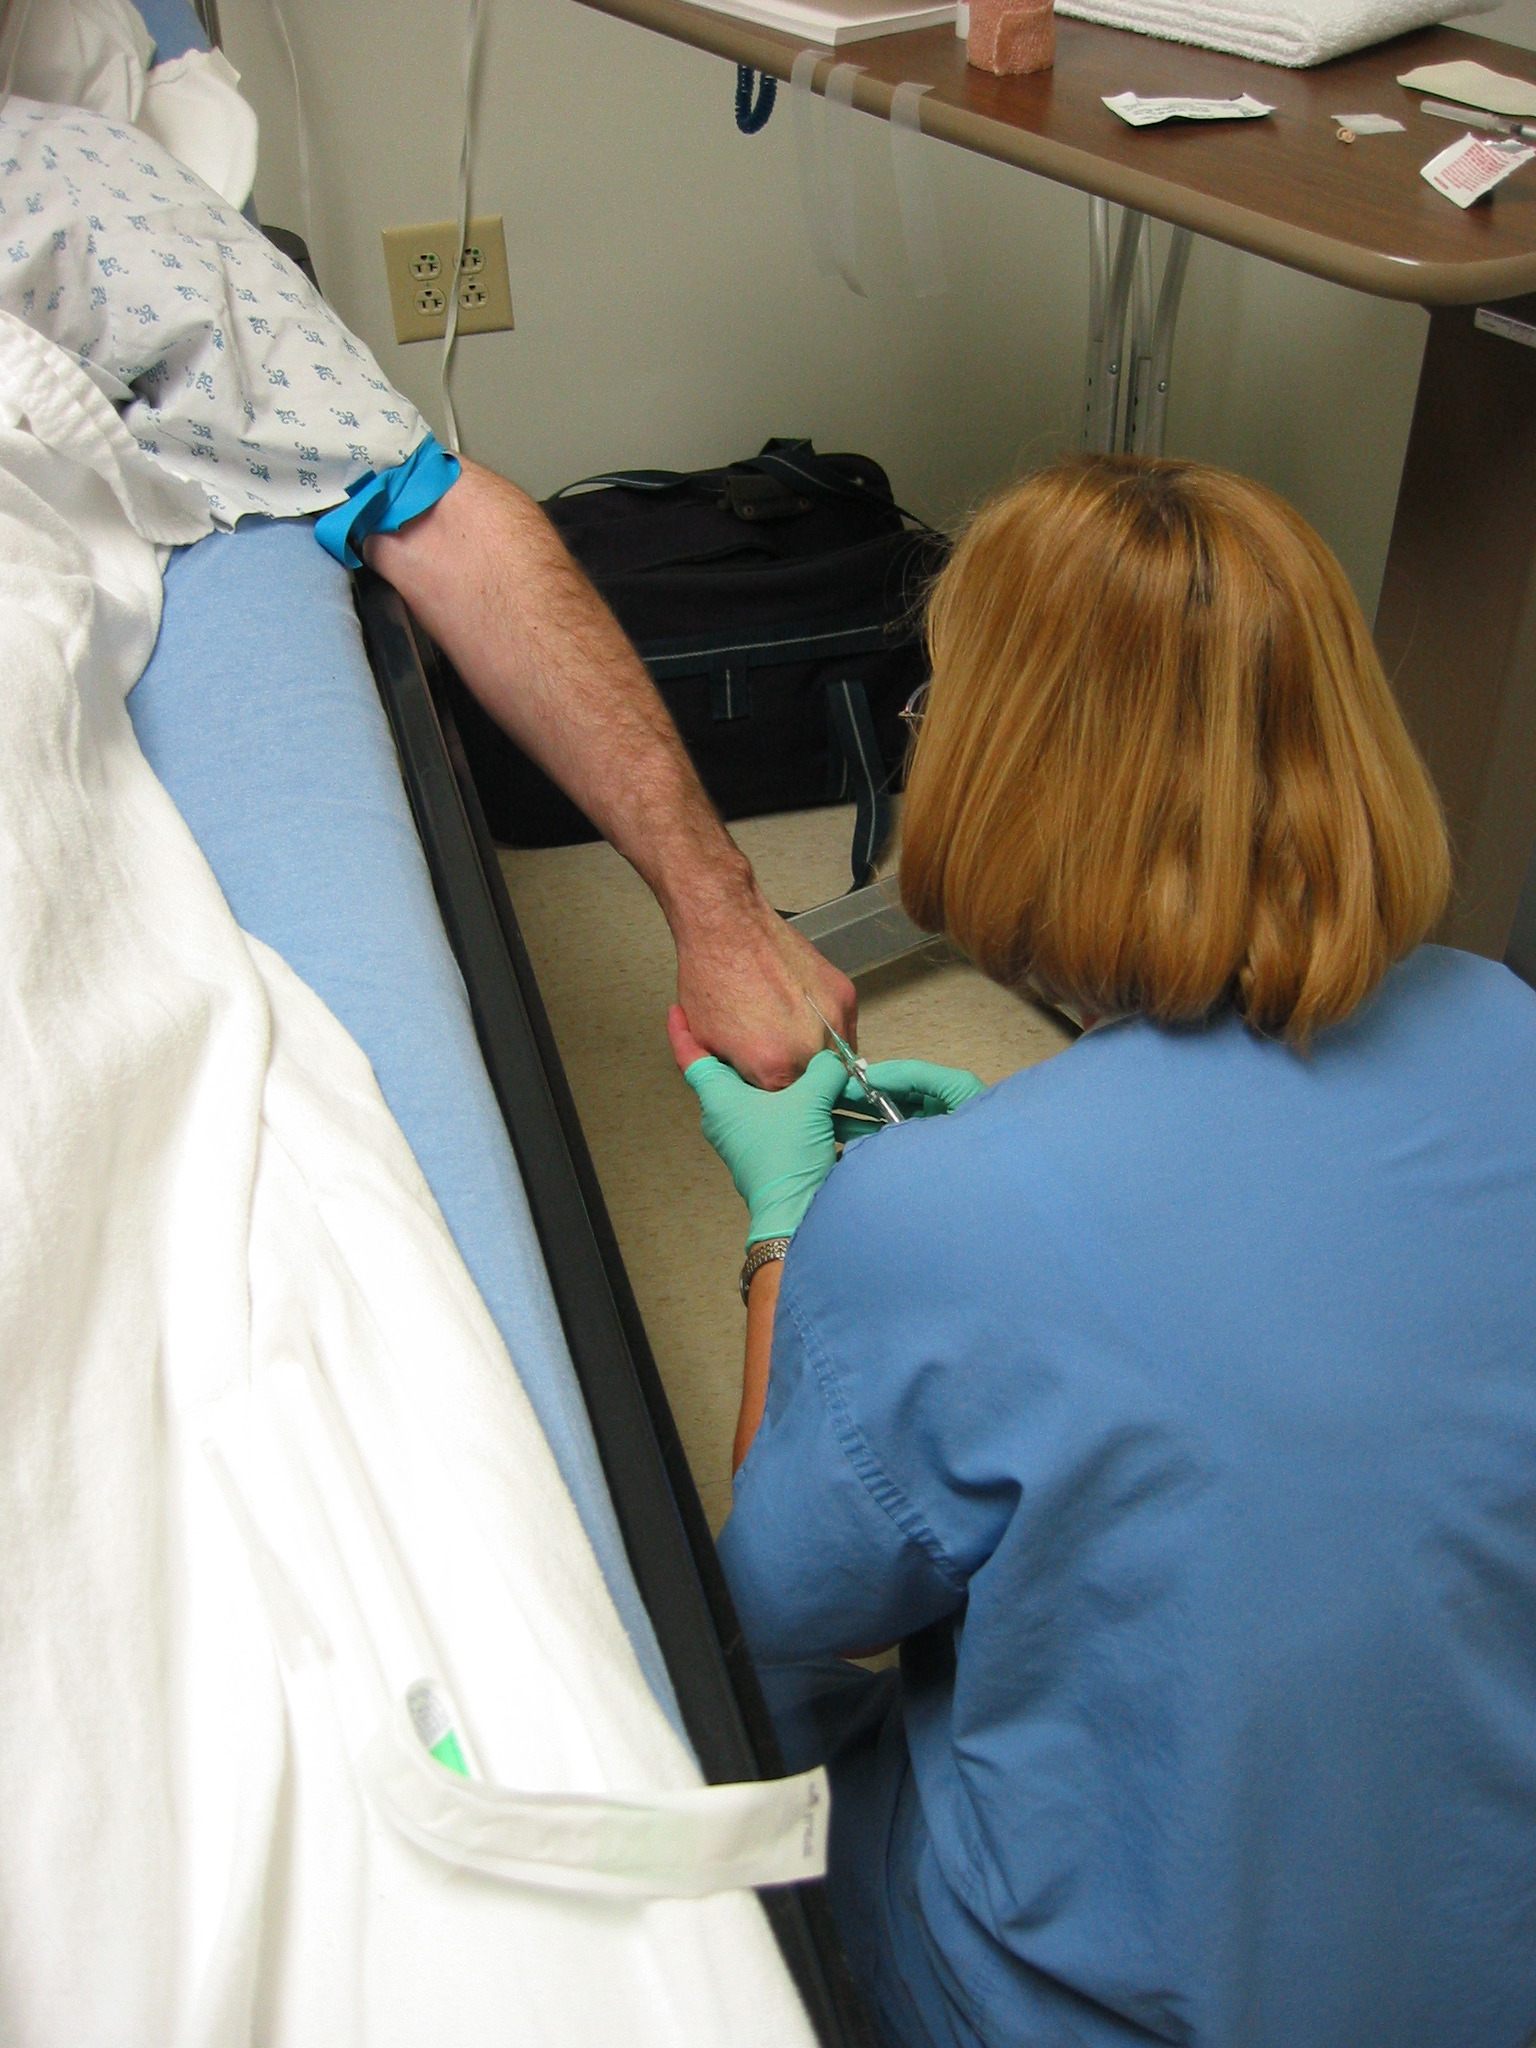
- Standard Size: An 18-gauge or 20-gauge intravenous catheter is the standard size for administering packed red blood cells to adults. It’s wide enough to let the cells flow freely.
- The Exception: A 22-gauge or 24-gauge intravenous catheter can be used for slow blood transfusions in pediatric clients or older adults whose fragile veins simply cannot accommodate a larger needle.
The Tubing and The Only Friend Blood Has
Blood is incredibly picky about its traveling companions.
- The Filter: Blood products must be administered using a dedicated Y-tubing set equipped with an in-line blood filter. This filter catches tiny micro-clots and debris that naturally form in stored blood, preventing them from becoming pulmonary emboli.
- The Lifespan: That dedicated Y-tubing gets dirty and clogged. Therefore, a dedicated Y-tubing blood administration set must be changed every 4 hours, or after the infusion of 2 units of packed red blood cells, whichever comes first.
- The Fluid: Normal saline (0.9% sodium chloride) is the ONLY intravenous fluid clinically compatible with blood products.
Why only Normal Saline? Let's look at the disasters that occur if you violate this rule:
- Hypotonic solutions (like D5W or 0.45% NaCl) will cause water to rush into the concentrated red blood cells by osmosis. Administering hypotonic solutions concurrently with blood products causes red blood cell hemolysis. They swell up and explode.

- Medications: Never mix drugs and blood! Administering medications through the same intravenous line as blood products causes precipitation. The blood will physically curdle and clot in the tubing like spoiled milk.
Blood bank refrigerators are highly regulated, maintaining exact temperatures to keep bacteria dormant. The moment blood leaves that fridge, the microbiological clock starts ticking.
- Rule 1: The nurse must initiate the blood transfusion within 30 minutes of receiving the product from the blood bank. Why? Because delaying the start of a blood transfusion beyond 30 minutes increases the risk of bacterial growth in the blood product. Bacteria love warm, protein-rich environments.
- Rule 2: Because standard fridges have massive temperature fluctuations, the nurse must not store blood products in a standard nursing unit refrigerator. If your patient suddenly needs to go to the bathroom or has a fever and you can't start the blood yet, unused blood products must be returned immediately to the blood bank.
- Rule 3: The absolute maximum allowable infusion time for one unit of packed red blood cells is 4 hours. If it takes longer than 4 hours, you stop the transfusion and throw the rest away. Why? Because transfusing a single unit of blood beyond 4 hours increases the risk of bacterial proliferation and subsequent sepsis.
(Note: If you are giving Fresh Frozen Plasma (FFP), the rules are slightly different but equally strict. Fresh frozen plasma must be infused within 2 hours of thawing to preserve the fragile coagulation factors.)
Before a drop of blood enters the patient, we do a highly choreographed verification ritual. Two licensed healthcare personnel must independently verify the client identity and blood product at the bedside. Not at the nurse's station. At the bedside.
What are you verifying?
- The Identity: Bedside verification includes matching the client name and date of birth on the identification band to the blood product documentation.
- The Numbers: Bedside verification includes matching the client medical record number to the blood product label. One wrong digit equals a potentially fatal reaction.
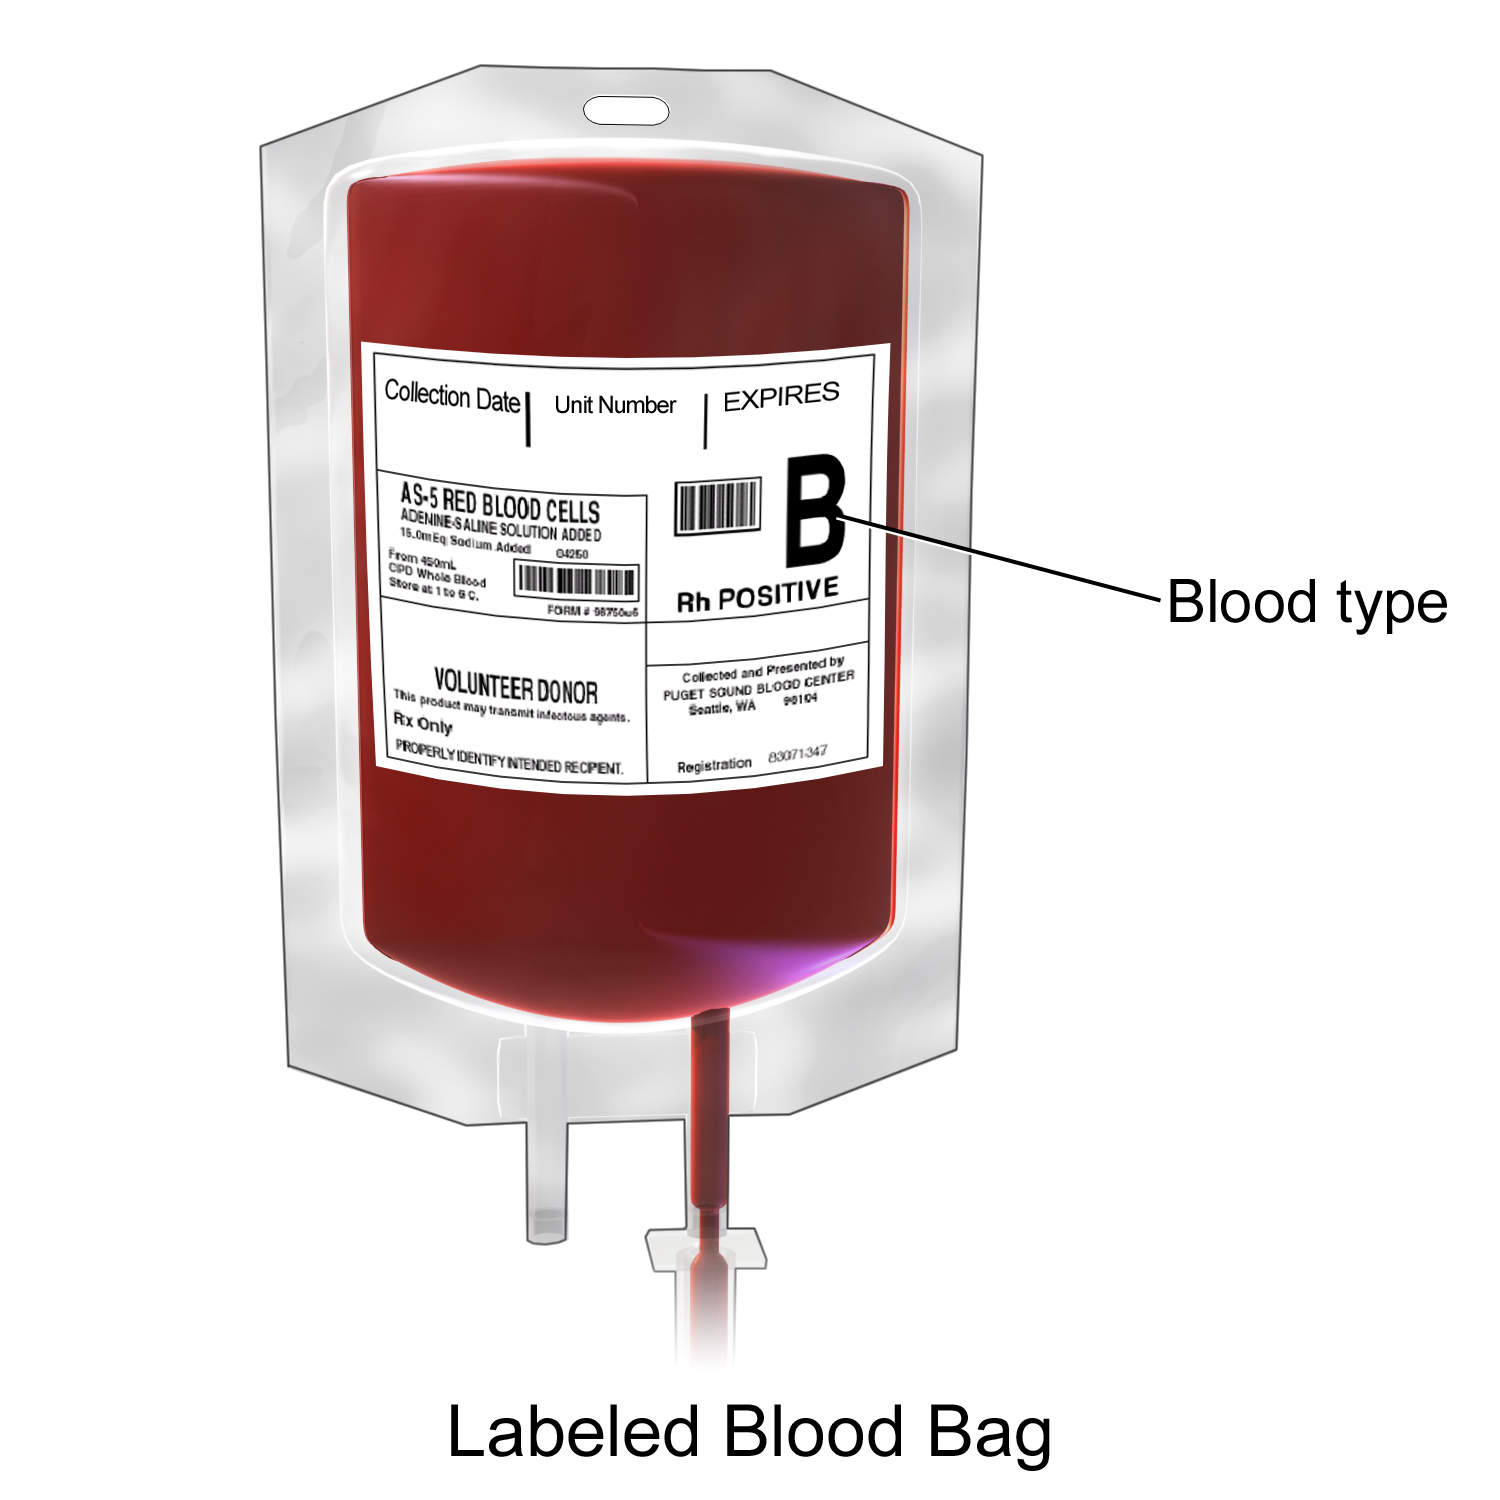
- The Compatibility: Bedside verification includes confirming the blood type of the donor matches the client's blood type.
- The Integrity: The nurse must inspect the blood product for the correct expiration date before initiating the transfusion, and must inspect the blood bag for visible clots or abnormal color prior to administration. (If it looks purple, bubbly, or excessively clumpy, send it back!).
You’ve checked the lines, verified the blood, and spiked the bag with normal saline. Now, we begin.
Baseline vital signs must be assessed and documented within 30 minutes prior to starting a blood transfusion. We need a physiological "before" picture so we can recognize if things go wrong.
When you open the roller clamp, you do it slowly. A flow rate of 2 milliliters per minute is recommended for the first 15 minutes of a blood transfusion. This means the first 15 minutes of a transfusion involves infusing approximately 50 milliliters of blood.
Why the slow trickle? Because the first 15 minutes of a transfusion is the most critical period for a severe allergic or hemolytic reaction to occur. If a severe reaction is going to happen, we only want 50 mL of the "poison" in the patient, not the whole bag.
For this reason:
- The nurse must remain continuously at the client's bedside for the first 15 minutes of a blood transfusion. Do not leave to check another patient. Watch their breathing, ask how they feel, look at their skin.
- The nurse must assess and document the client's vital signs exactly 15 minutes after the blood transfusion begins.
When the body rejects blood, it does so in specific, predictable ways. You need to recognize the mechanism of injury to understand the symptoms.
1. Acute Hemolytic Transfusion Reaction
This is the big one. An acute hemolytic transfusion reaction occurs when client antibodies attack and destroy the transfused donor red blood cells. Imagine billions of cells exploding in the bloodstream at once. The cellular debris clogs the microscopic tubules of the kidneys.
- Signs of an acute hemolytic reaction include low back pain (flank pain from the kidneys choking on cellular debris), tachycardia, hypotension, and hemoglobinuria (dark, bloody urine).

2. Febrile Nonhemolytic Reaction
The patient isn't attacking the red blood cells; they are attacking the hitchhikers. A febrile nonhemolytic reaction occurs due to a client immune response against donor white blood cells or platelets left over in the bag.
- Signs of a febrile nonhemolytic reaction include a sudden temperature increase of 1 degree Celsius, chills, and headache.
3. Allergic Transfusion Reaction
This isn't an attack on cells; it's an allergy to the liquid. An allergic transfusion reaction occurs due to client hypersensitivity to plasma proteins present in the donor blood.
- Signs of a mild allergic transfusion reaction include urticaria (hives), pruritus (itching), and facial flushing.
4. Transfusion-Associated Circulatory Overload (TACO)
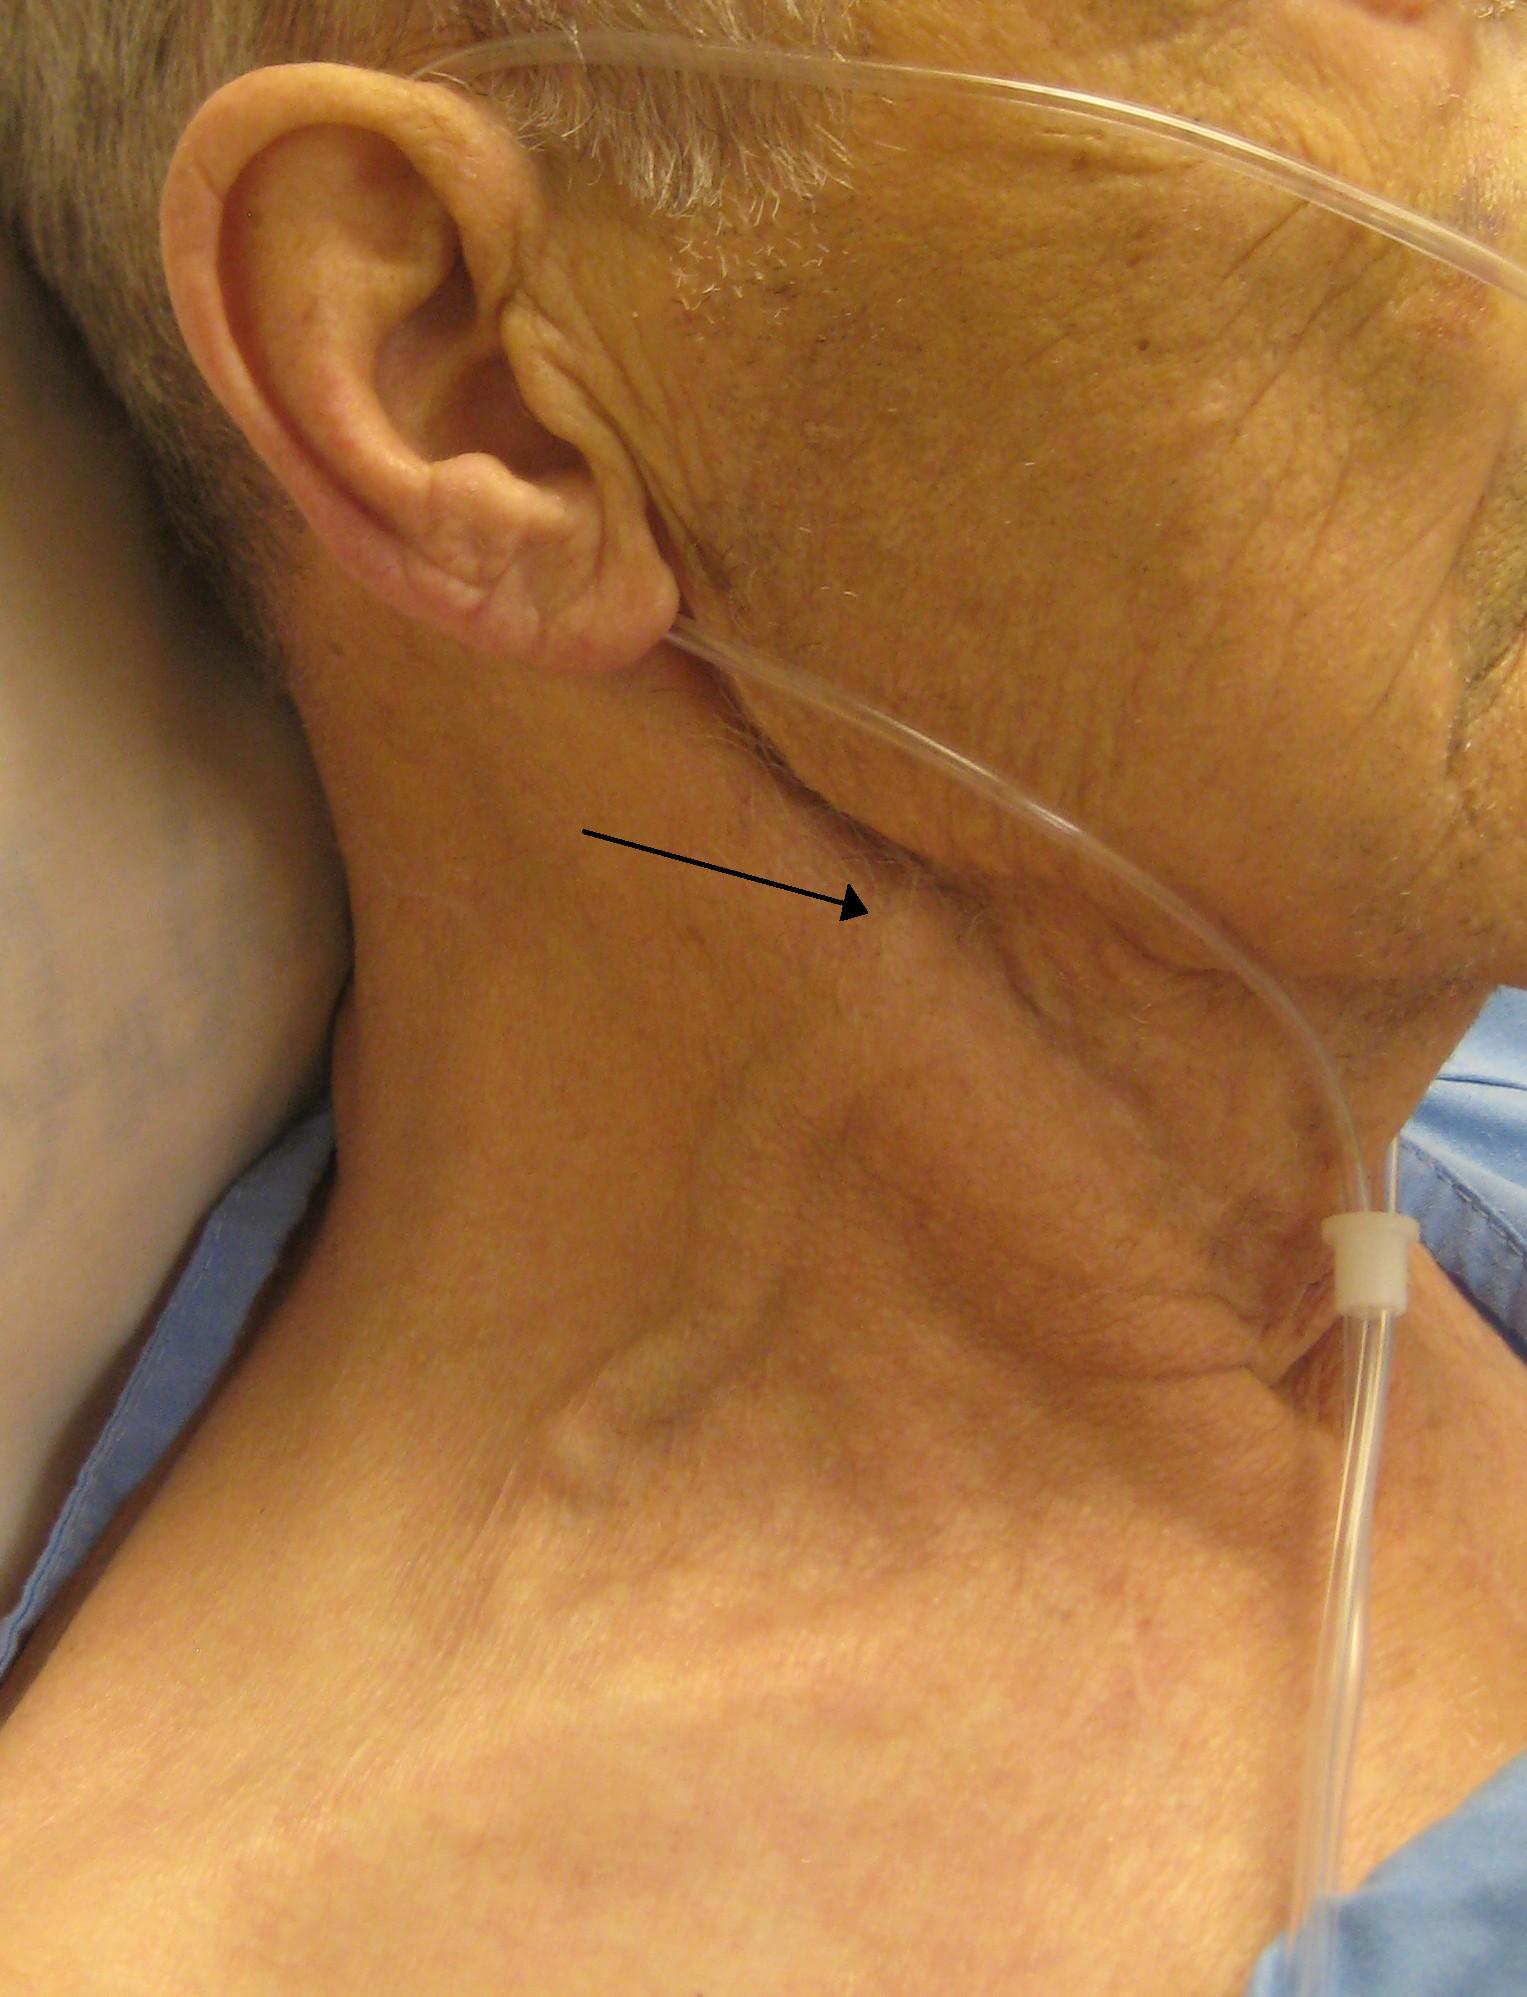
This is a mechanical plumbing failure, not an immune reaction. Transfusion-associated circulatory overload occurs when blood volume is administered faster than the cardiovascular system can accommodate. It backs up into the lungs.
- Signs of transfusion-associated circulatory overload include dyspnea, crackles in the lungs, distended neck veins, and hypertension.
If you suspect any of the immune/allergic reactions above, you do not pause to think. You execute the emergency protocol.
- STOP THE TRANSFUSION. The absolute first nursing action upon suspecting any transfusion reaction is to stop the transfusion immediately.
- DISCONNECT THE TUBING. Do not simply turn off the pump and flush the line! The line is full of the offending blood! After stopping a transfusion reaction, the nurse must disconnect the entire blood tubing set at the intravenous catheter hub.
- FLUSH WITH NEW SALINE. After stopping a transfusion reaction, the nurse must initiate an infusion of normal saline using completely new intravenous tubing. We need to keep the vein open and support the patient's blood pressure, using clean pipes.
- NOTIFY. The nurse must notify the healthcare provider and the blood bank immediately following a suspected transfusion reaction.
- INVESTIGATE. The nurse must send the remaining blood product and all attached tubing back to the blood bank for investigation after a reaction. They will test it to see what went wrong.
- COLLECT SAMPLES. The nurse must collect blood and urine samples from the client following a suspected hemolytic transfusion reaction. The blood is to check for free hemoglobin (from exploded cells) and the urine is to check for hemoglobinuria to assess kidney damage.
Science has given us clever ways to "clean up" blood products to prevent reactions in vulnerable patients before they ever happen:
| Modification | How it works | Who gets it? |
|---|---|---|
| Washed RBCs | Washing red blood cells prior to transfusion reduces the risk of allergic reactions by removing plasma proteins. | Clients with a history of severe allergic transfusion reactions may be prescribed washed red blood cells. |
| Leukocyte Reduction | Filtering out the donor's white blood cells. | Leukocyte reduction of blood products decreases the risk of febrile nonhemolytic transfusion reactions. |
| Irradiation | Zapping the blood with radiation to destroy donor T-lymphocytes. | Irradiated blood products are administered to immunocompromised clients to prevent transfusion-associated graft-versus-host disease. (This is when donor white cells realize they are in a new body and start attacking the host!) |
Finally, we must record the history of what we just did. Proper documentation isn't just bureaucratic red tape; it is vital medical data.
You must comprehensively document the entire event:
- The nurse must document the specific type of blood product administered in the client's medical record.
- The nurse must document the unique identification unit number of the blood product in the client's medical record. (If there's an infectious outbreak linked to a donor years later, this number is how we trace it).
- The nurse must document the exact start time and completion time of the blood transfusion. (Proving we adhered to the 4-hour rule).
- The nurse must document the total volume of the blood product infused during the procedure.
- The nurse must document the client's vital signs before, during, and after the completion of the blood transfusion.
- The nurse must document the client's clinical response to the transfusion and any adverse reactions observed.
Blood transfusions are a marvel. By understanding the flow dynamics of IV access, the rigid timeline required to outsmart bacteria, and the physiological triggers of the immune system, you transform from someone who simply "hangs IV bags" into an elite, life-saving clinician. Now, go out there and practice with precision!