OS Boot Methods and Installation Types
Not sure you’re ready?
Take the ~3-minute readiness diagnostic and see where you stand.
An operating system is the translator between human intent and raw silicon. Before a user can send an email, write code, or query a database, the operating system must be firmly seated in the machine's storage, logically mapped to its hardware components, and securely woven into the broader enterprise environment. As an IT professional, you are the architect of this genesis. Your approach to installing an operating system hinges entirely on scale. Resurrecting a single crashed laptop requires a fundamentally different strategy than provisioning one thousand workstations for a newly constructed corporate campus. Understanding exactly how to command the hardware to boot, and calculating which installation methodology to deploy, forms the bedrock of enterprise endpoint management.
Before an operating system can be installed, the computer must be instructed on where to find the installation files. A machine fresh off the assembly line, or one with a wiped drive, has no native intelligence. You must introduce the installation media to the system.
To create bootable media, we start with an ISO file. An ISO file is a sector-by-sector disk image used to create bootable installation media. Think of an ISO as a perfectly preserved mold; it captures the exact file structure needed for the computer's firmware to recognize it as a legitimate, bootable volume.
Physical Boot Media
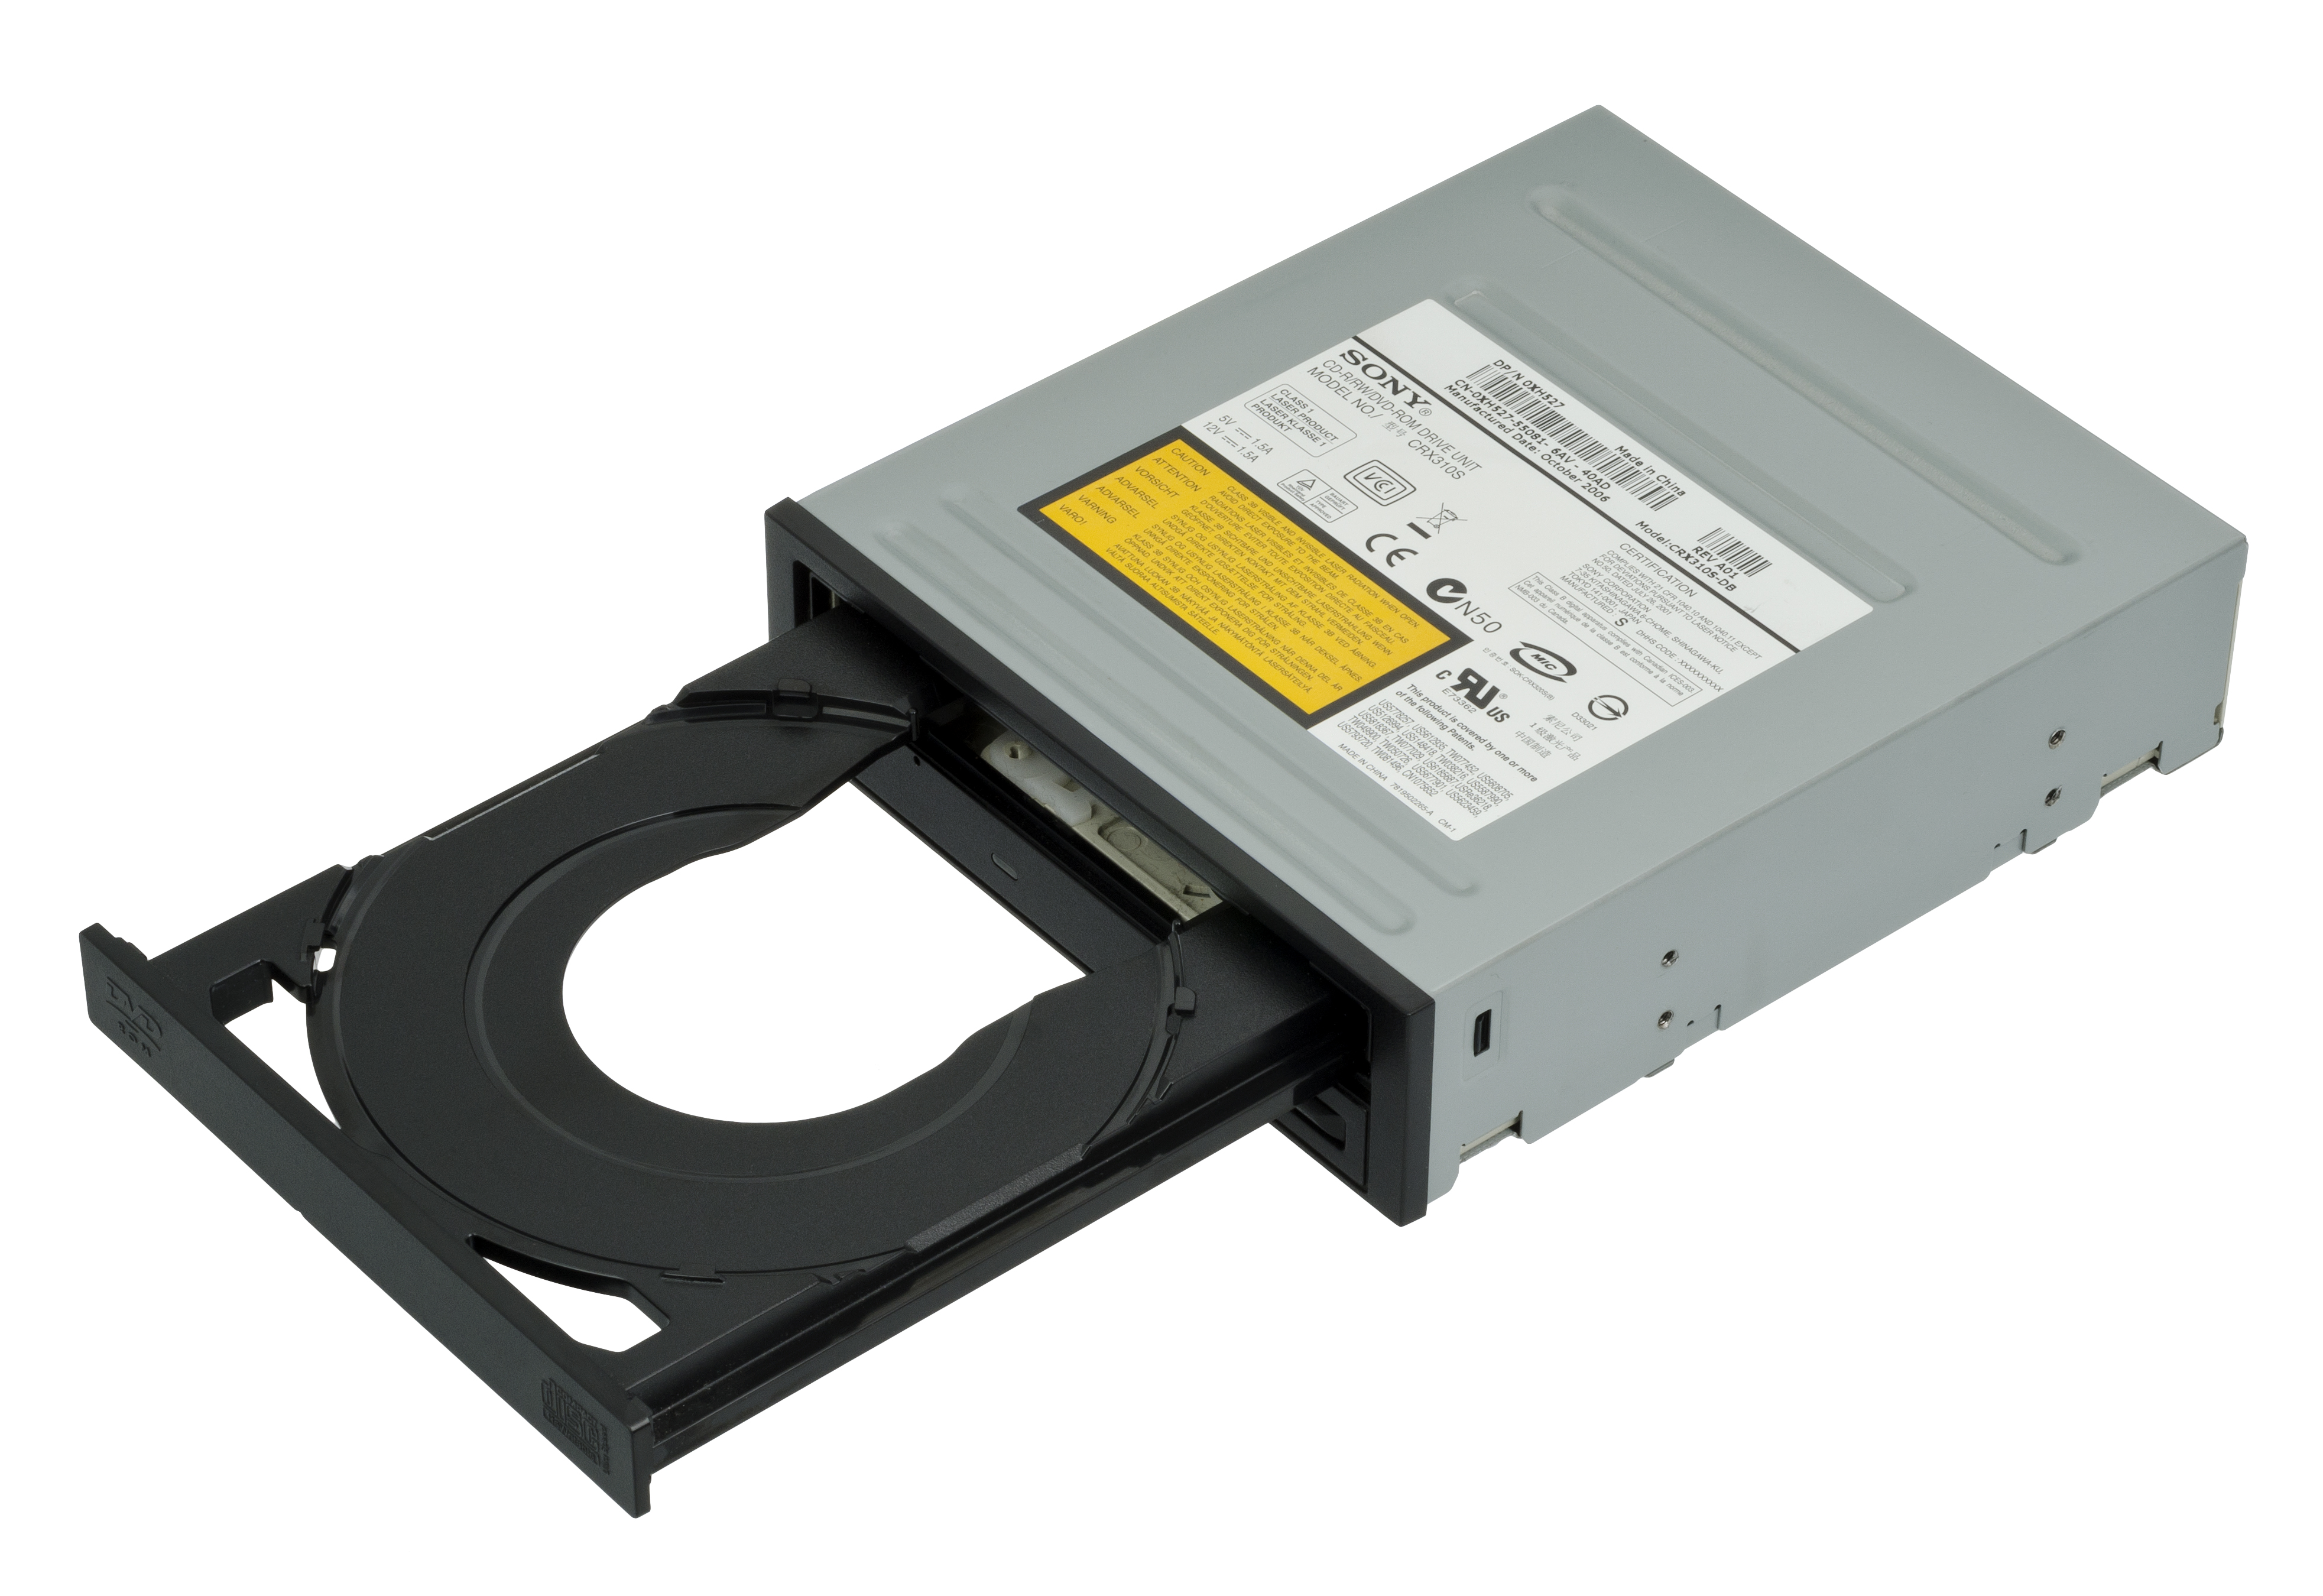
In the early days of computing, optical media formats like CDs and DVDs served as legacy boot methods for operating system installation. While you may still encounter a dusty server requiring a DVD, modern enterprise environments rely on faster, more versatile flash memory.
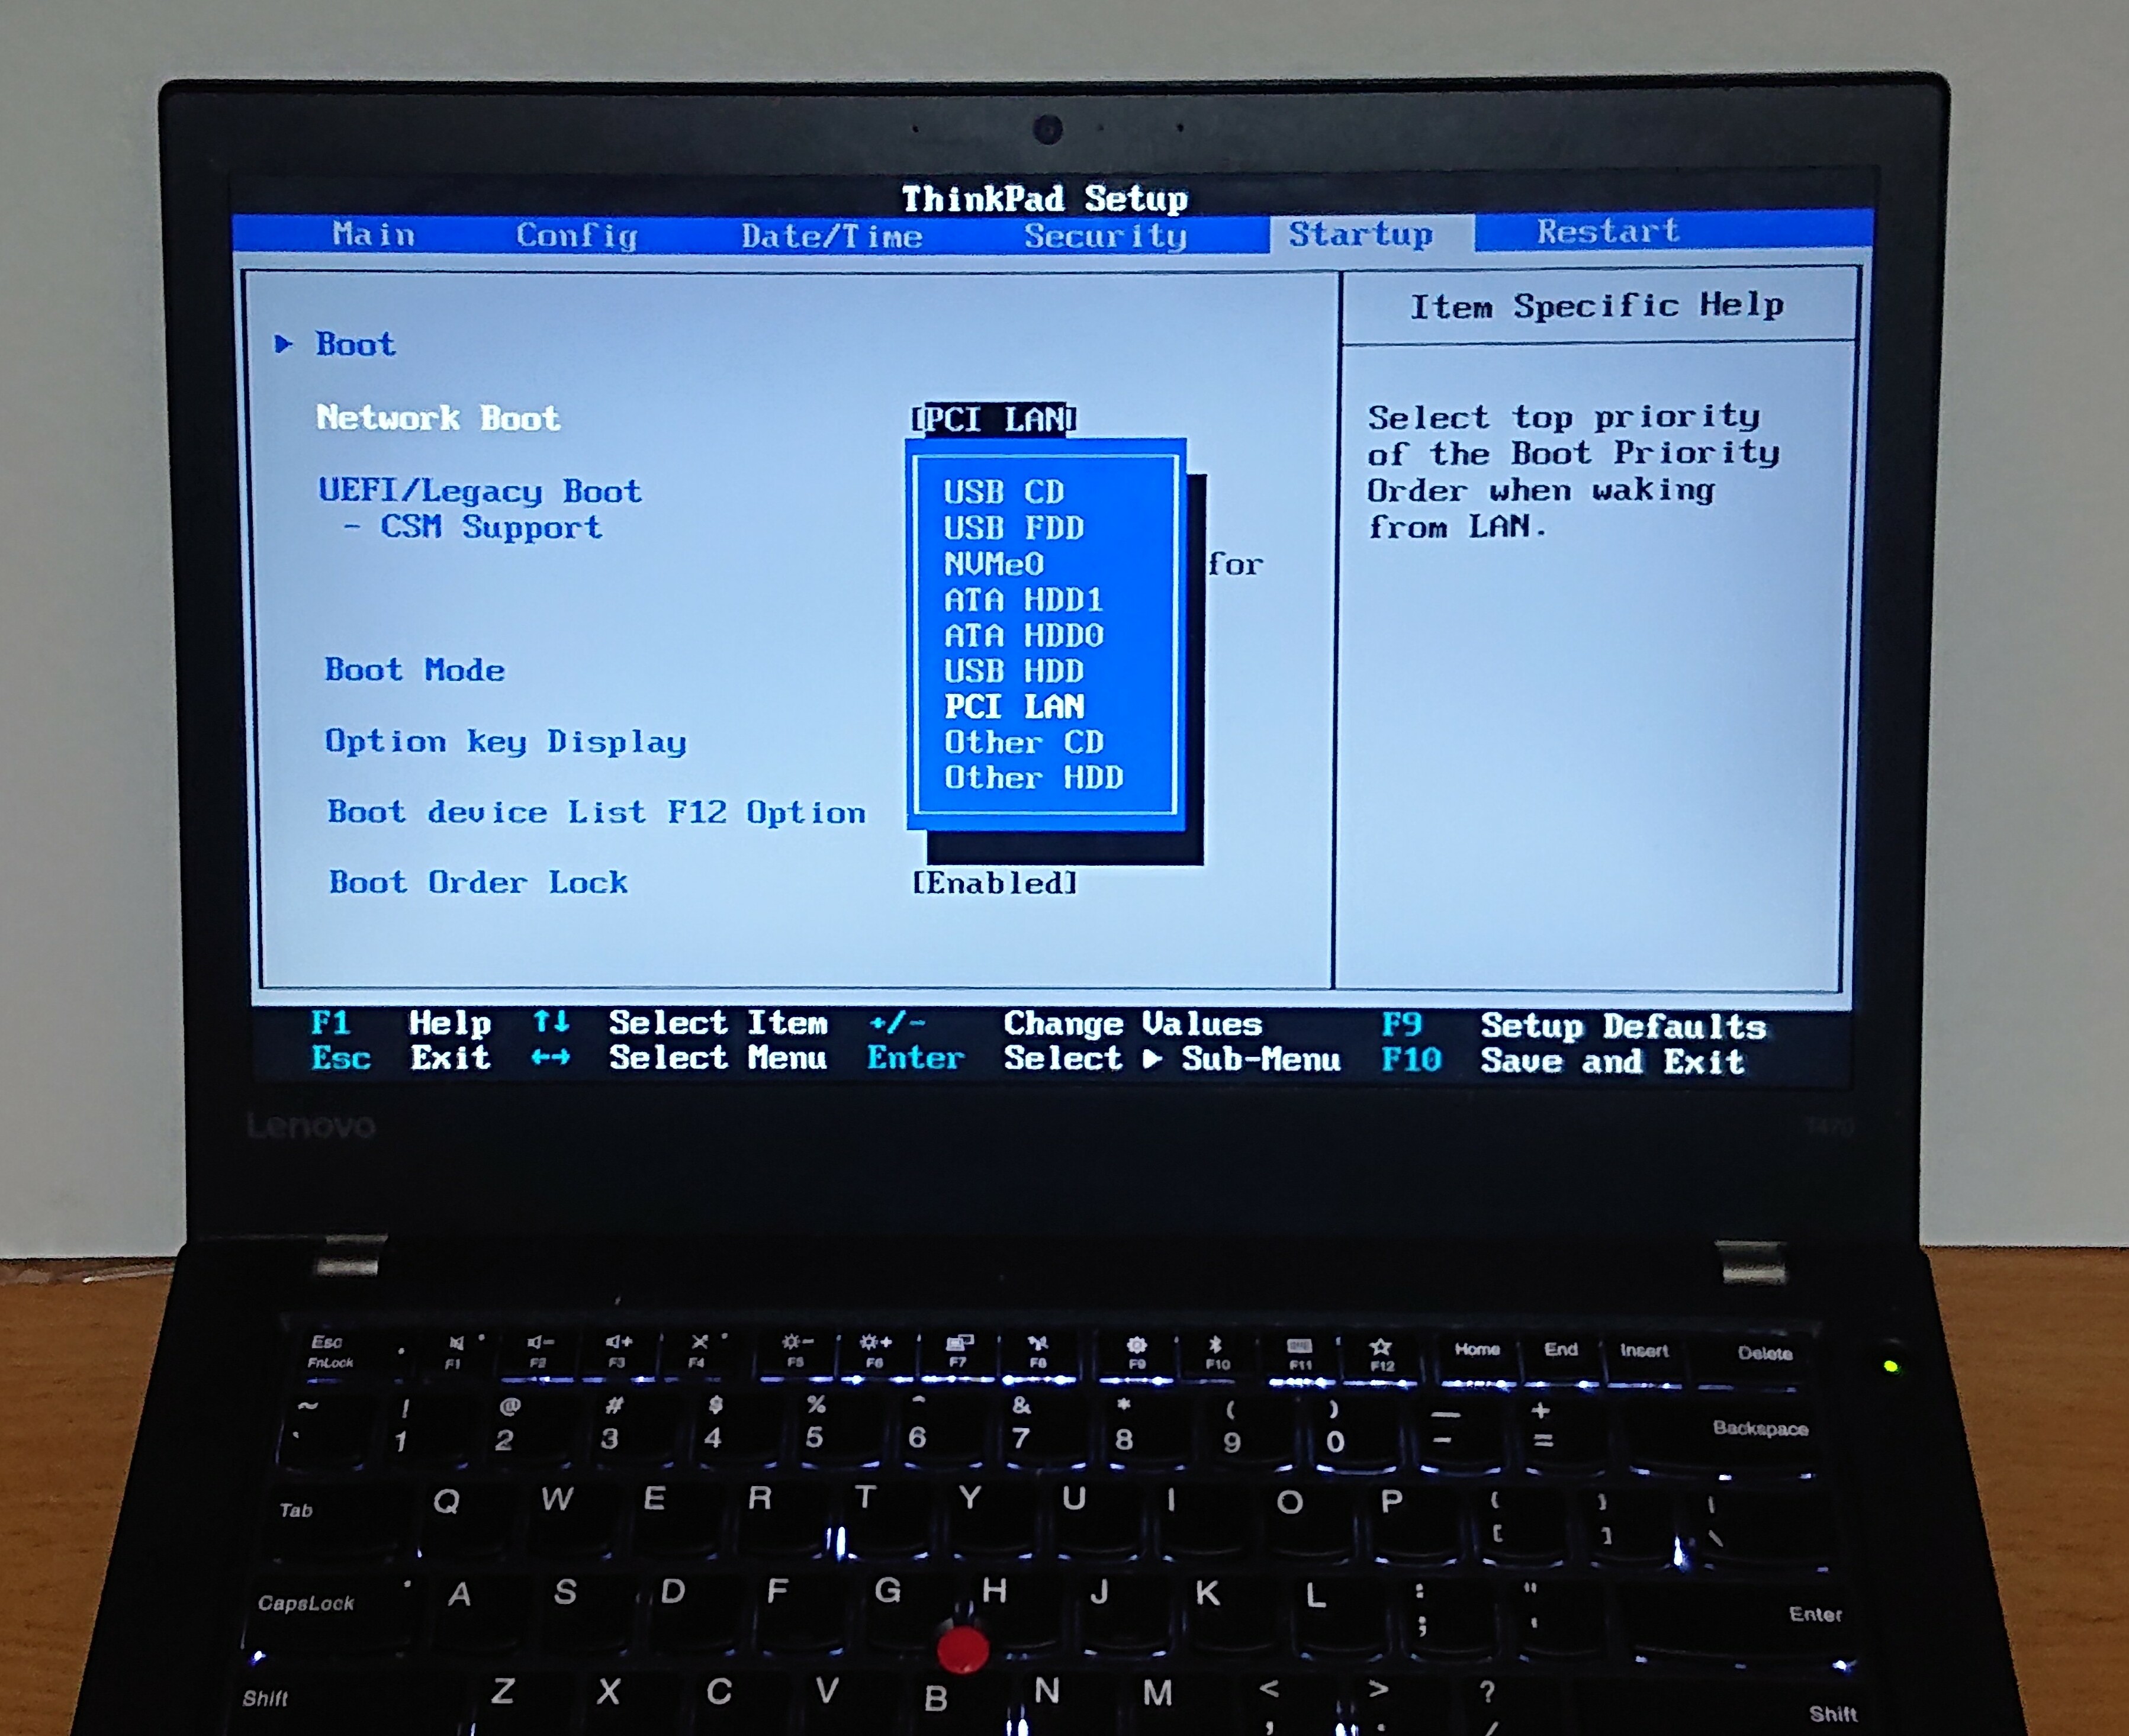
Today, a USB flash drive provides a portable medium for storing an operating system installation image. However, inserting the drive is only half the battle. Installing an operating system from a USB flash drive requires configuring the system BIOS or UEFI to boot from a USB device. You must interrupt the machine's natural instinct to check its internal hard drive first, redirecting its attention to the USB port.
For technicians managing large volumes of data or demanding faster read/write speeds than a standard thumb drive can offer, solid-state drives (SSDs) are the tool of choice. An external solid-state drive can serve as a high-speed bootable installation medium via a USB connection. Furthermore, internal solid-state drives can be partitioned to hold a bootable installation image alongside normal storage data. This allows a technician to carry a single drive containing multiple OS installers, diagnostic tools, and backed-up user files.
Recovery Partitions
Sometimes, the installation media is already inside the machine. A recovery partition is a hidden section of a hard drive created by the original equipment manufacturer (OEM), such as Dell, Lenovo, or HP.
Crucial Concept: A recovery partition contains a factory-state image used to reinstall the operating system without external media. If a user's laptop is corrupted while they are traveling without a USB drive, initiating a boot from the recovery partition allows the machine to rebuild itself to the exact state it was in when it left the factory.
Network Booting (PXE)
What if a laptop has no USB ports available, or what if you are provisioning fifty machines at once? Carrying fifty USB drives is horribly inefficient. Instead, we use the network.
PXE stands for Preboot Execution Environment. A PXE boot enables a computer to boot using a network interface instead of a local storage drive. Rather than looking for files on a physical disk, the machine broadcasts a request out of its Ethernet port, effectively asking the network, "Who am I, and what should I load?"
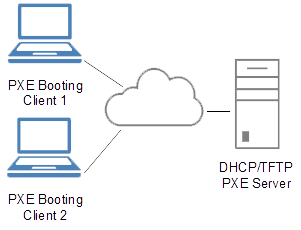
For this orchestration to succeed, two specific network services must be listening:
- DHCP: PXE booting requires a DHCP server to provide an IP address to the booting client. The machine needs a network identity before it can download anything.
- TFTP: PXE booting requires a TFTP (Trivial File Transfer Protocol) server to deliver the initial boot files over the network.
Once the machine has successfully booted into the installation media, you must decide how to apply the operating system. Your choice dictates whether the user's data survives the process.
The Clean Install
A clean installation formats the target storage volume before installing the operating system. This is a scorched-earth approach. It completely deletes all existing user data on the target storage volume, and it completely deletes all previously installed applications on the target storage volume.
Why do this? A clean install is necessary when an operating system is irreparably compromised by malware, when transferring ownership of a device to a new employee, or when upgrading from a legacy file system. It guarantees a pristine, defect-free environment.
The In-Place Upgrade
When a new operating system version is released (such as moving from Windows 10 to Windows 11), we rarely want to destroy the user's workspace. An in-place upgrade replaces an existing operating system with a newer version.
Unlike a clean install, an in-place upgrade preserves user files during the operating system installation process. Furthermore, an in-place upgrade preserves installed applications during the operating system installation process, and it preserves system configuration settings. The transition is seamless; the user logs in on Monday morning to a modernized interface, but their desktop wallpaper and browser bookmarks remain untouched.
The Repair Installation
Occasionally, an operating system becomes unstable—perhaps due to a corrupted registry or a botched update—but the user's data is vastly too important to wipe. A repair installation fixes a corrupted operating system by replacing system files without deleting user data. It acts as a surgical intervention, swapping out the broken foundation of the OS while leaving the user's house standing on top of it.
Multiboot Installations
Developers, security researchers, and quality assurance testers often need native access to multiple operating systems on the exact same hardware. A multiboot installation allows a single computer to host multiple operating systems (e.g., Windows and Linux coexisting).
Two strict requirements govern this setup:
- A multiboot installation requires each operating system to be installed on a separate logical partition or physical drive. They cannot occupy the same volume without destroying each other's file structures.
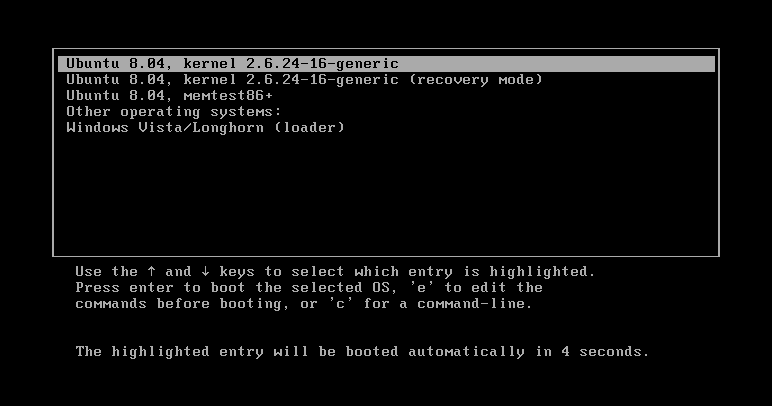
- A multiboot setup requires a boot manager to present an operating system selection menu at computer startup. Without a boot manager, the machine will blindly load whichever OS was installed last.
If you are a desktop support technician responsible for imaging a single PC, a USB stick and a manual click-through of the installation prompts is perfectly adequate. However, if you are a systems administrator outfitting a new corporate branch, manually configuring language settings, time zones, and administrator passwords across hundreds of machines is a catastrophic waste of human capital. We must automate.
Unattended Installations
An unattended installation automates the setup process by reading configuration details from a predefined file. Instead of waiting for a human to click "Next" and select a time zone, the installer consults a script.
In Microsoft environments, Windows unattended installations typically use an XML answer file named autounattend.xml. An answer file provides pre-configured responses for setup prompts like time zone, language, and computer name. You inject this file into the installation media, and the OS installs itself autonomously.
Image Deployment and Sysprep
Enterprise IT relies heavily on standardization. You do not want a marketing department where half the computers have different pre-installed software than the other half. Image deployment involves applying a captured operating system image onto a target computer drive.
To do this, a technician builds a "golden image"—a perfectly configured machine with all the necessary corporate software, security agents, and VPN configurations installed. By deploying this exact image, image deployment standardizes operating system configurations across multiple enterprise computers.
However, there is a dangerous trap here. If you simply clone a Windows machine, you are also cloning its unique identity, known as its Security Identifier (SID).
Warning: To clone a machine safely, the Windows Sysprep utility removes hardware-specific information from an operating system before image capture. Removing device-specific information with Sysprep prevents security identifier conflicts on an enterprise network. If two machines have the same SID, active directory domain controllers will reject them, causing severe network authentication failures.
Remote and Automated Deployments
Scaling this infrastructure to multiple buildings or global locations requires a hierarchy of deployment strategies. Remote network installation allows IT administrators to deploy operating systems to endpoint devices located in different physical facilities. Remote network installations frequently utilize tools like Windows Deployment Services (WDS) to serve installation images over a local area network.
Depending on your server infrastructure, you will encounter two primary levels of network deployment:
Lite-Touch Deployment (LTI) A lite-touch deployment is an automated installation method requiring minimal manual input at the target device. It is highly automated, but a lite-touch deployment often requires a technician to manually initiate the network boot sequence on the endpoint (e.g., pressing F12 to trigger PXE) and perhaps select which corporate image to apply from a short menu.
Zero-Touch Deployment (ZTI) This is the pinnacle of endpoint provisioning. Zero-touch deployment installs an operating system over the network without any physical interaction at the target computer. The moment the computer is plugged into the corporate network and powered on, it is automatically identified, imaged, and domain-joined.
Zero-touch deployment is suited for deploying standardized operating systems to thousands of enterprise endpoints simultaneously. However, this magic does not happen by accident. Zero-touch deployment requires comprehensive server infrastructure configuration to automate the entire imaging process—relying heavily on deeply integrated tools like Microsoft Endpoint Configuration Manager (MECM/SCCM) working in tandem with Active Directory, DHCP, and DNS.
Mastering these methodologies elevates you from merely fixing computers to architecting the digital environments where businesses thrive.