Techniques of Physical Assessment
Not sure you’re ready?
Take the ~3-minute readiness diagnostic and see where you stand.
Welcome to the fascinating world of physical assessment. Think of the human body as the most complex, exquisite engine ever built. When you perform a physical assessment, you aren't just checking off boxes on a medical chart—you are an investigator, a mechanic, and a scientist all at once. You are using your own senses, amplified by some very clever tools, to decode the physiological whispers of the human body.
In this guide, we are going to break down the mechanics of physical assessment for your NCLEX-RN exam. We won't just memorize what to do; we will understand the physics and the why behind every single touch, tap, and tool. Let's dive in!
Before you ever lay a finger on a patient, you must set up your experiment correctly. In physics, if your laboratory is contaminated or your baseline data is wrong, your results are garbage. The same is true in nursing.
The Baseline Data
A comprehensive health assessment begins the moment you walk into the room with a general survey of the client's physical appearance and their behavior. You are looking at their posture, their level of distress, and their general state.
Next, you establish your numerical baselines. A vital signs assessment provides baseline data regarding the client's cardiopulmonary status (heart rate, respiratory rate, blood pressure) and thermoregulatory status (temperature). If anything deviates later, you'll know precisely when and how it changed.
The Assessment Strategy
How do you ensure you don't miss a tiny clue? You use a system.
- Head-to-toe assessment: A head-to-toe assessment sequence minimizes the risk of overlooking an anatomical region during a physical exam. You work systematically from the top down.
- Bilateral comparison: The human body is wonderfully symmetrical. Assessing bilateral body parts allows the nurse to compare symmetrical structures for abnormalities. If the left ankle looks puffy, look at the right one!
- Focused assessment: Sometimes, a patient comes in with an isolated problem, like a twisted ankle. A focused assessment concentrates solely on the specific body system associated with the client's primary complaint.
Infection Control & Privacy
You are a vector for microscopic hitchhikers if you aren't careful.
- Standard precautions must be applied during all physical assessments to prevent the transmission of infectious agents.
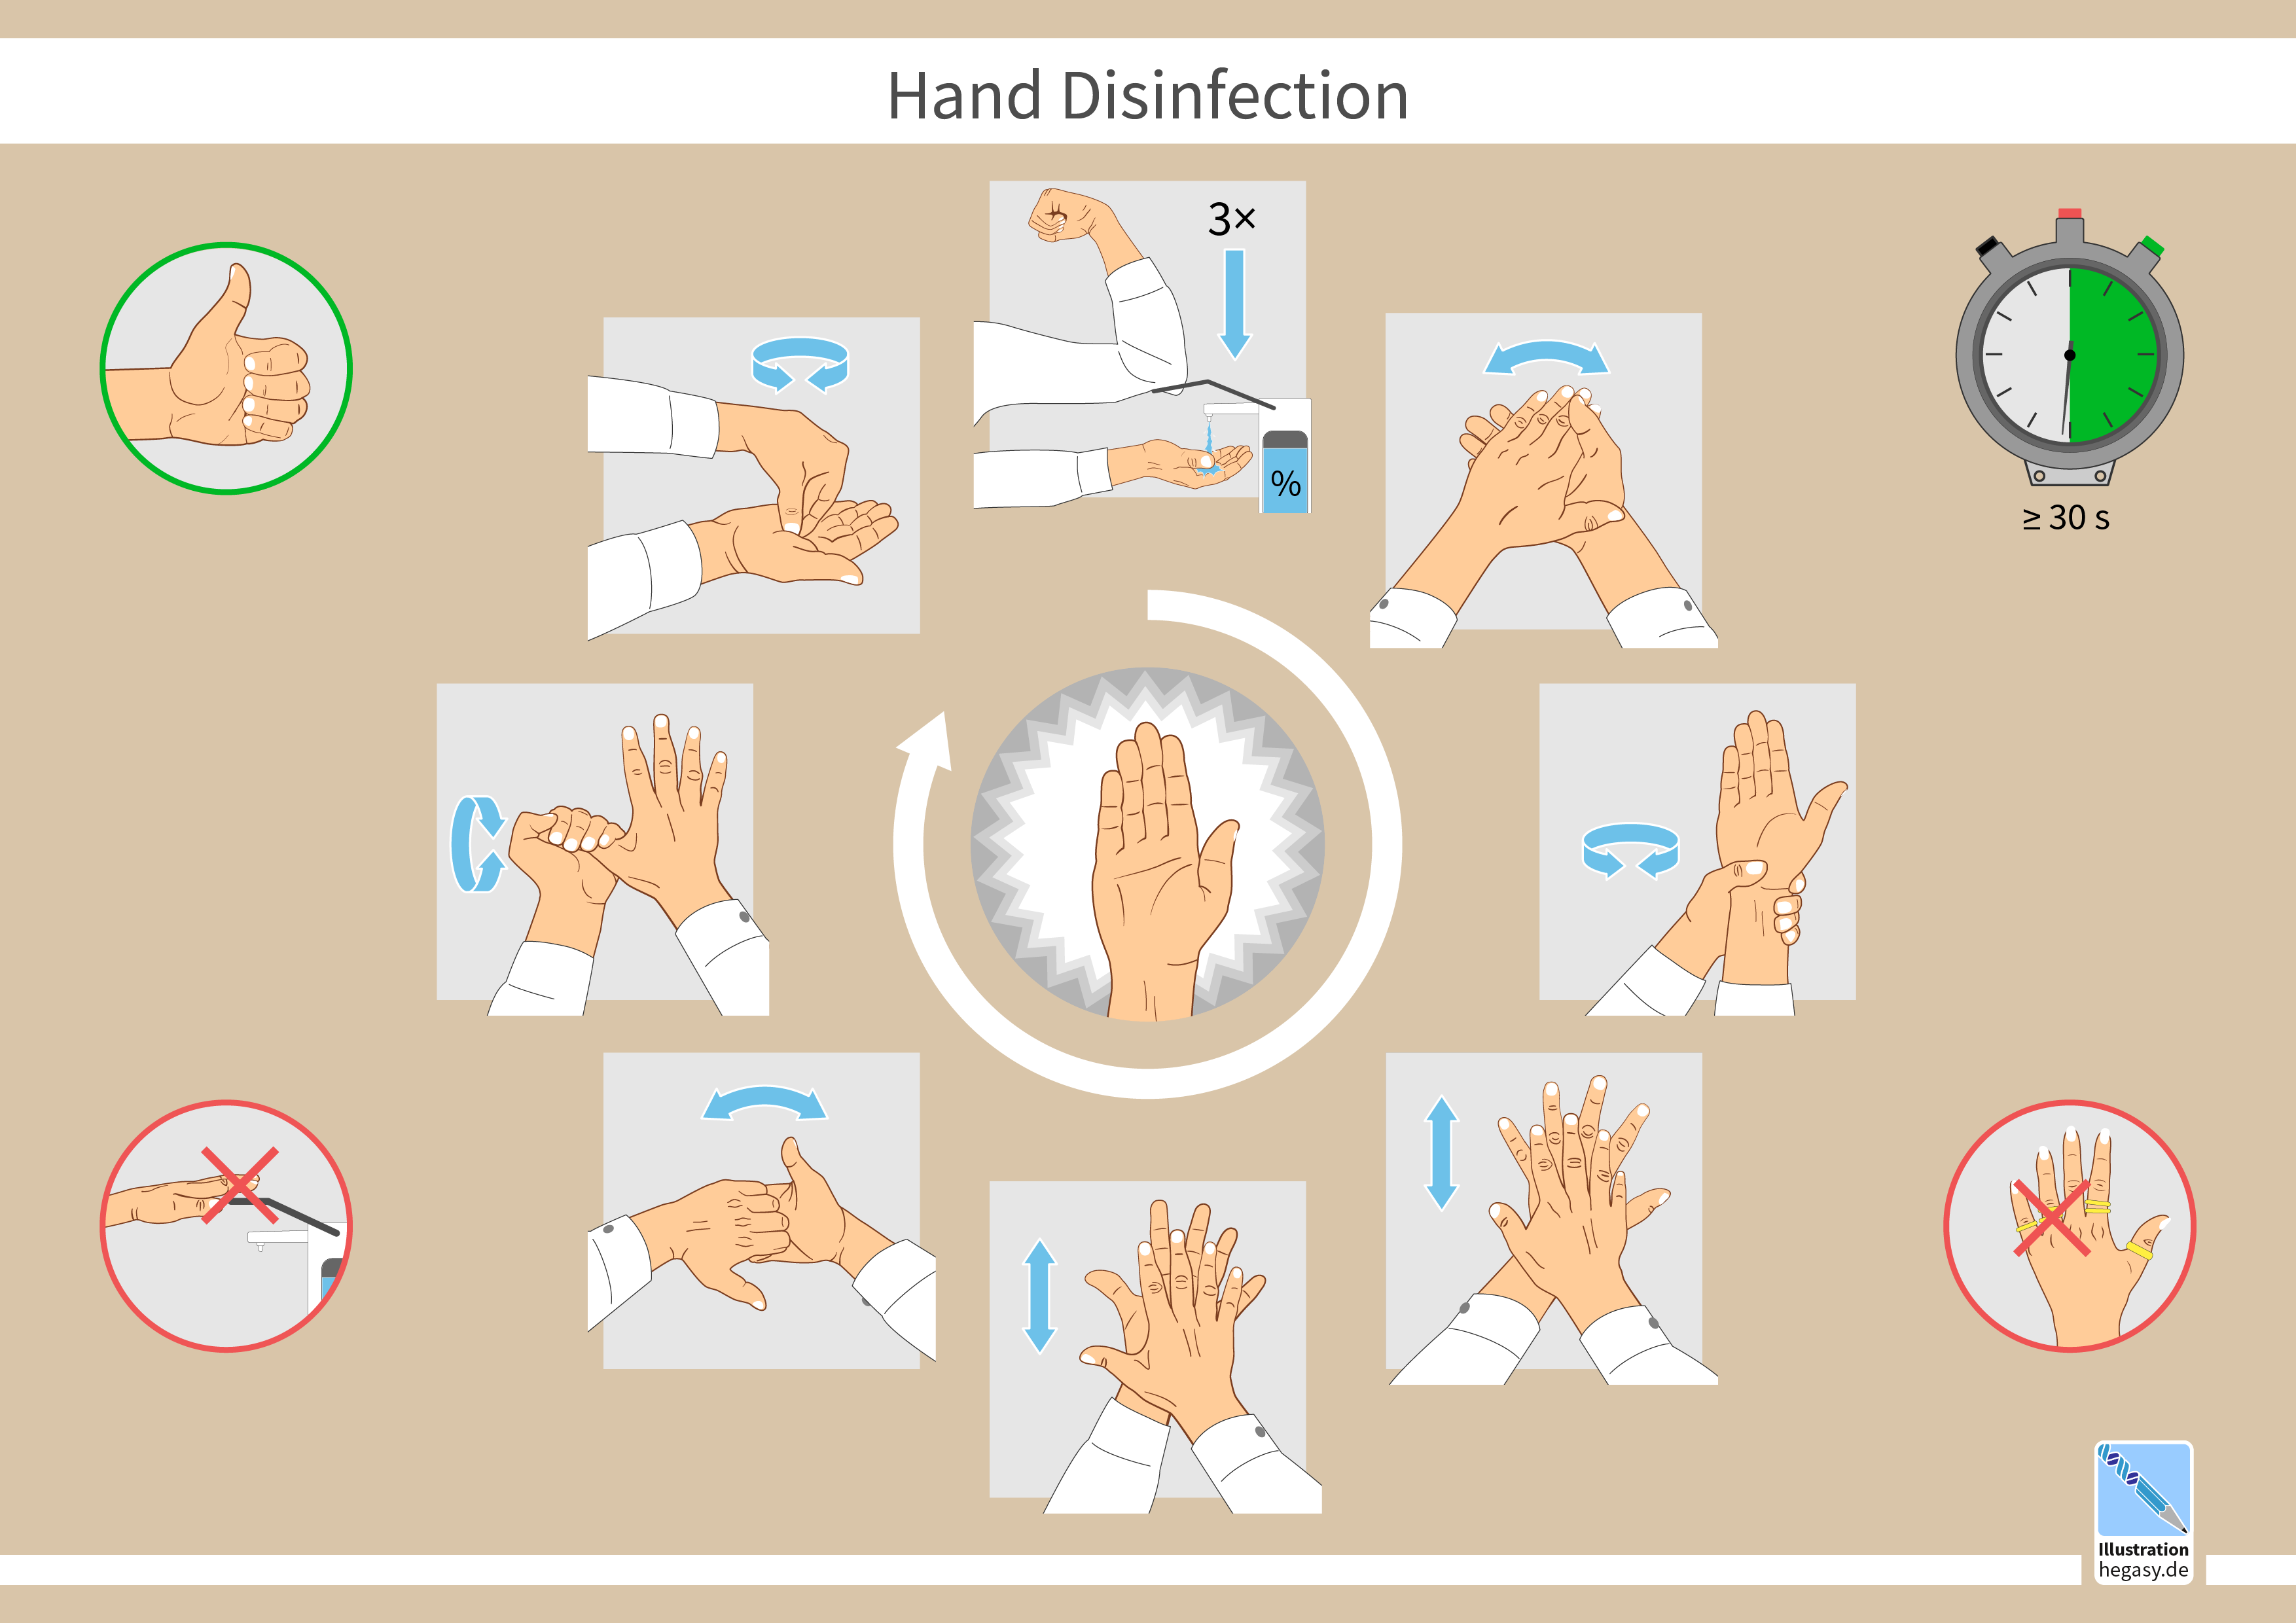
- Hand hygiene must be performed immediately before initiating a physical assessment and immediately after concluding it.
- Gloves must be worn during a physical assessment when contact with non-intact skin is anticipated, or when contact with mucous membranes is anticipated.
- Equipment must be cleaned with approved disinfectants between different clients.
The Rule of Privacy: The nurse must maintain client privacy by exposing only the specific body part actively being examined. Never pull the sheet completely off. Keep them warm, keep them covered, and respect their dignity.
If you are going to interrogate the body, you have four primary methods of inquiry. Normally, they follow a very strict sequence: Inspection, then Palpation, then Percussion, and finally Auscultation.
Step 1: Inspection
Inspection is the visual examination of the client's body parts. You are looking for color, symmetry, size, and contour. But remember a basic principle of optics: you cannot see what is hidden in shadow. Inspection requires adequate environmental lighting for accurate observation.
Step 2: Palpation
Palpation involves using the sense of touch to assess organ location, texture, moisture, and more. But your hand isn't just one monolithic tool; different parts of your hand have different neurological receptors!
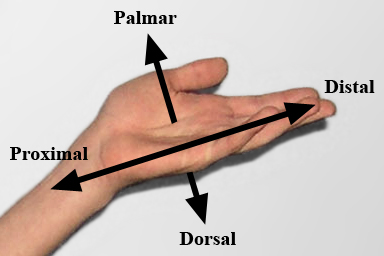
- Temperature: Palpation involves using the sense of touch to assess skin temperature, but you must use the back of your hand. The dorsal surface of the examiner's hand is most sensitive to temperature variations because the skin is thinner.
- Vibration: The ulnar surface (the pinky side) and the palmar surface of the examiner's hand are sensitive to vibration. This is where your mechanoreceptors for coarse buzzing are densely packed.
- Discrimination: The finger pads of the examiner are most sensitive to fine tactile discrimination. Use these to feel the exact shape of a pulse or a small lymph node.
We also divide palpation by pressure:
- Light palpation is used to assess surface characteristics of the skin.
- Deep palpation is used to assess internal organs and is used to detect abdominal masses.
Step 3: Percussion
Percussion involves tapping the client's skin with short strokes to assess underlying structures. Think of it like a sonar system. When you tap, sound waves travel into the body and bounce back. The density of the tissue dictates the sound.
| Percussion Sound | Physics / Meaning | Normal / Abnormal Location |
|---|---|---|
| Tympanitic | Indicates the presence of air in an enclosed anatomical structure. (Like a tight drum!) | The normal stomach produces a tympanitic percussion sound. |
| Hyperresonant | A booming sound indicating excessive air in the lungs. | Abnormal (e.g., Emphysema/COPD). |
| Resonant | A hollow sound indicating a mixture of air and tissue. | Resonant percussion sounds are heard over normal healthy lung tissue. |
| Dull | Indicates the presence of a solid mass or a fluid-filled structure. | The normal liver produces a dull percussion sound. |
| Flat | An extremely short, dead sound elicited over dense structures. | Flat percussion sounds are elicited over dense structures like bone and muscle. |
Step 4: Auscultation
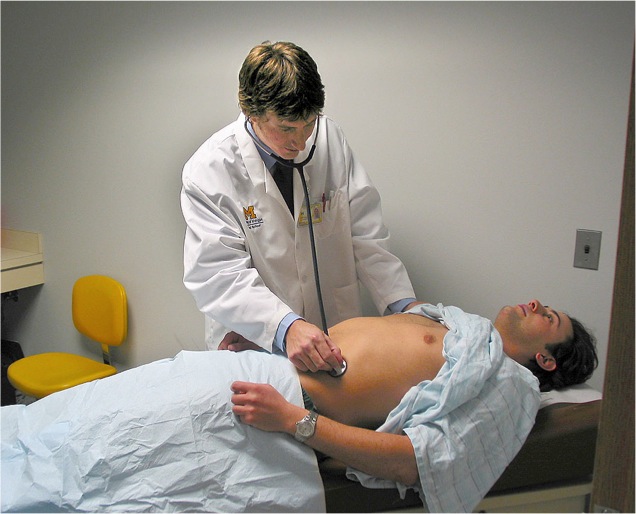
Auscultation involves listening to sounds produced by the body, usually using a stethoscope. In the standard physical assessment sequence, auscultation is the final step.
Science is all about knowing when the rules apply and when they don't. The standard physical assessment sequence is specifically altered for abdominal assessments.
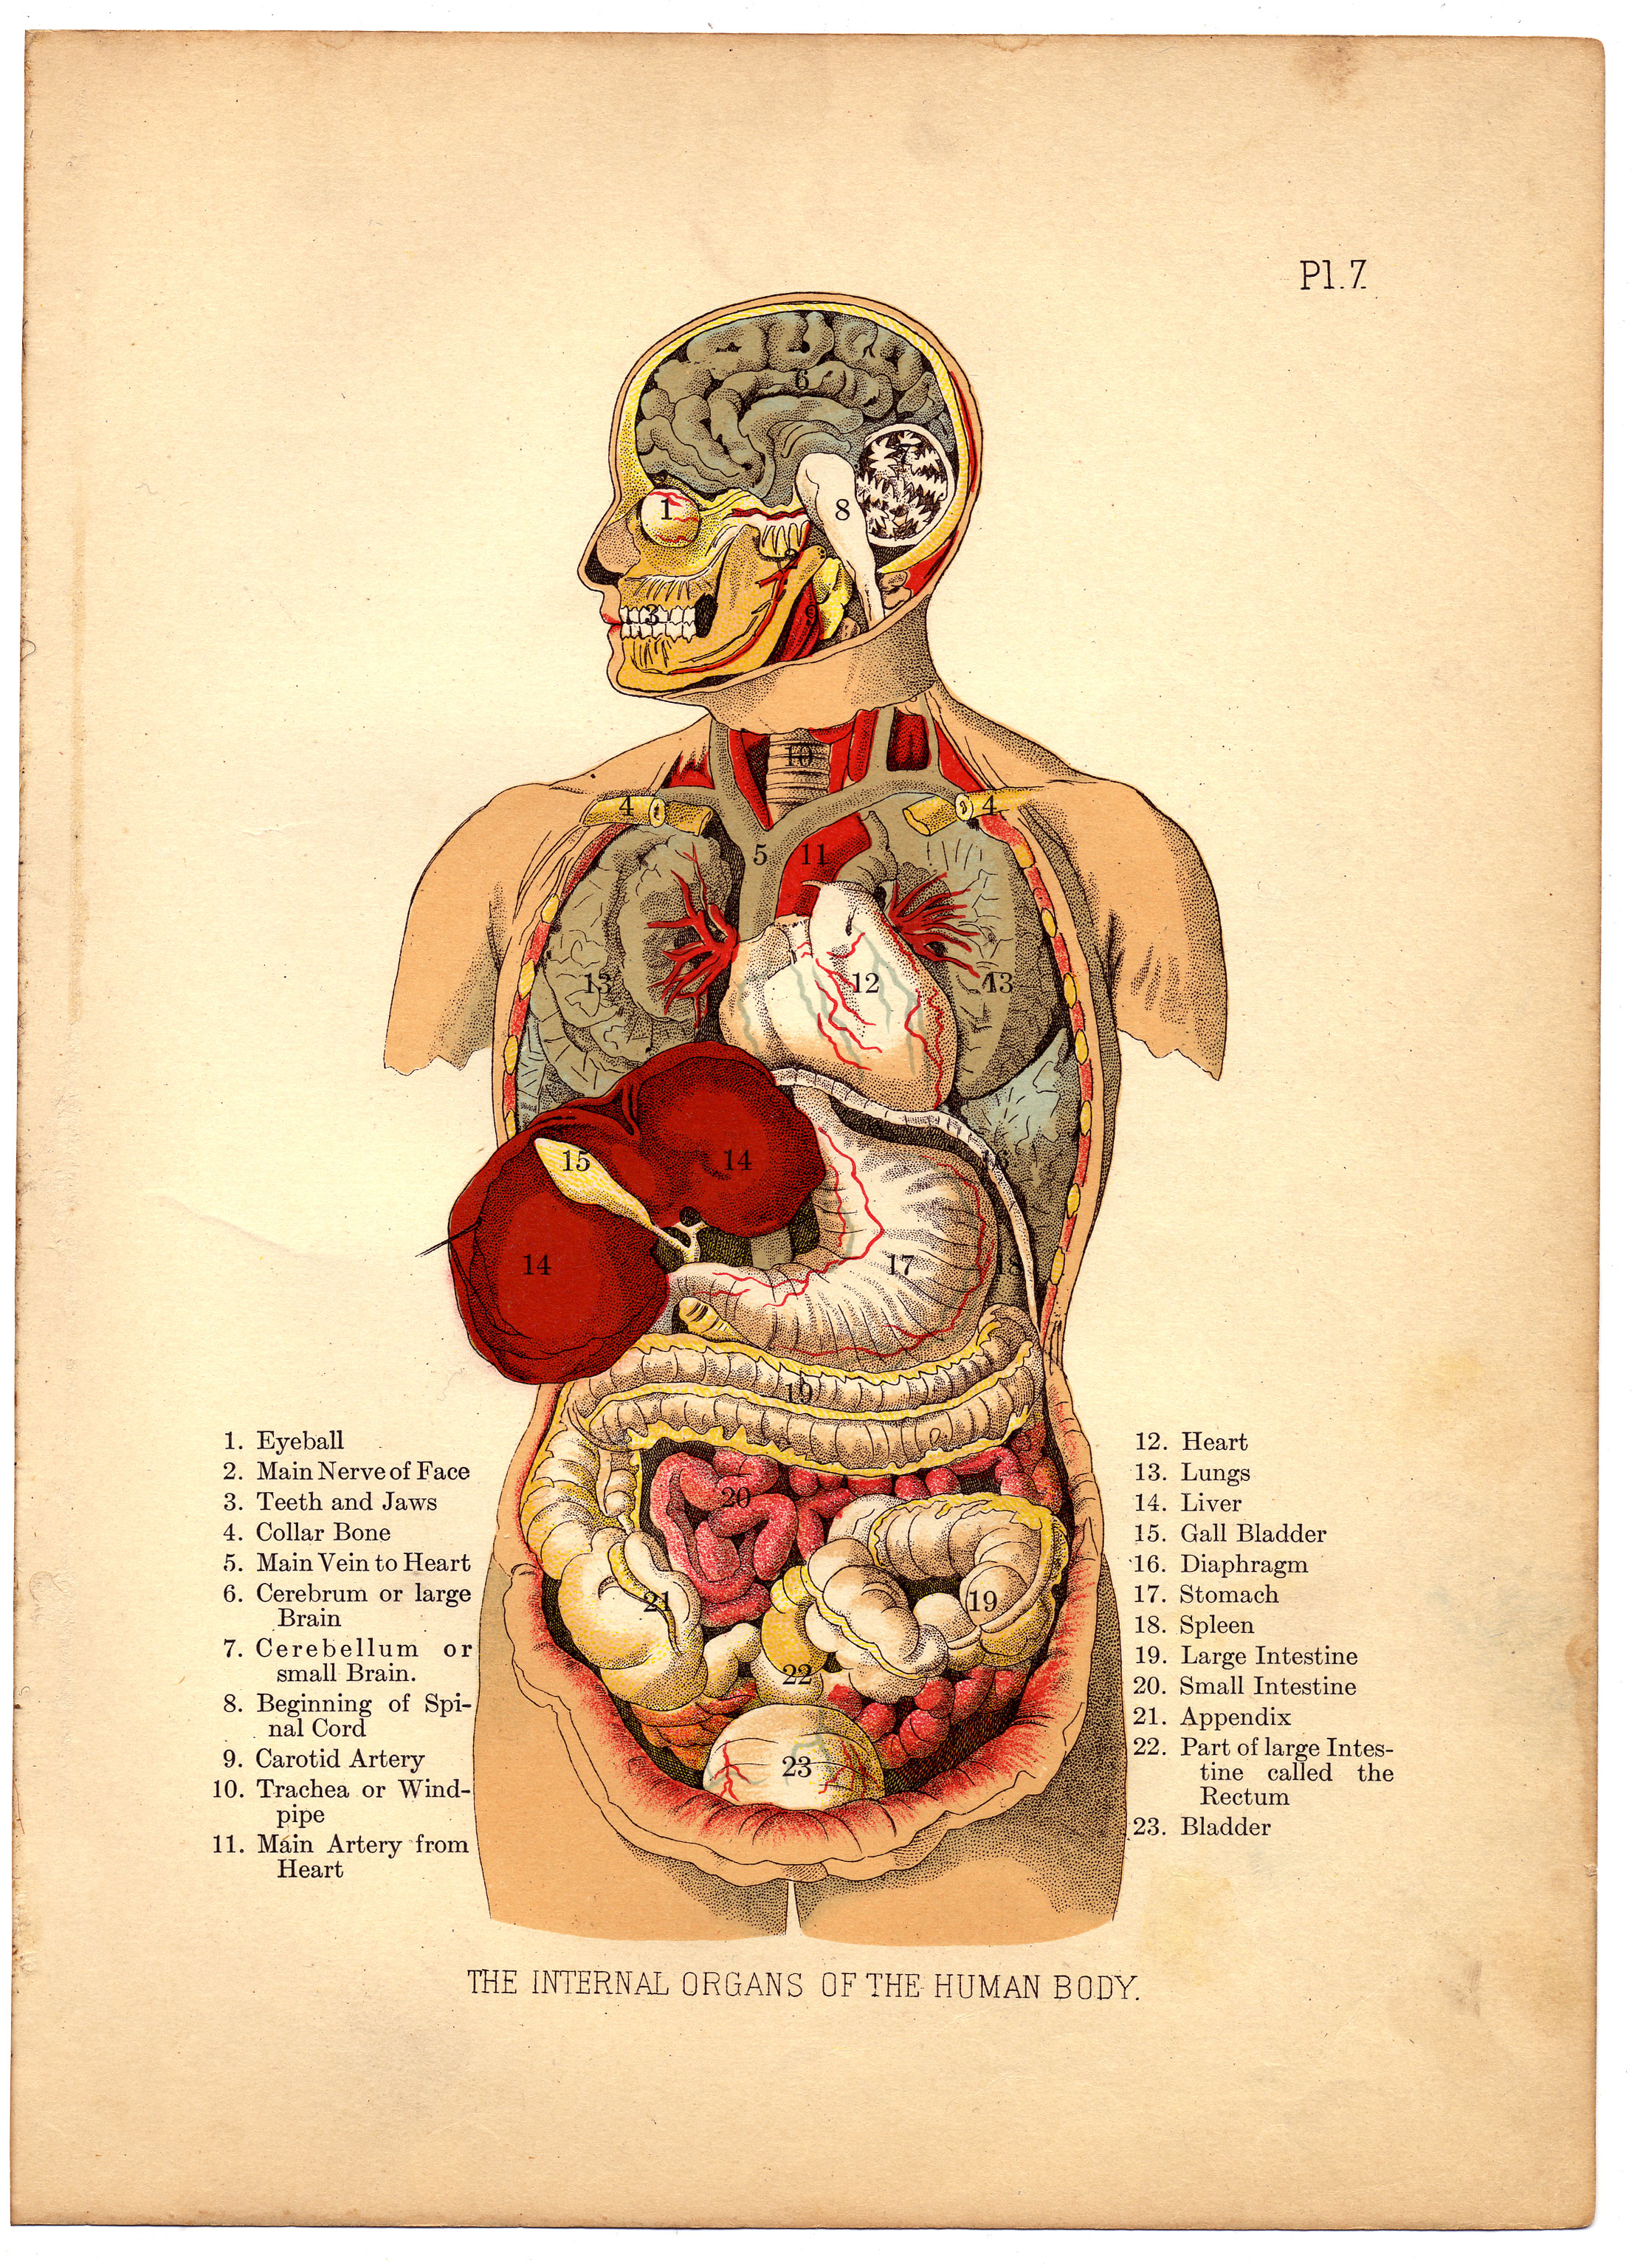
Why? Because the gastrointestinal tract is a highly reactive, muscular tube. If you go poking (palpating) and thumping (percussing) on the belly, you will literally wake up the intestines. Abdominal palpation can falsely stimulate bowel sounds, and abdominal percussion can falsely stimulate bowel sounds.
To prevent this artificial interference, we rearrange the sequence to:
- Inspection: (The abdominal assessment sequence begins with inspection).
- Auscultation: (Auscultation follows inspection during an abdominal assessment). Listen before you touch!
- Percussion: (Percussion follows auscultation during an abdominal assessment).
- Palpation: (Palpation is the final step during an abdominal assessment).
To extend our biological senses, we use instruments. You must know exactly how and when to deploy each one.
The Stethoscope (Acoustic Transmission)
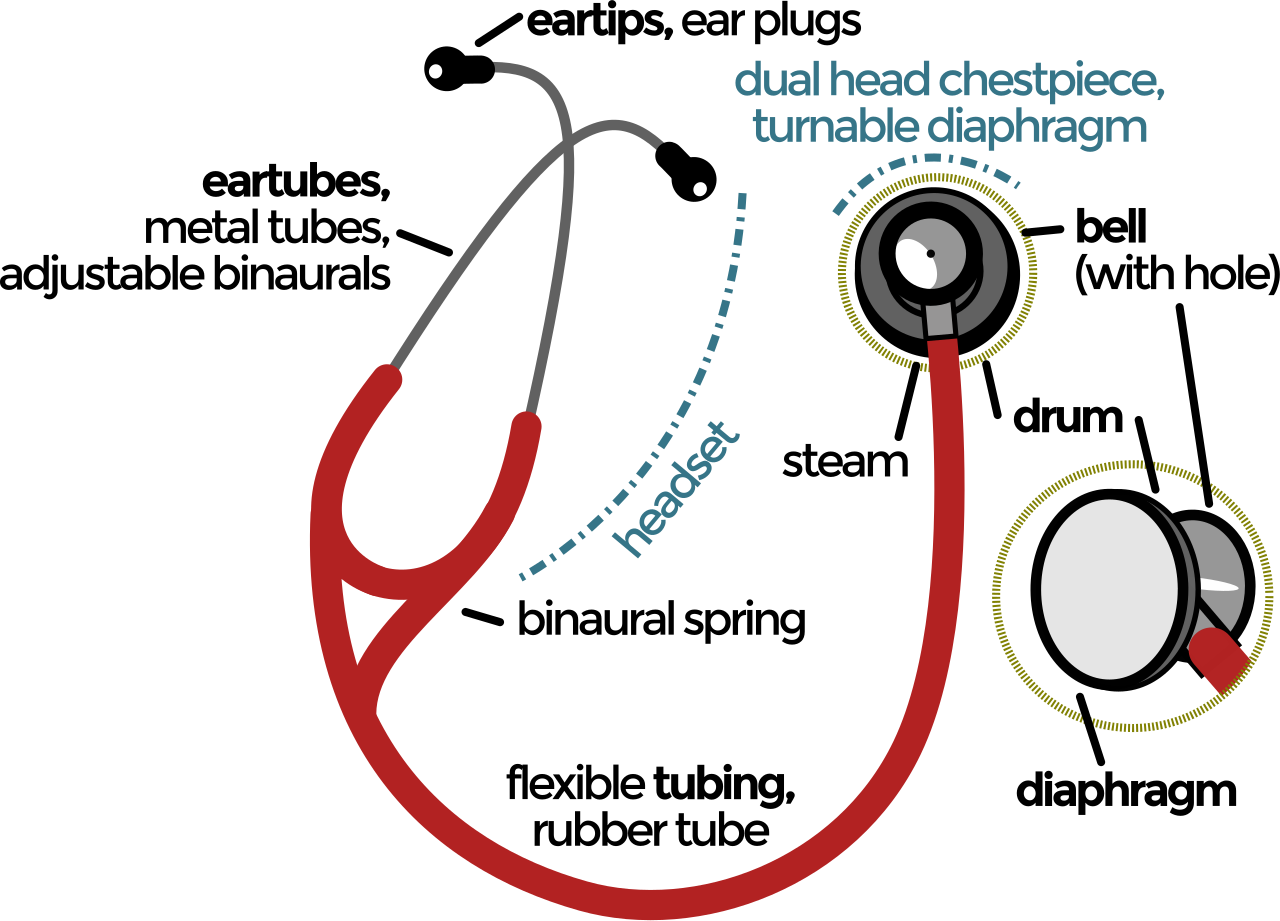
A stethoscope is used to auscultate internal body sounds. The chest piece has two sides, and they operate on different acoustic principles:
- The Diaphragm: The flat, larger side. The diaphragm of the stethoscope must be pressed firmly against the client's skin. The stethoscope diaphragm is used to auscultate high-pitched physiological sounds. Therefore, it is optimal for auscultating normal breath sounds and optimal for auscultating normal bowel sounds.
- The Bell: The hollow, cup-like side. The bell of the stethoscope must be pressed lightly against the client's skin. (If you press it firmly, the skin stretches and acts like a diaphragm, completely defeating the purpose!). The stethoscope bell is used to auscultate low-pitched physiological sounds. It is optimal for auscultating vascular bruits (turbulent blood flow) and optimal for auscultating low-pitched heart murmurs.
Tools for the Eyes, Ears, and Nerves
- Otoscope: An instrument used to inspect the ear canal and inspect the tympanic membrane (eardrum). Anatomy changes with age, so your technique must adapt:
- During an adult otoscopic examination, the pinna (outer ear) must be pulled upward and backward to straighten the canal.
- During an otoscopic examination for children under three years old, the pinna must be pulled downward and backward.
- Ophthalmoscope: An instrument used to inspect the internal structures of the eye (like the retina and optic disc).
- Penlight: A simple but vital instrument used to assess pupillary constriction and to provide focused illumination of the oral cavity.
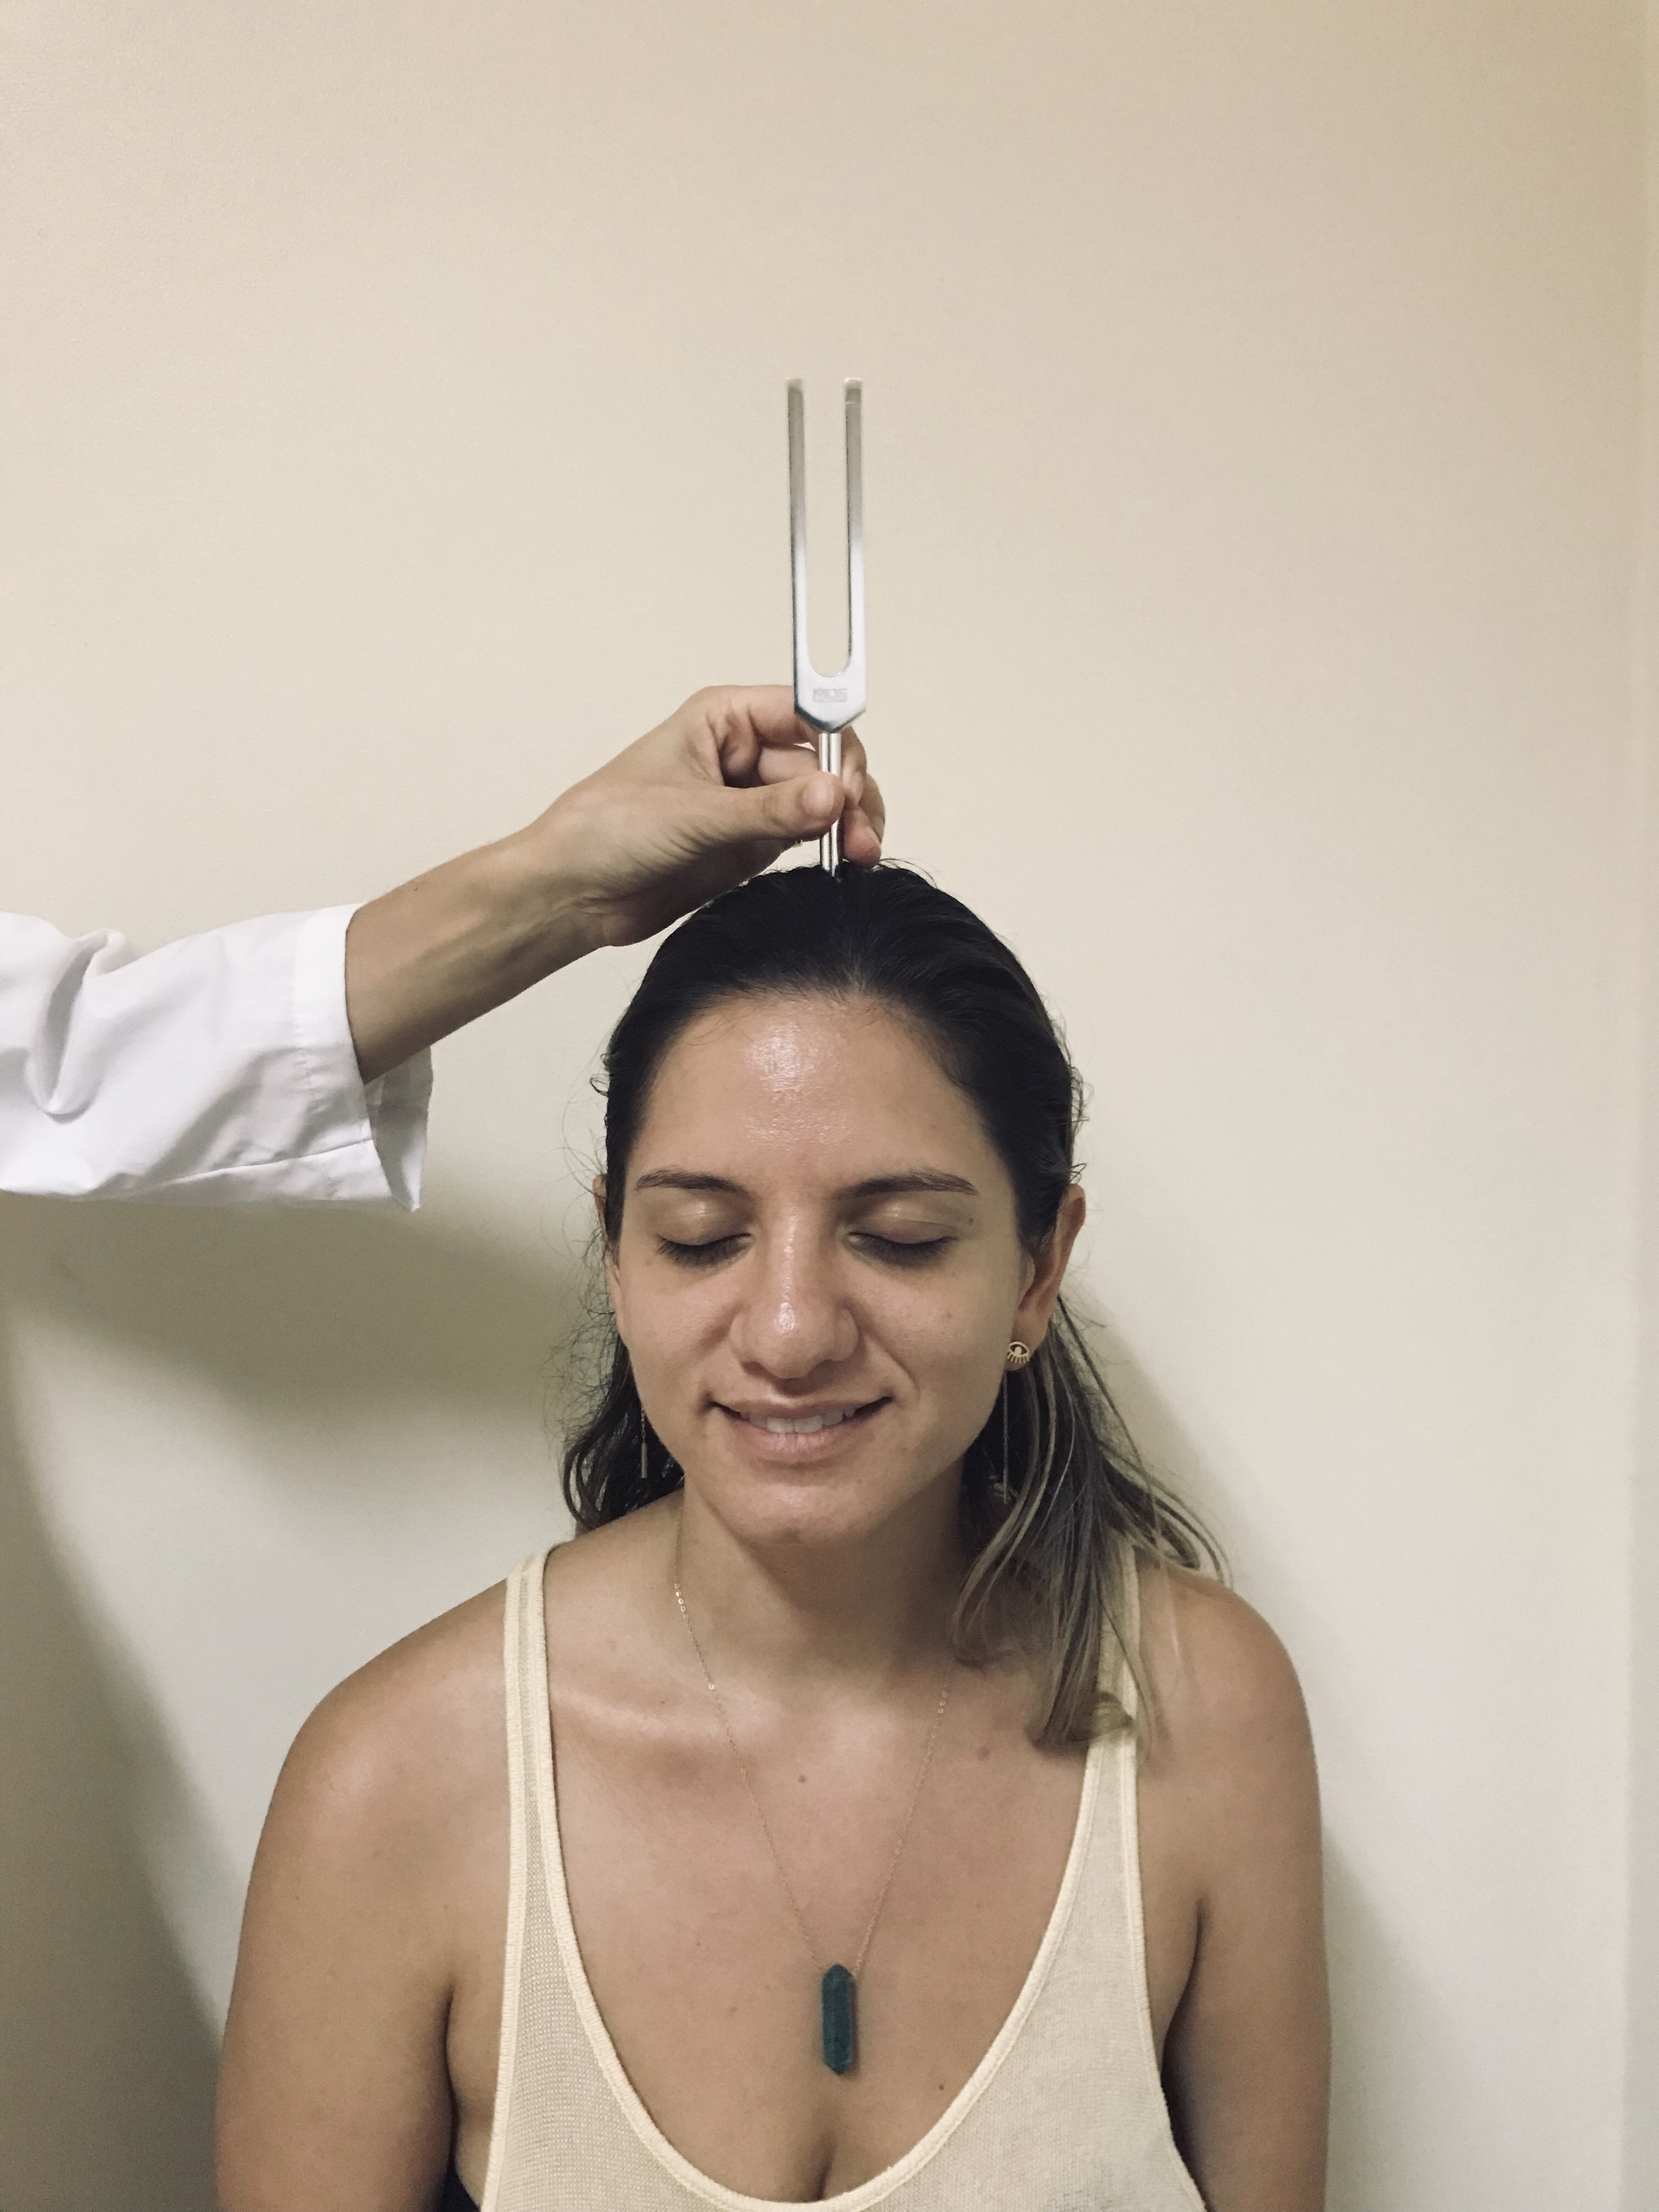
- Tuning Fork: An instrument used to assess vibratory sensation and assess auditory conduction.
- Weber test: Utilizes a tuning fork to assess for unilateral hearing loss (placed on top of the head).
- Rinne test: Utilizes a tuning fork to measure hearing by bone conduction and to measure hearing by air conduction. The Rinne test explicitly compares the duration of air conduction to the duration of bone conduction.
- Reflex Hammer: An instrument used to elicit deep tendon reflexes.
- Monofilament: A small nylon wire used to assess peripheral protective sensation. It is famously used to detect peripheral neuropathy in diabetic clients.
Visual Acuity Tools
- Snellen Chart: A tool used to measure distance visual acuity. The rule of optics here requires exact geometry: The client must stand exactly 20 feet away from the Snellen chart during a distance visual acuity test.
- Rosenbaum Chart: A handheld tool used to assess near visual acuity. The client holds the Rosenbaum chart exactly 14 inches away from the eyes during a near visual acuity test.
Cardiovascular & Measurement Tools
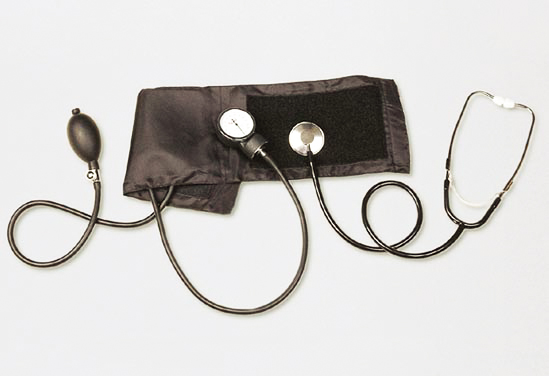
- Sphygmomanometer: An instrument used to measure arterial blood pressure. Sizing is a massive source of error! The physics of pressure occlusion require that the width of a blood pressure cuff bladder must cover exactly 40 percent of the client's arm circumference. The length of a blood pressure cuff bladder must encircle at least 80 percent of the client's arm circumference.
- Doppler Ultrasound Probe: A device used to detect weak peripheral blood flow. When you cannot palpate a pedal pulse, the Doppler uses high-frequency sound waves to find the movement of blood.
- Goniometer: An instrument used to measure the exact degree of joint flexion and the exact degree of joint extension. It looks like a protractor for the human body!
- Skinfold Caliper: An instrument used to estimate body fat percentage by pinching the subcutaneous fat layer.
- Transilluminator: An instrument used to detect fluid within body cavities (e.g., checking a scrotal sac for a hydrocele). The light passes through fluid but is blocked by solid masses.
- Tape Measure: Used to assess abdominal girth in adults, and famously used to assess head circumference in infants.
To perform an excellent physical exam, you must position the patient in a way that provides access while relaxing the necessary musculature.
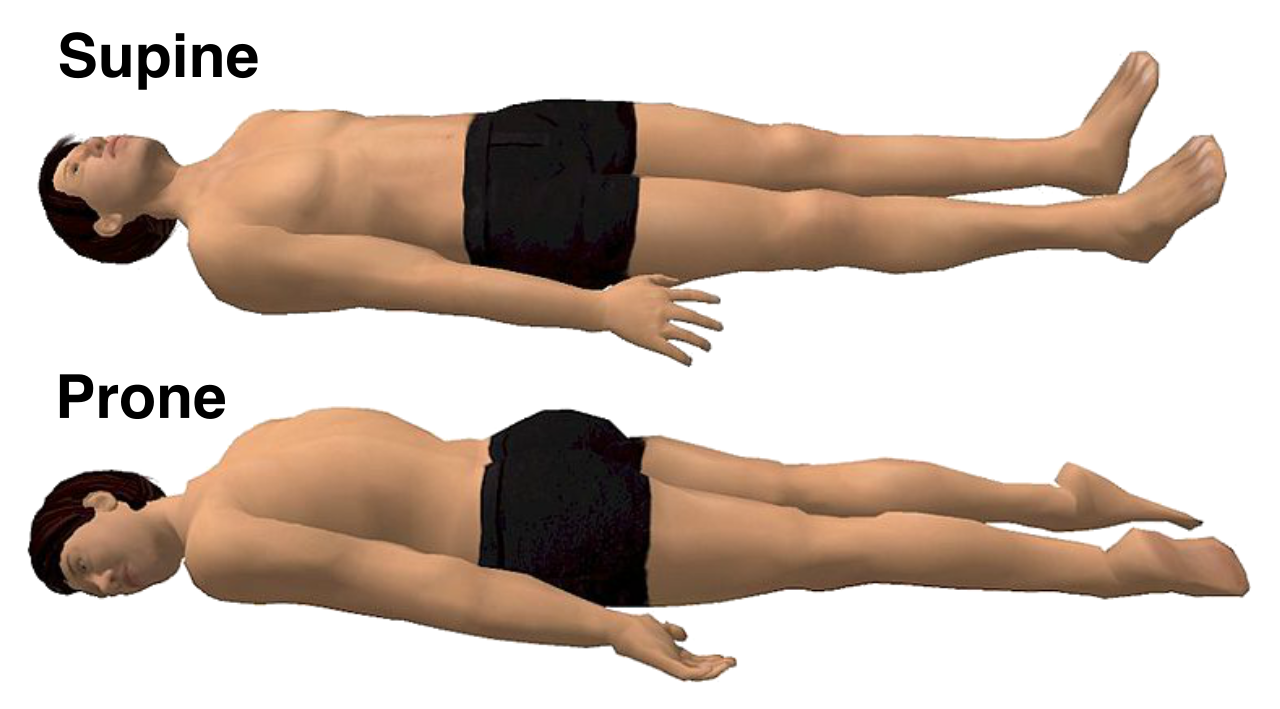
- Abdominal Relaxation: The supine position (lying flat on the back) promotes relaxation of the abdominal muscles during an abdominal assessment. To take this a step further, bending the client's knees while in the supine position further relaxes the abdominal muscles, making palpation much easier and more comfortable.
- Specialized Access:
- The lithotomy position (supine with legs separated, flexed, and supported in raised stirrups) is the optimal position for assessing female genitalia.
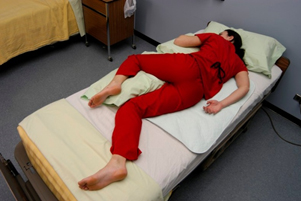
- The Sims position (side-lying with the upper leg flexed) is the optimal position for assessing the rectum.
You cannot assess a three-month-old infant the exact same way you assess an eighty-five-year-old adult. The biological material is different, the psychology is different, and your approach must reflect that.
Pediatric Assessments
Infants view the world entirely through comfort and fear.
- Sequence: Infant physical assessments should progress from the least invasive procedures to the most invasive procedures. Save the traumatic stuff (like looking in the ears or mouth) for the very end!
- Auscultation Timing: Always seize the quiet moments. Auscultation of an infant's heart should be performed while the infant is quiet, and auscultation of an infant's lungs should be performed while the infant is quiet. If they are screaming, all you will hear through your stethoscope is a very loud baby.
Geriatric Assessments
When assessing older adults, patience is your greatest clinical tool.
- Sensory & Mobility Changes: Physical assessments of older adults require allowing extra time to accommodate sensory deficits (like hearing or vision loss).
- Physical assessments of older adults also require allowing extra time to accommodate mobility deficits. Let them move at their own pace when shifting positions from supine to sitting.
Summary
Mastering physical assessment techniques is about marrying the right procedure with the right physiological rationale. Whether you are using the dorsal surface of your hand to check for a fever, pressing your stethoscope's diaphragm firmly to catch a bowel sound, or carefully turning a tuning fork to perform a Rinne test, you are utilizing brilliant, simple physics to care for complex human beings. Remember your standard precautions, respect your patient's privacy, and let the clues of the body guide your clinical judgment!