Emergency Response Plan and Hazardous Materials
Not sure you’re ready?
Take the ~3-minute readiness diagnostic and see where you stand.
Welcome! Pull up a chair. Today, we are going to look at one of the most fascinating, chaotic, and fundamentally important aspects of nursing. We are going to talk about what happens when the neat, ordered world of healthcare collides with the messy, unpredictable forces of nature.
When you walk onto the floor as a Practical Nurse (PN), you are stepping into a highly controlled environment. But what happens when that control fractures? What happens when a fire breaks out, or a hurricane floods the city, or an invisible infectious spore tries to hitch a ride on your hands?
You don't have time to panic. You don't have time to invent a strategy from scratch. You need a mental scaffolding—an Emergency Operations Plan—that kicks into gear automatically. Let's break down the mechanics of disaster response and hazardous materials, not by memorizing dry rules, but by understanding the why behind the action.
In healthcare, we classify chaos into two distinct categories based on where the threat originates: the internal disaster and the external disaster.
The Breach from Within: Internal Disasters
Imagine the healthcare facility as a fortress. An internal disaster refers to an event occurring within a healthcare facility that threatens structural integrity or patient safety. The danger is already inside the house.
Examples of internal disasters include facility fires, power outages, and active shooter situations. When an internal disaster strikes, your immediate goal is to protect the vulnerable patients physically trapped inside a failing environment.
The Flood from Without: External Disasters
Now, flip the scenario. The fortress is fine, but the world outside is falling apart. An external disaster refers to an event occurring outside the healthcare facility that creates a sudden influx of patients. You are about to be overwhelmed by sheer volume.
Examples of external disasters include natural disasters, mass transit accidents, and terrorist attacks. The challenge here isn't the building collapsing; it's a bottleneck of resources.
_for_Mass_Casualty_Incidents.jpg)
Knowing Your Place in the Chaos
When the alarm bells ring, ego goes out the window. The Emergency Operations Plan dictates specific roles for all facility staff during a disaster. It is a beautifully choreographed dance, provided everyone knows their steps.
- The Practical Nurse (PN): During a disaster, the Practical Nurse functions under the direction of the Registered Nurse or the designated incident commander. You are a critical operational arm, executing the broader strategy laid out by command.
- The Nursing Goal in External Disasters: What is a primary role of nursing staff during an external disaster? Identifying stable clients for safe discharge. Why on earth are we rushing to send people home when a crisis hits? Simple physics: two objects cannot occupy the same space. Discharging stable clients during a mass casualty event frees up facility beds for incoming critical patients. You are actively opening the pressure valve.
- Unlicensed Assistive Personnel (UAP): We must deploy UAPs where they are most effective. Unlicensed Assistive Personnel focus on vital signs, patient transport, and basic hygiene during a facility disaster. However, we draw a hard line at clinical judgment: Unlicensed Assistive Personnel do not perform triage or independent patient assessments during mass casualty events. That requires licensure.
When an external disaster sends a wave of victims to your doors, standard emergency room rules no longer apply. Normally, we throw maximum resources at the sickest person. In a mass casualty event, doing that might cost ten other lives. We must shift our mindset to doing the greatest good for the greatest number.
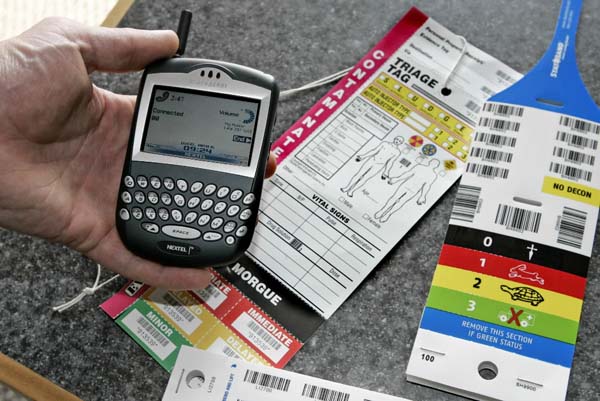
To do this, we use the START method. START stands for Simple Triage and Rapid Treatment, and it categorizes disaster victims based on the severity of their injuries using a color-coded tag system.
| Tag Color | What it Means | The Logic |
|---|---|---|
| Red Tag | Indicates a victim with life-threatening injuries requiring immediate intervention. | These patients are hovering on the brink, but they can be saved if you act right now. (e.g., tension pneumothorax, arterial bleeding). |
| Yellow Tag | Indicates a victim with serious injuries that can tolerate a delay in medical treatment. | These are major injuries (e.g., large bone fractures), but their vital signs are currently stable. They can wait a short time. |
| Green Tag | Indicates a victim with minor injuries requiring minimal care. | The "walking wounded." A sprained ankle or minor lacerations. They might be in pain, but they are not dying. |
| Black Tag | Indicates a victim who is deceased or has nonsurvivable injuries. | This is the hardest tag to place. In a normal setting, we'd perform CPR. In a mass casualty event, if someone has massive head trauma and no pulse, we must tag them black to save the reds. |
Sometimes the things meant to heal or support our patients turn into threats. We have strict protocols for handling these materials because hope is not a strategy—containment is.
Fighting Facility Fires
Fire is just a chemical reaction: fuel, oxygen, and heat. To beat it, we break the reaction. Facility fire response protocols are so critical that we condense them into acronyms so your brain can retrieve them even when adrenaline is pumping.
Facility fire response protocols typically follow the RACE acronym. Think of this as your macro-level strategy:
- R - Rescue patients from immediate danger. (Life always comes first. Get the person out of the burning room).
- A - Alarm activation. (Pull the fire alarm to summon the cavalry).
- C - Contain the fire by closing doors and windows. (Fire breathes oxygen. Slamming a heavy fire door starves the fire and halts the smoke).
- E - Extinguish the fire or Evacuate the area. (Depending on the size of the blaze).
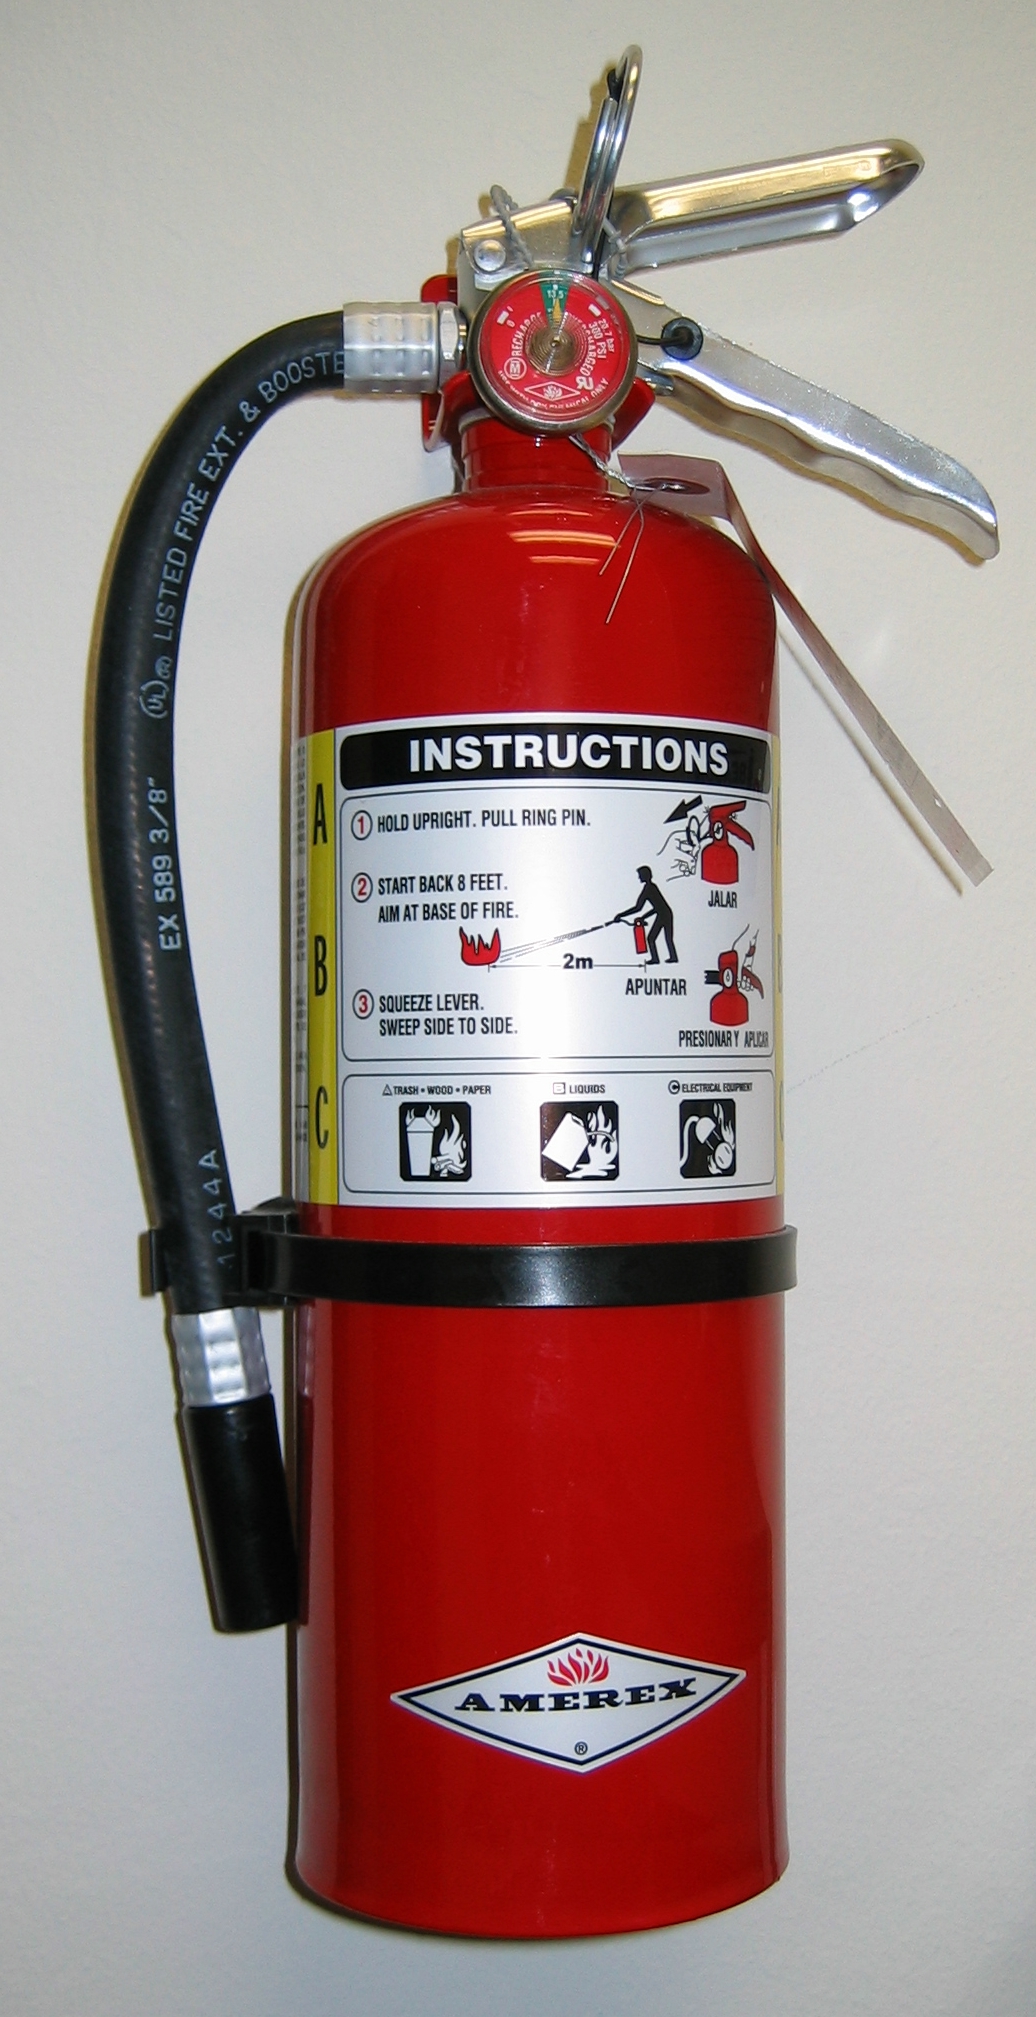
If you must extinguish a small fire, you need to know how to operate the equipment. Fire extinguisher operation follows the PASS acronym: Pull the pin, Aim at the base, Squeeze the handle, Sweep side to side. Why aim at the base? Because aiming at the flames is just blowing away the smoke; you have to hit the fuel source!
Chemical Spills and the Safety Data Sheet
Hospitals are packed with industrial chemicals. If a nurse spills a high-grade disinfectant or hazardous medication, what do you do? You don't just grab a paper towel.
You turn to the master catalog of chemistry: the SDS. Safety Data Sheets provide critical information on the chemical properties, health hazards, and safe handling of specific substances.
Crucial Protocol: Facility protocol requires immediate consultation of the Safety Data Sheet following any staff exposure to a hazardous chemical. The SDS will tell you exactly how long to flush your eyes or wash your skin. Furthermore, specialized spill kits must be used to clean up hazardous chemical spills according to specific facility guidelines.
Biohazards and Sharps
We deal with bodily fluids and sharp instruments every day. We must isolate these hazards from the general waste stream.
- Blood-soaked dressings must be disposed of in designated red biohazard bags.
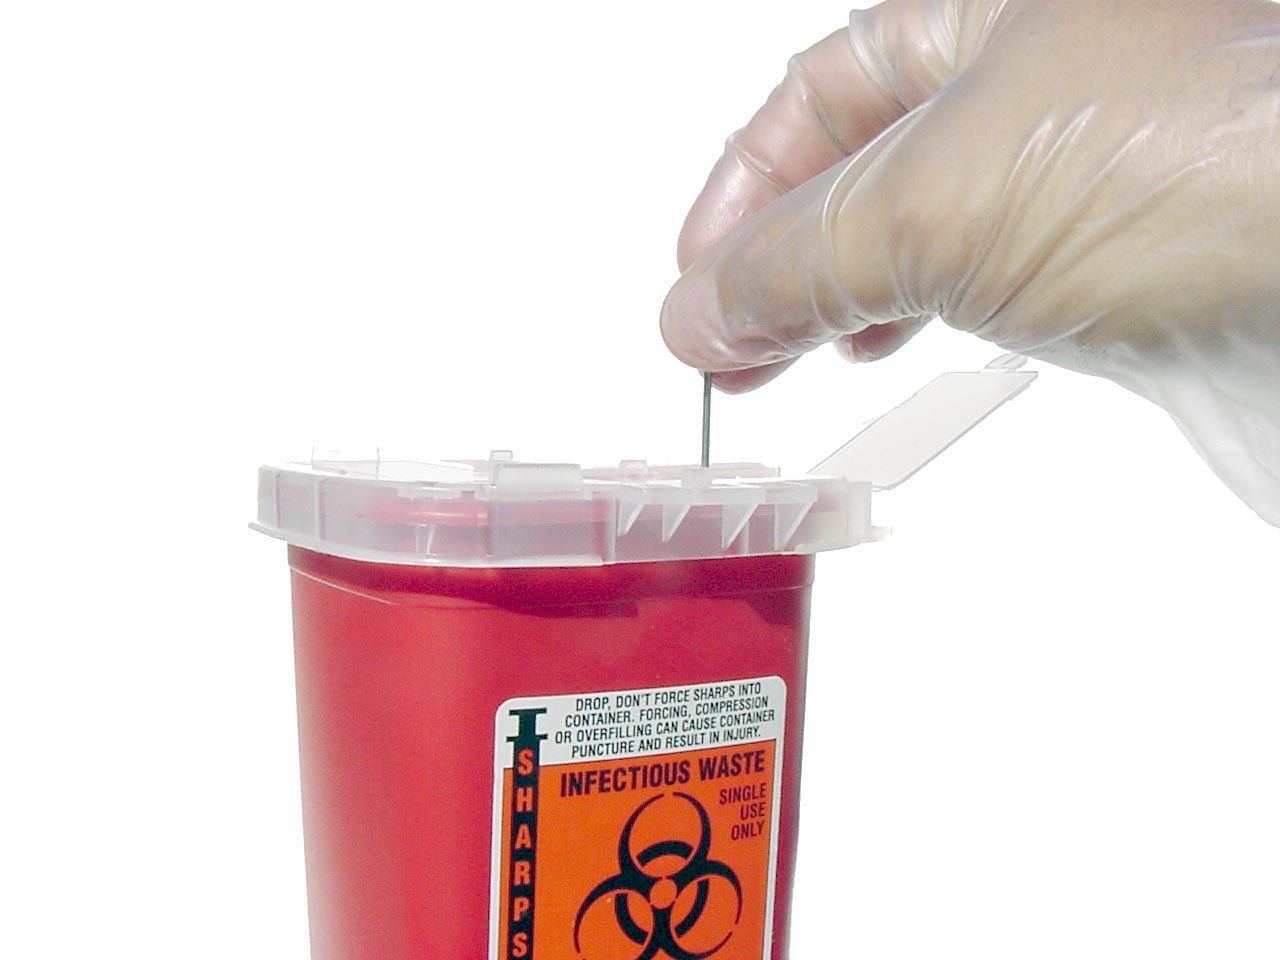
- Used needles and scalpel blades must be disposed of immediately in rigid, puncture-resistant sharps containers. Never recap a needle. Never toss it in the trash.
- Sharps containers must be replaced when they reach the designated fill line to prevent accidental needle-stick injuries. If you try to force one more syringe into a stuffed container, you are asking for a needle to slide right into your thumb.
The Invisible Hazard: Radiation
Radiation is energy traveling through space. It's fantastic for destroying tumors, but it doesn't care whose cells it damages. Our radiation exposure risk is managed by optimizing three variables: time, distance, and shielding.
- Decrease your time near the source.
- Increase your distance (radiation drops off drastically the further you step back—that's the inverse-square law of physics!).
- Use shielding (like lead aprons).
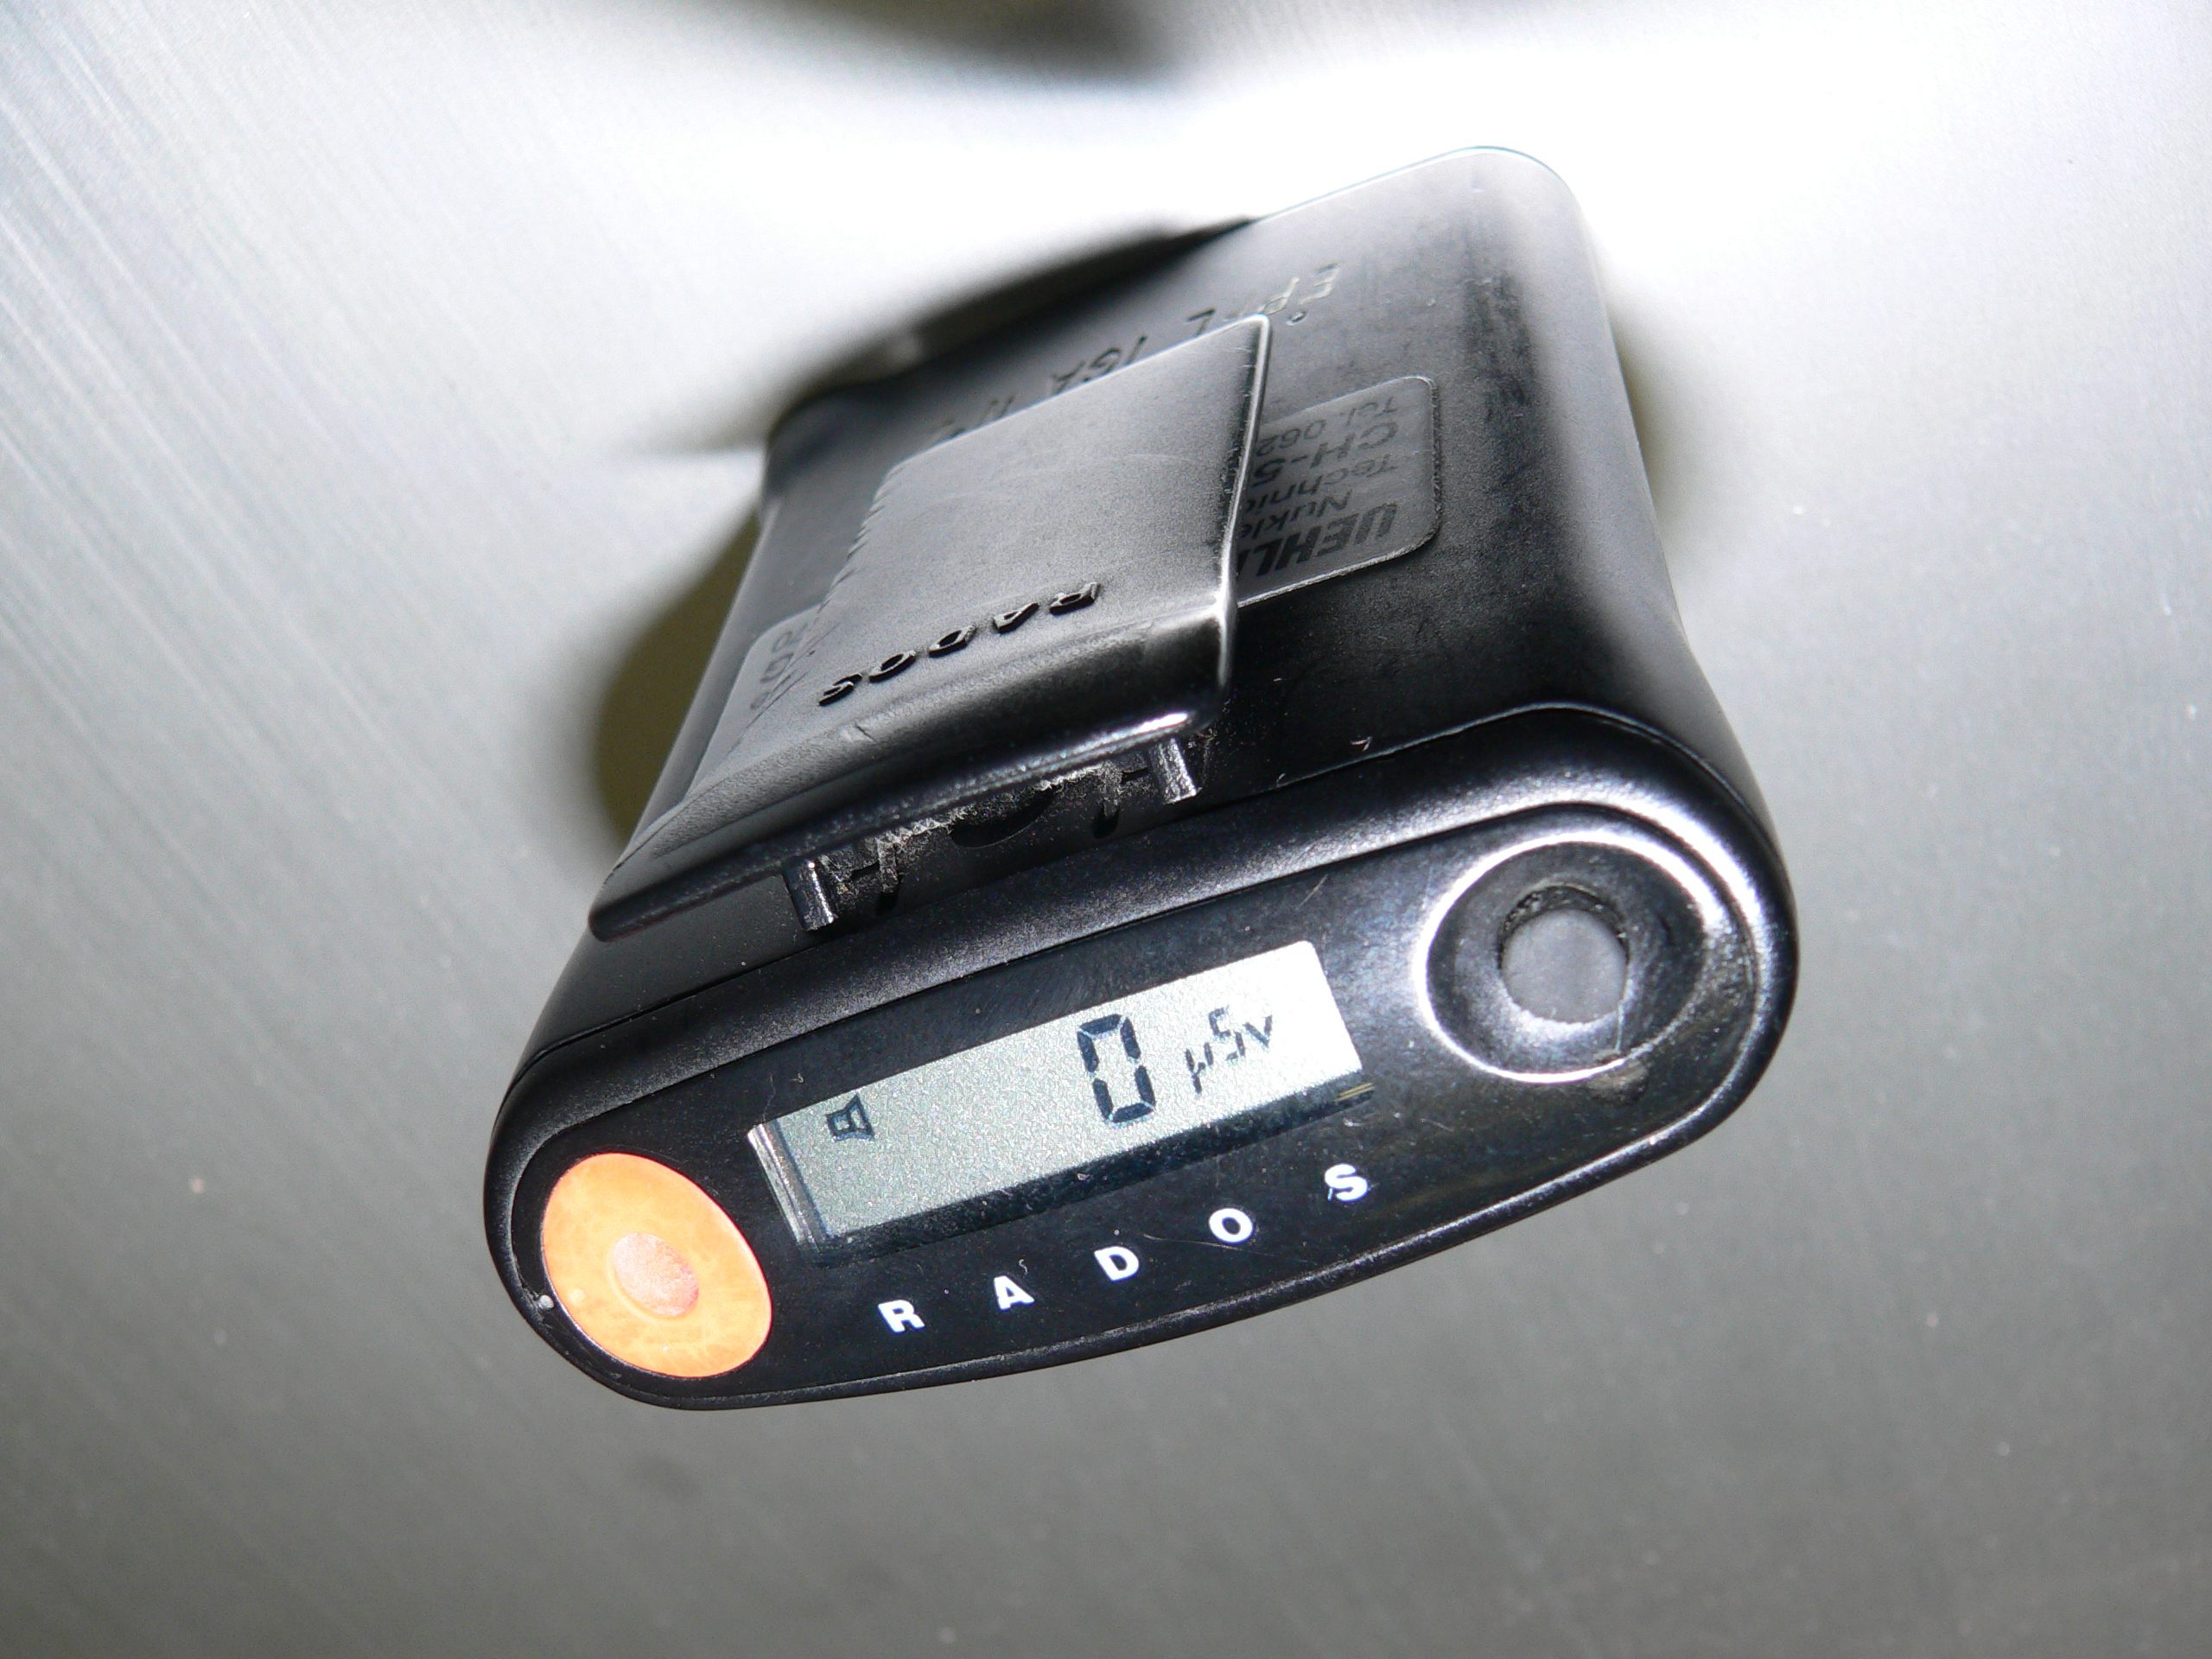
For clients receiving internal radiation (brachytherapy), they are the radioactive source. Healthcare workers assigned to care for clients receiving internal radiation must wear a dosimeter badge to measure cumulative exposure. This badge doesn't protect you; it monitors you, ensuring you don't absorb too much energy over your shift. And for the family? Visitors must maintain a distance of at least six feet from a client undergoing internal radiation therapy.
Now we get to the most common hazards in healthcare: pathogens. Bacteria and viruses are tiny, highly evolved survival machines. To defeat them, we deploy specific barriers.
The Baseline: Standard Precautions
You cannot look at a patient and know what is swimming in their bloodstream. Therefore, we treat everyone as a potential risk. Standard precautions apply to the care of all patients regardless of their presumed infection status.
What does this mean practically? Standard precautions require the use of gloves when touching blood, body fluids, secretions, or non-intact skin. If it’s wet, and it’s not yours, don't touch it without gloves.
But gloves are not magic. Hand hygiene is the single most effective method for preventing the spread of infectious agents.
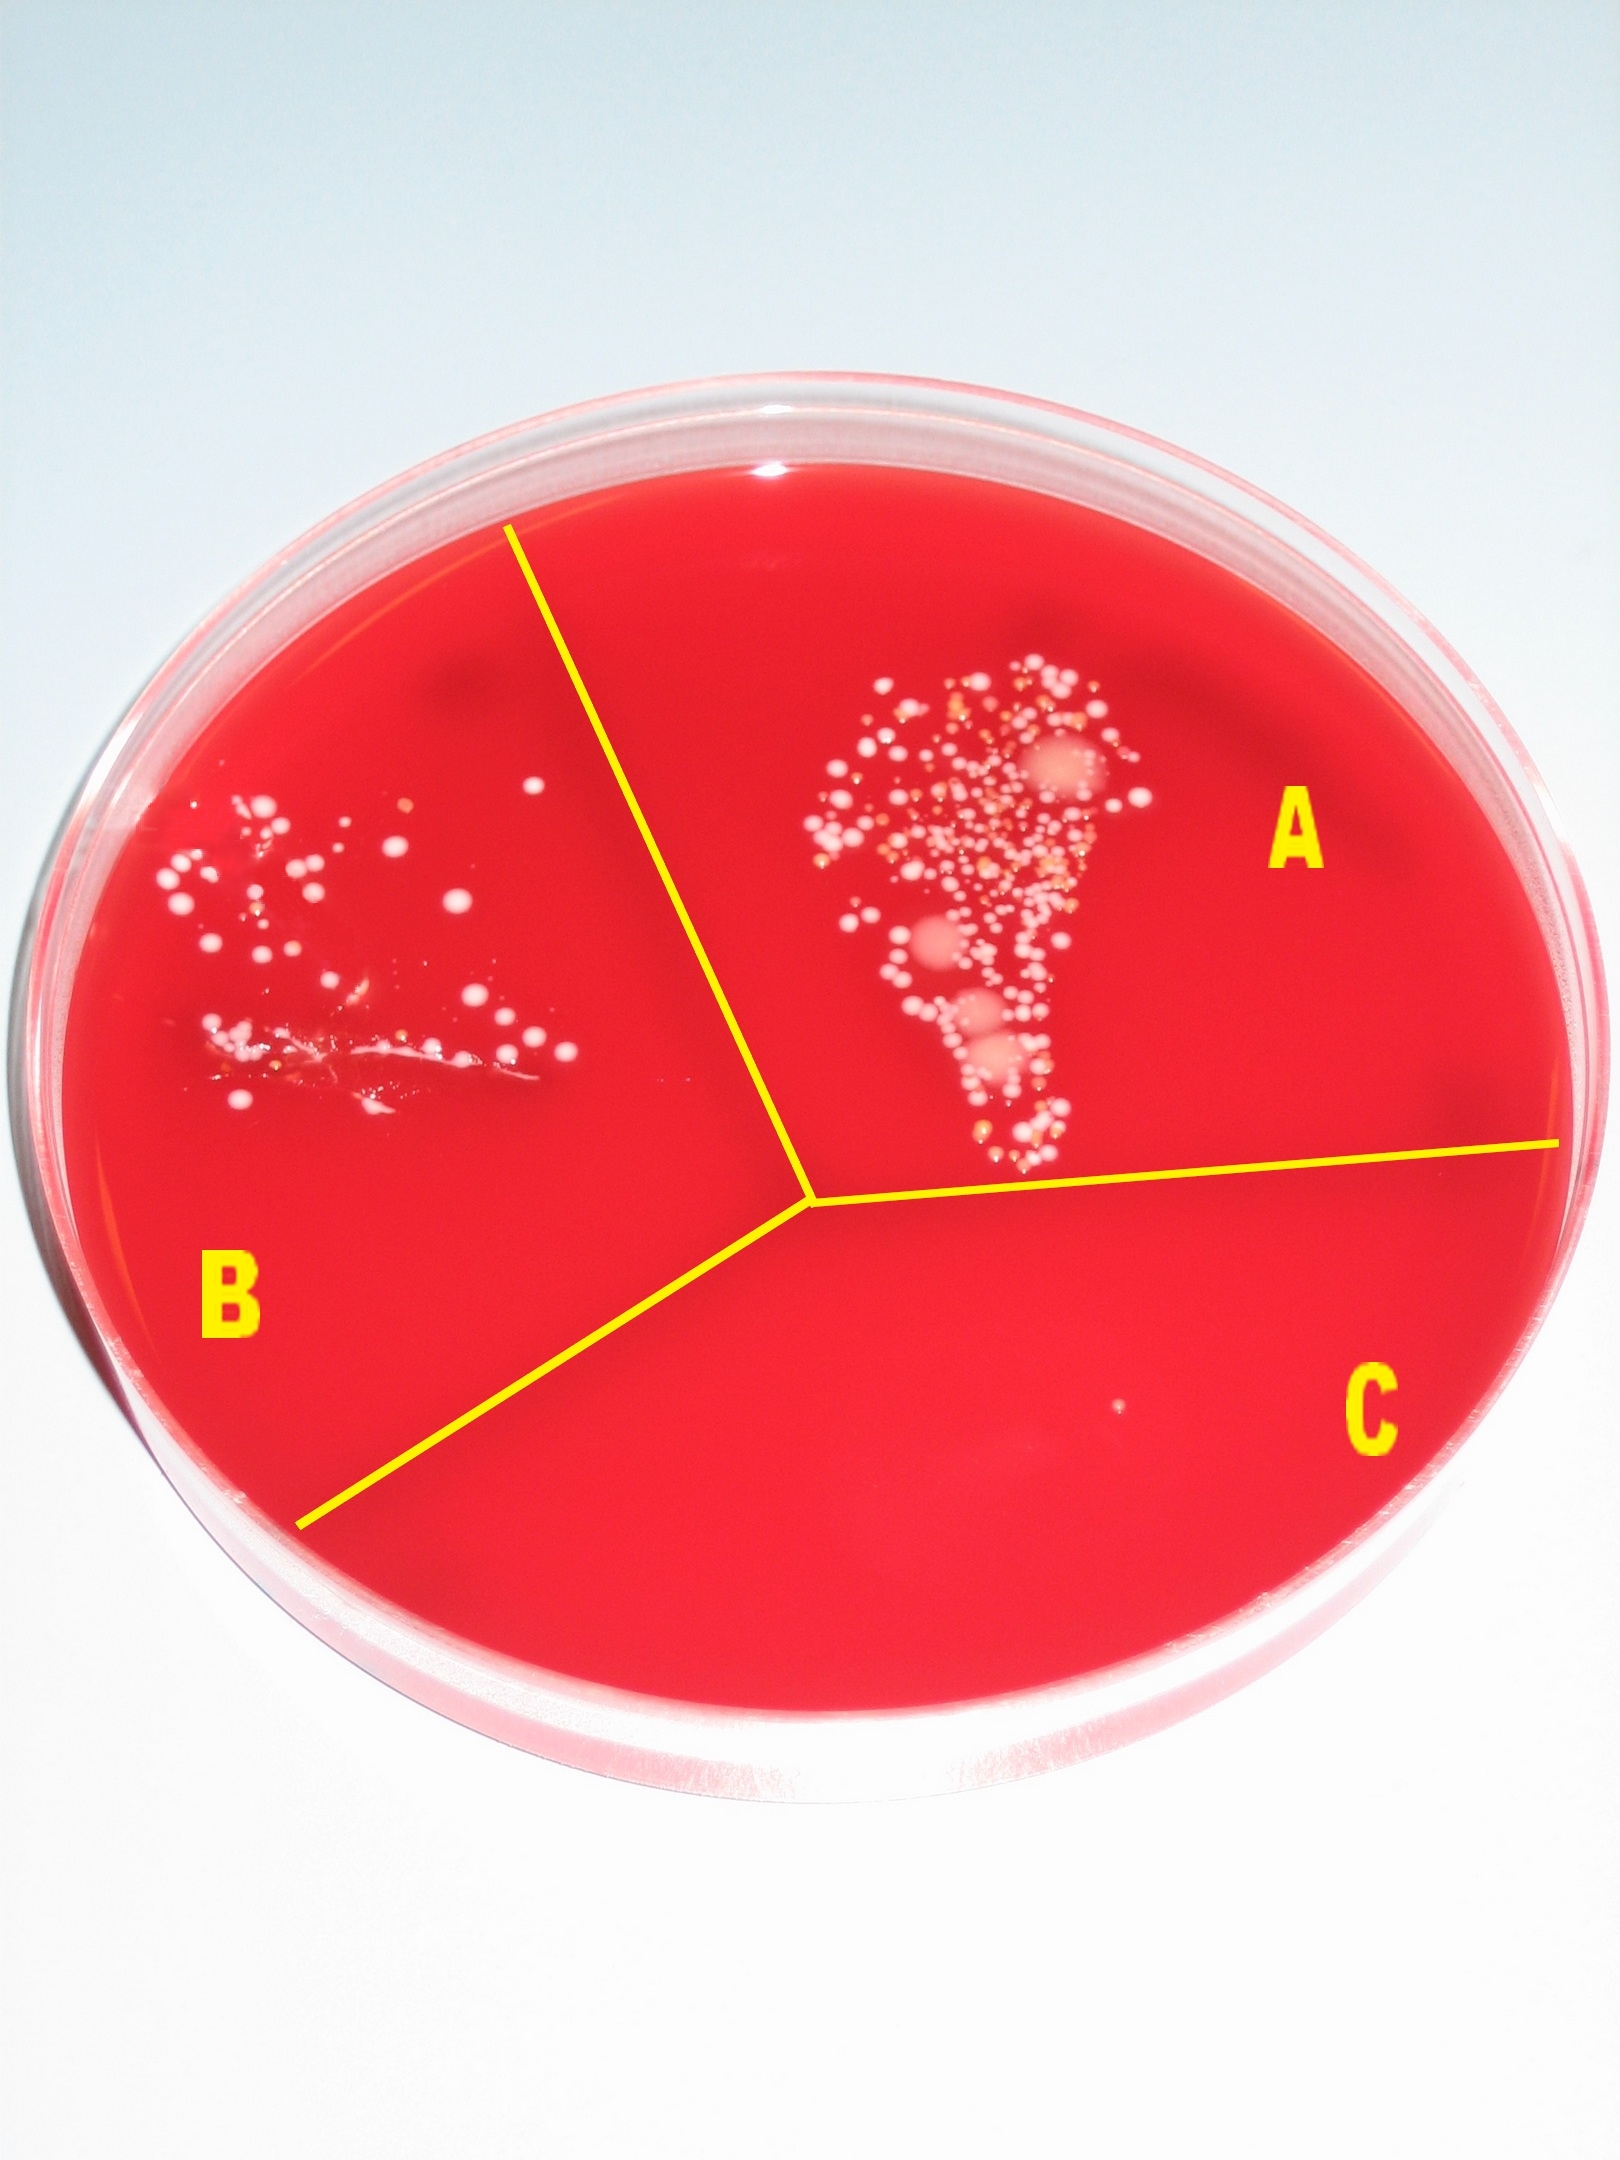
The C. diff Exception: Most of the time, alcohol-based hand sanitizer works wonderfully. But let's talk about Clostridioides difficile (C. diff). C. diff forms incredibly resilient, tough-shelled spores to protect itself. Alcohol-based hand rubs are ineffective against the spores produced by Clostridioides difficile. Therefore, healthcare workers must wash their hands with soap and water when caring for clients infected with Clostridioides difficile. The physical friction of handwashing is the only way to literally wash those heavy spores down the drain.
Transmission-Based Precautions
When we know exactly how a specific bug travels, we upgrade from Standard Precautions to Transmission-Based Precautions.
1. Contact Precautions
Some pathogens travel by direct touch. We use this for highly resistant bugs.
- The Target: Contact precautions are required for clients infected with multidrug-resistant organisms such as Methicillin-resistant Staphylococcus aureus (MRSA).
- The Defense: Contact precautions require healthcare workers to wear a gown and gloves upon entering the client's room. You are wrapping your uniform to ensure the bacteria doesn't rub onto your clothes and catch a ride to the next patient.
2. Droplet Precautions
Imagine sneezing. You expel heavy, wet droplets full of viruses. Because they are heavy, gravity pulls them to the floor quickly—usually within a 3-foot radius.
- The Target: Droplet precautions are required for infectious agents transmitted through large respiratory droplets. Influenza, pertussis, and mumps require the implementation of droplet precautions.
- The Defense: Because the danger zone is a 3-foot splash radius, healthcare workers must wear a surgical mask when working within three feet of a client on droplet precautions.
3. Airborne Precautions
This is the truly tricky one. What if the droplets are incredibly tiny? The moisture evaporates, leaving behind a microscopic, infectious core that floats on the ambient air currents. It doesn't fall; it drifts.
- The Target: Airborne precautions are required for infectious agents transmitted through small particle aerosols that remain suspended in the air. Tuberculosis, measles, and varicella require the implementation of airborne precautions.
- The Defense: A normal surgical mask won't cut it, and a normal room will let the contaminated air drift into the hallway.
-
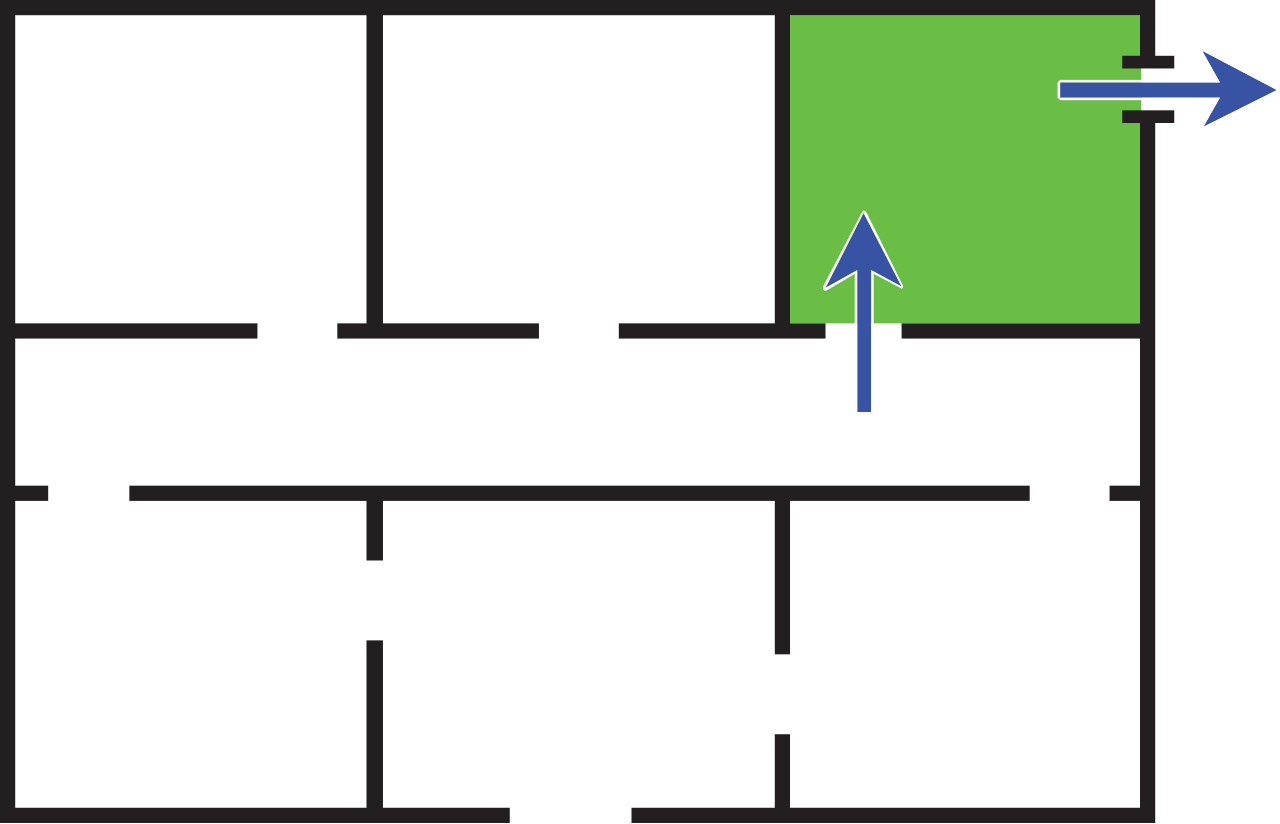
Rule 1: Clients on airborne precautions must be placed in a negative-pressure isolation room. This specialized room actively sucks air in from the hallway and exhausts it safely outside, preventing the germs from escaping the room.
-
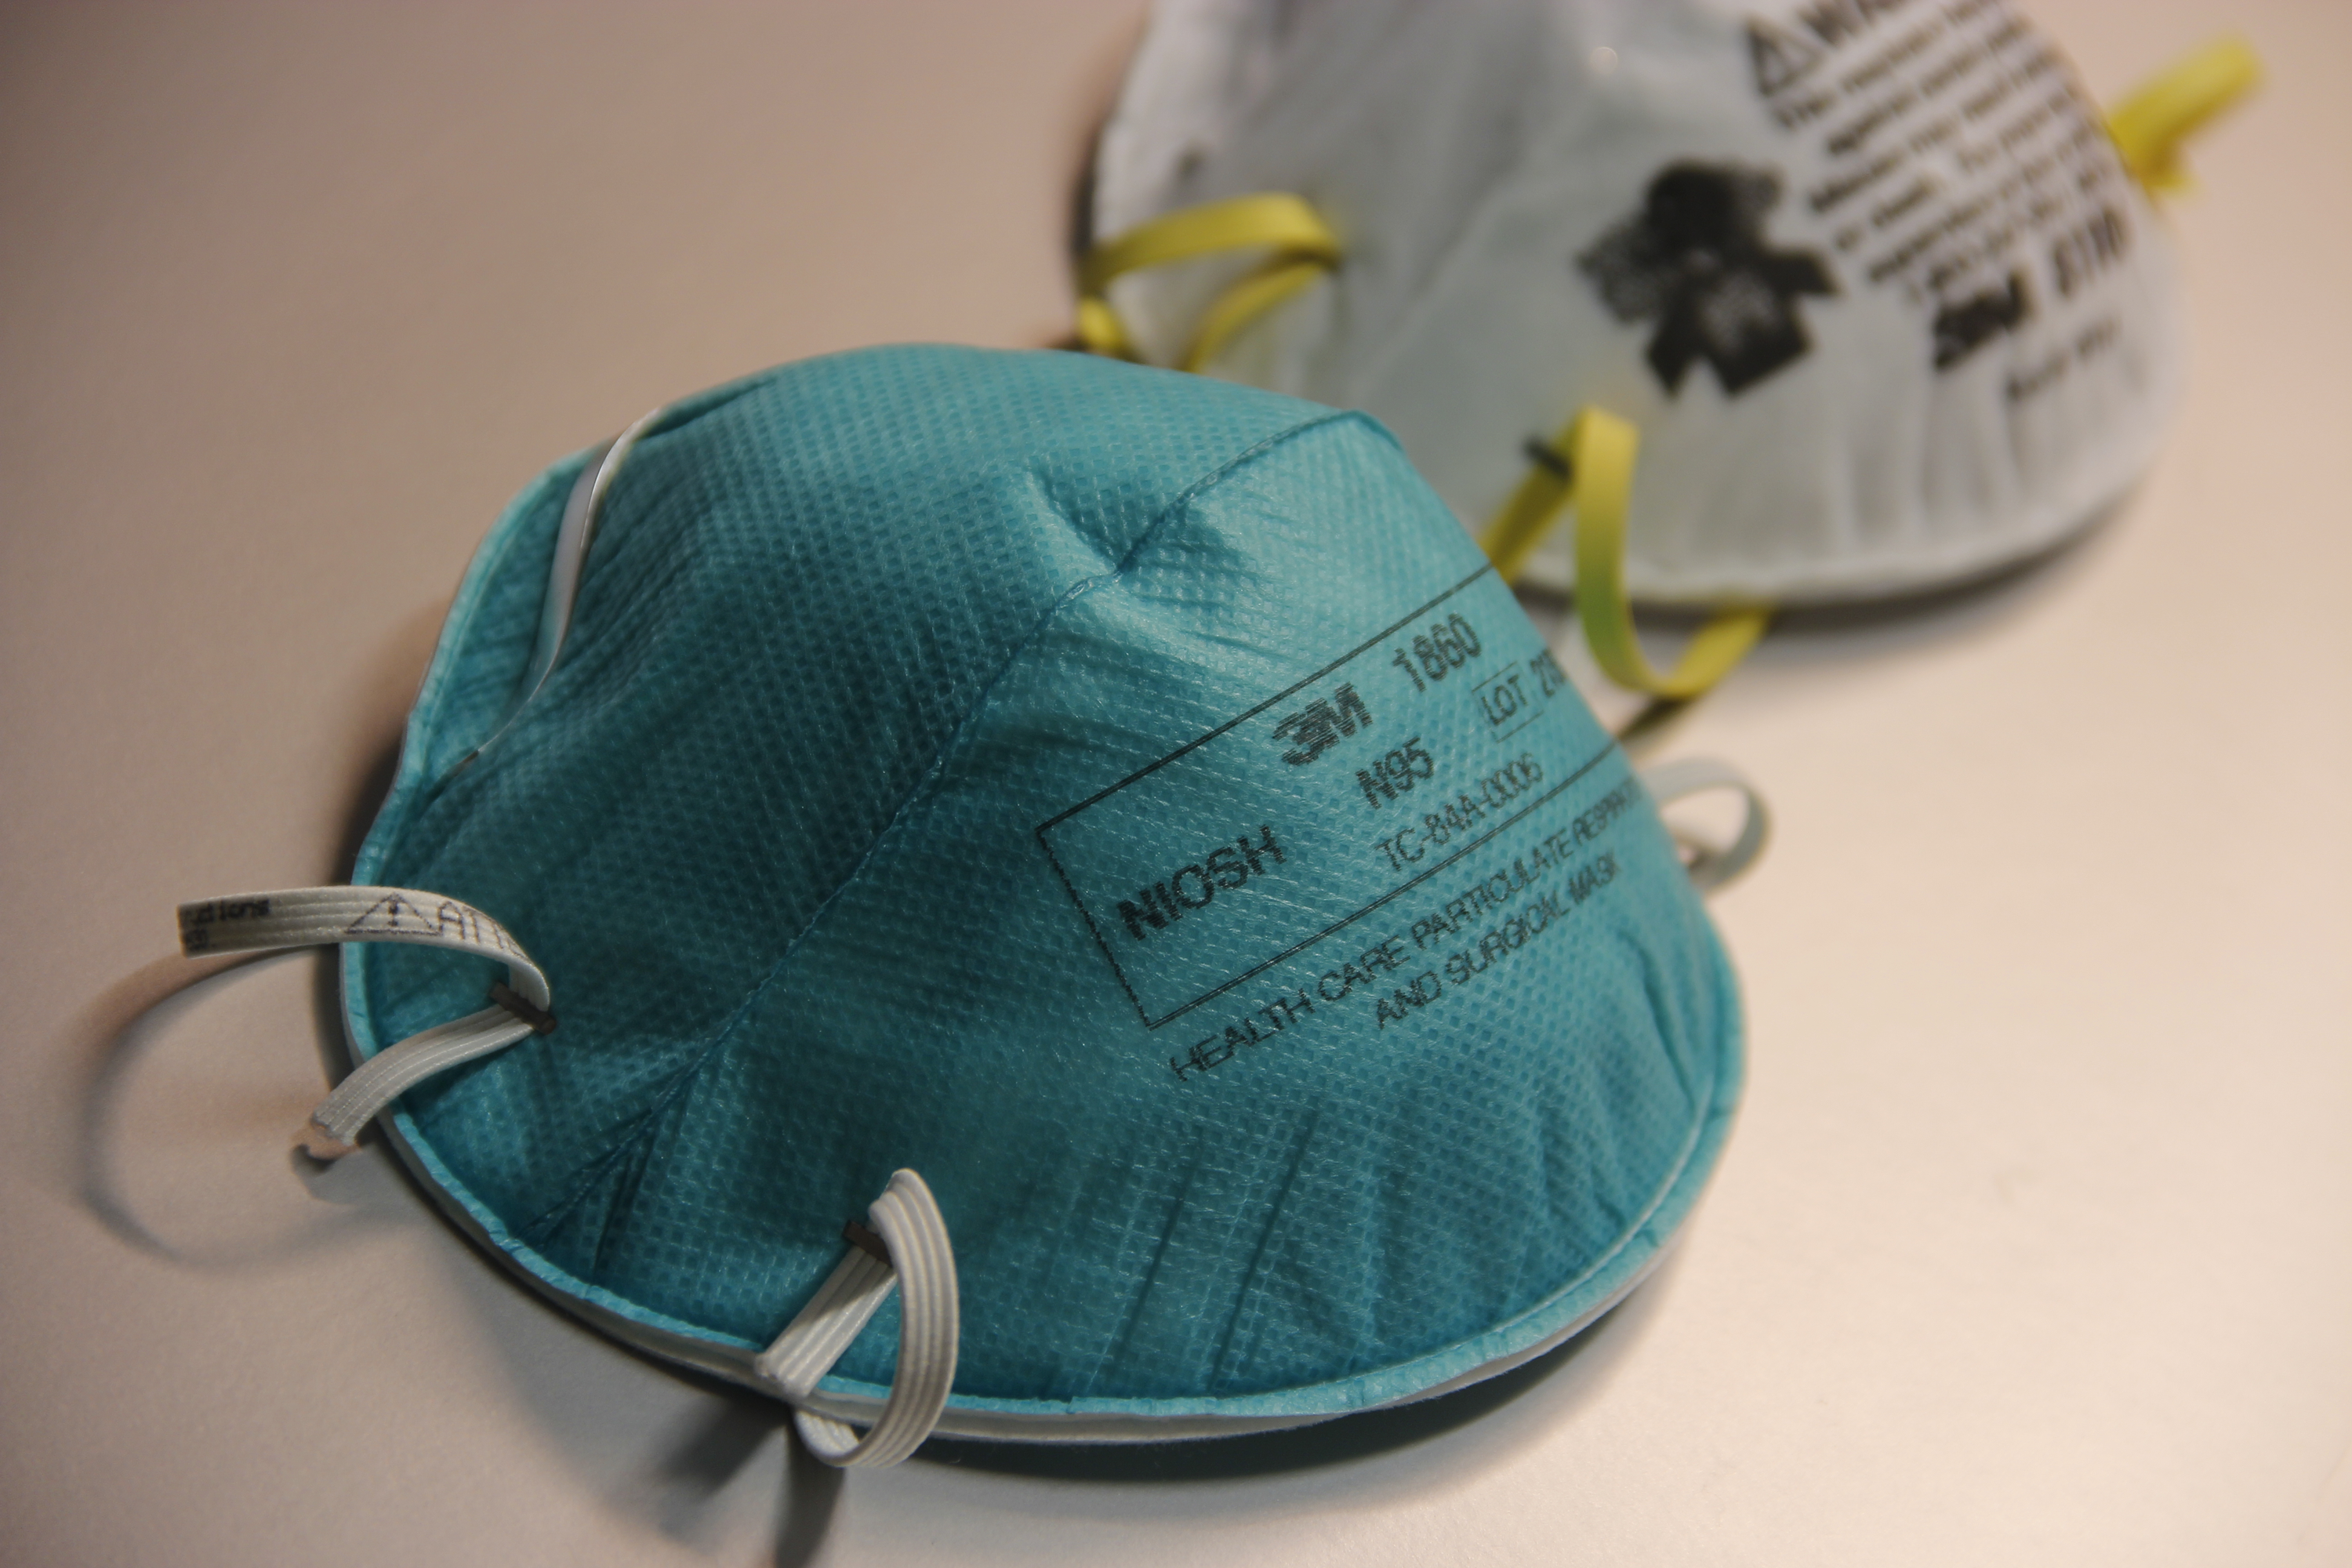
Rule 2: Healthcare workers must wear a fit-tested N95 respirator or a higher-level respirator when entering an airborne precaution room. An N95 forms a tight seal on your face, filtering out 95% of those tiny, floating particles.
-
The Dance of the Armor: Donning and Doffing PPE
Putting on (donning) and taking off (doffing) Personal Protective Equipment (PPE) isn't random. It's a calculated sequence based on anatomy and contamination logic.
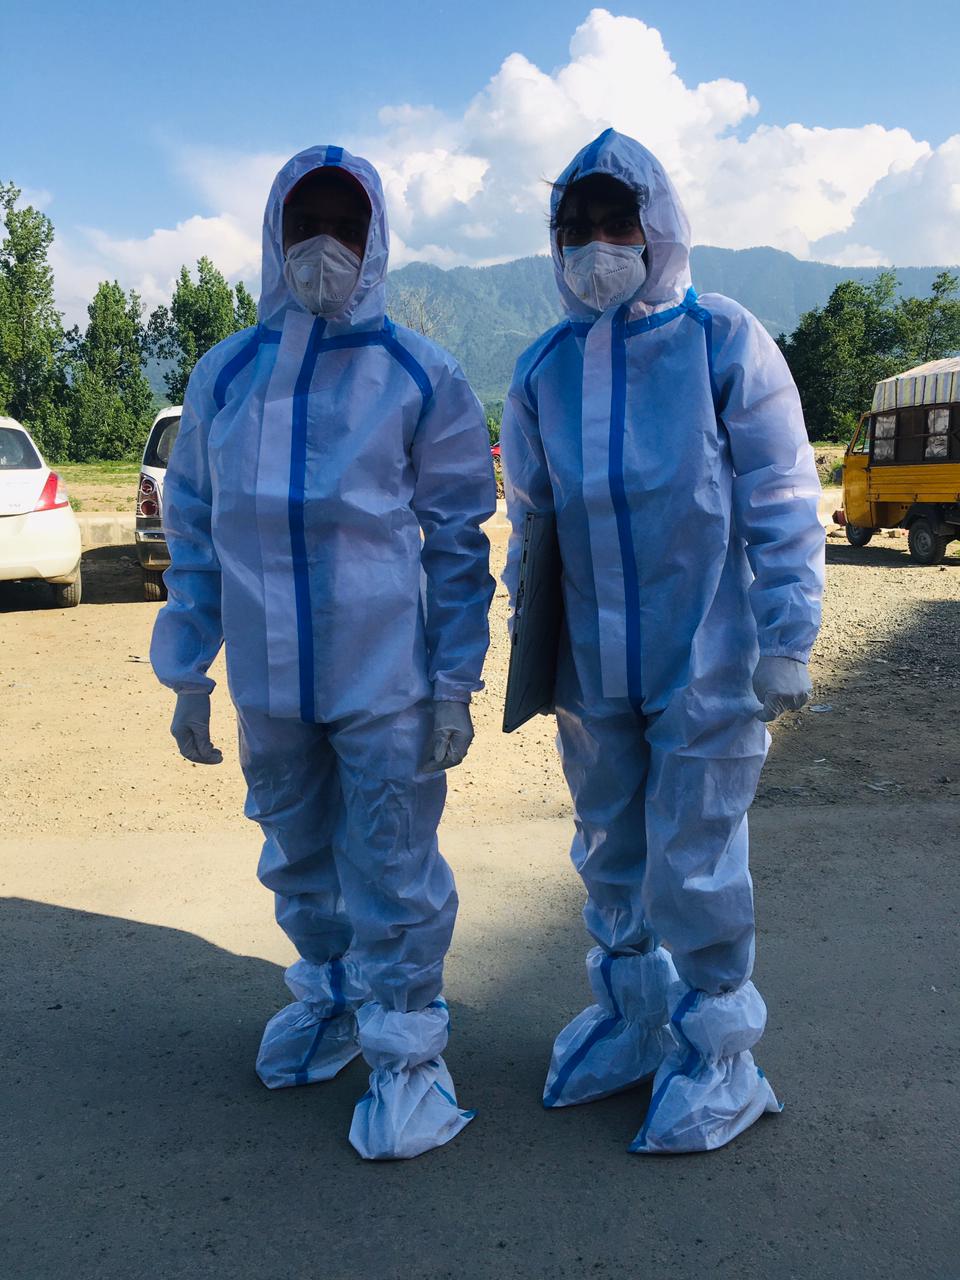
The proper sequence for donning personal protective equipment is gown, mask or respirator, goggles or face shield, and then gloves. Why this order? You start by covering the largest part of your body (the gown). Then you protect your airway (mask). Then your eyes (goggles). You put the gloves on last so you can pull the cuffs of the gloves over the sleeves of the gown, creating a seamless seal.
The proper sequence for doffing personal protective equipment is gloves, goggles or face shield, gown, and then mask or respirator. Why this order? When you finish caring for a patient, your gloves are the absolute filthiest thing on your body. You must take them off first! Once your hands are free of the dirty gloves, you remove your eye protection. Then you peel off the gown. You always remove the mask last (often right at the doorway or after exiting) to protect your airway until the very last second.
Final Thoughts
Look at the interconnected system we've just laid out. Whether you are dealing with a fire (RACE), managing a mass influx of patients (START triage), or battling microscopic tuberculosis (Airborne precautions), the underlying principle is the same. We identify the hazard, we establish physical and systemic barriers, and we protect the most vulnerable.
Internalize these mechanisms. Don't just memorize the rules—understand the physics and biology behind them. When the sirens blare or the test questions appear, your brain will know exactly what to do. Good luck!